Managing Your Files
Downloading, unzipping, copying, moving, renaming and deleting files in a graphical user interface is normally fairly intuitive. Now we'll learn how to perform the same operations in a shell. Once you can organise your files, you are well on your way to being able to use the shell more effectively for day to day tasks.
Now that we know how to organise the files in our computer, we'll take a look at how to download files, create new files, preview the contents of files, open files, copy, move and delete files.
This chapter will introduce the wget, unzip, cp, mv, rm, mkdir, rmdir, cat and zip commands. We'll also briefly look at wildcards and redirection.
Creating a Playground
Before we start copying, deleting, moving and renaming files, we should create a 'playground' area we can work in. We don't want to test all of this on our own personal files until we know exactly what we're doing!
To help with this, I've created a zipped up 'samples' which has a lot of files in it which we can use to play with. Now the file itself is available on the effective-shell.com website, right here:
effective-shell.com/downloads/effective-shell-samples.zip
We could open up a web browser, download the file, unzip it and then start from there, but this book is all about how to deal with every day tasks in your shell, so let's skip the browser and do it in the shell instead!
Open your shell - if you've not yet got set up with your shell, that's OK, just check Chapter 1 - Getting Started.
Now that you have your shell open, we can run the wget command (Web Get) to download the zip file. Let's download it to our Home folder. If you are not sure what the Home folder is, check Chapter 2- Navigating Your System.
First, we'll move to our home directory, then download the file.
cd
wget https://effective-shell.com/downloads/effective-shell-samples.zip
You'll see something like this:
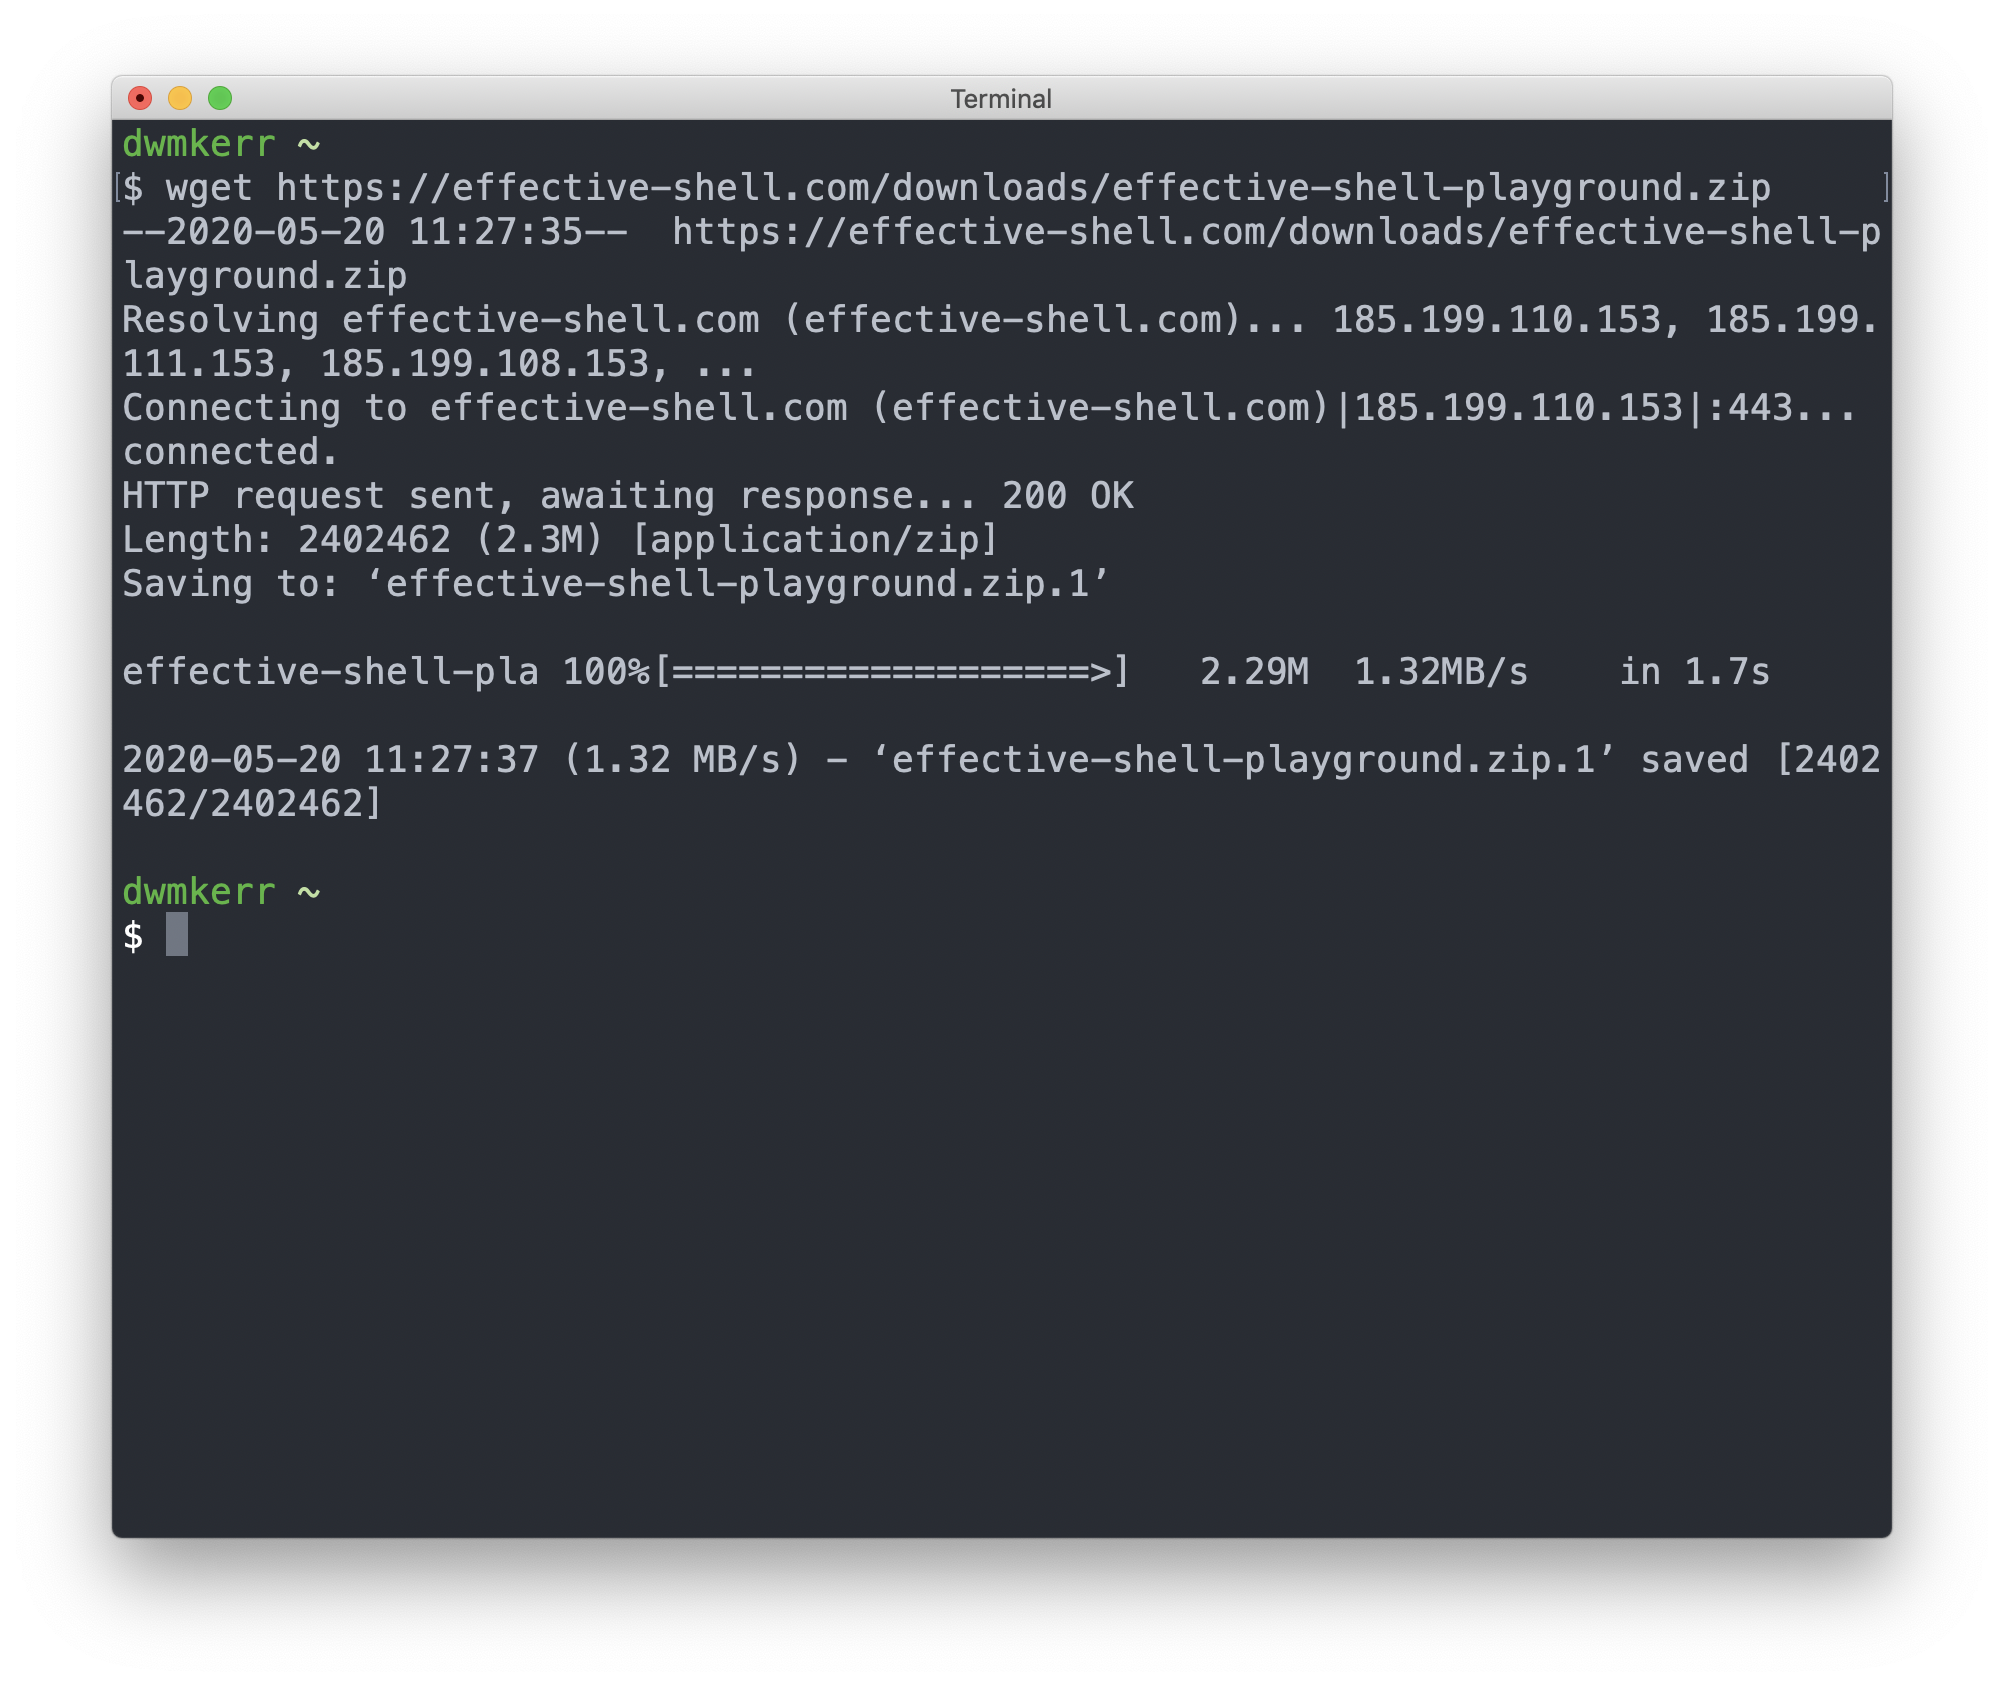
When you call the wget command, you can give it any web address and it'll download it to your current folder. It also shows the progress of the download interactively (particularly useful if it's a big file!).
As an aside, if we were not in our home folder when we called the wget command, we'd download the file to wherever we are currently working in. If we wanted to be explicit about where we download the file, we can use the -O (Output File) flag to say explicitly where we want to download the file.
As an example, if were not in the home folder, but wanted to download there, we'd just call:
cd
wget -O ~/playground.zip https://effective-shell.com/downloads/effective-shell-samples.zip
Now that we've downloaded the file, let's look at our home directory now, with a quick call to ls ~:
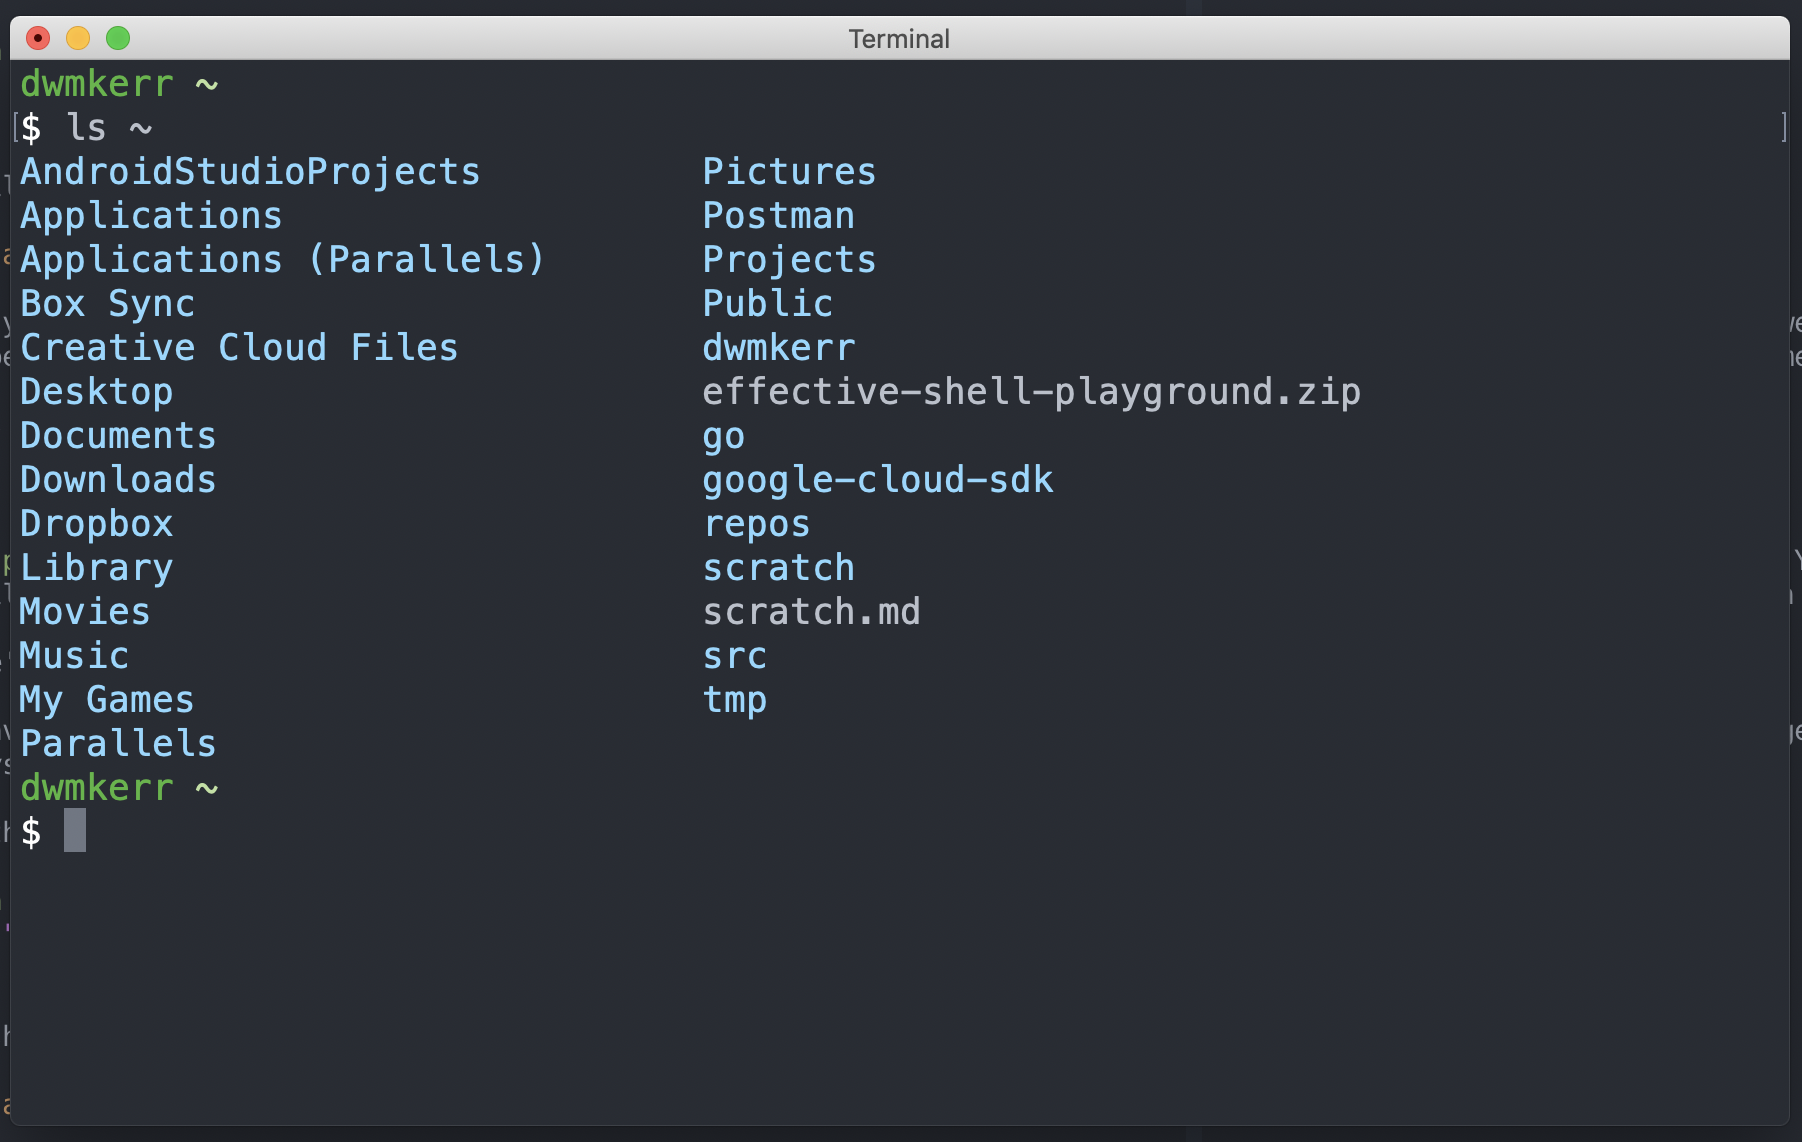
Cool - we have the zip file downloaded! Now we need to work out how to unzip it so we can get to the files in the zip archive.
Finding out about files
One of the interesting things you can do in a shell is ask it to tell you more about a file. This can be useful if we've got a file, and we're not sure what it might be. Let's try it out now:
file ~/effective-shell-samples.zip
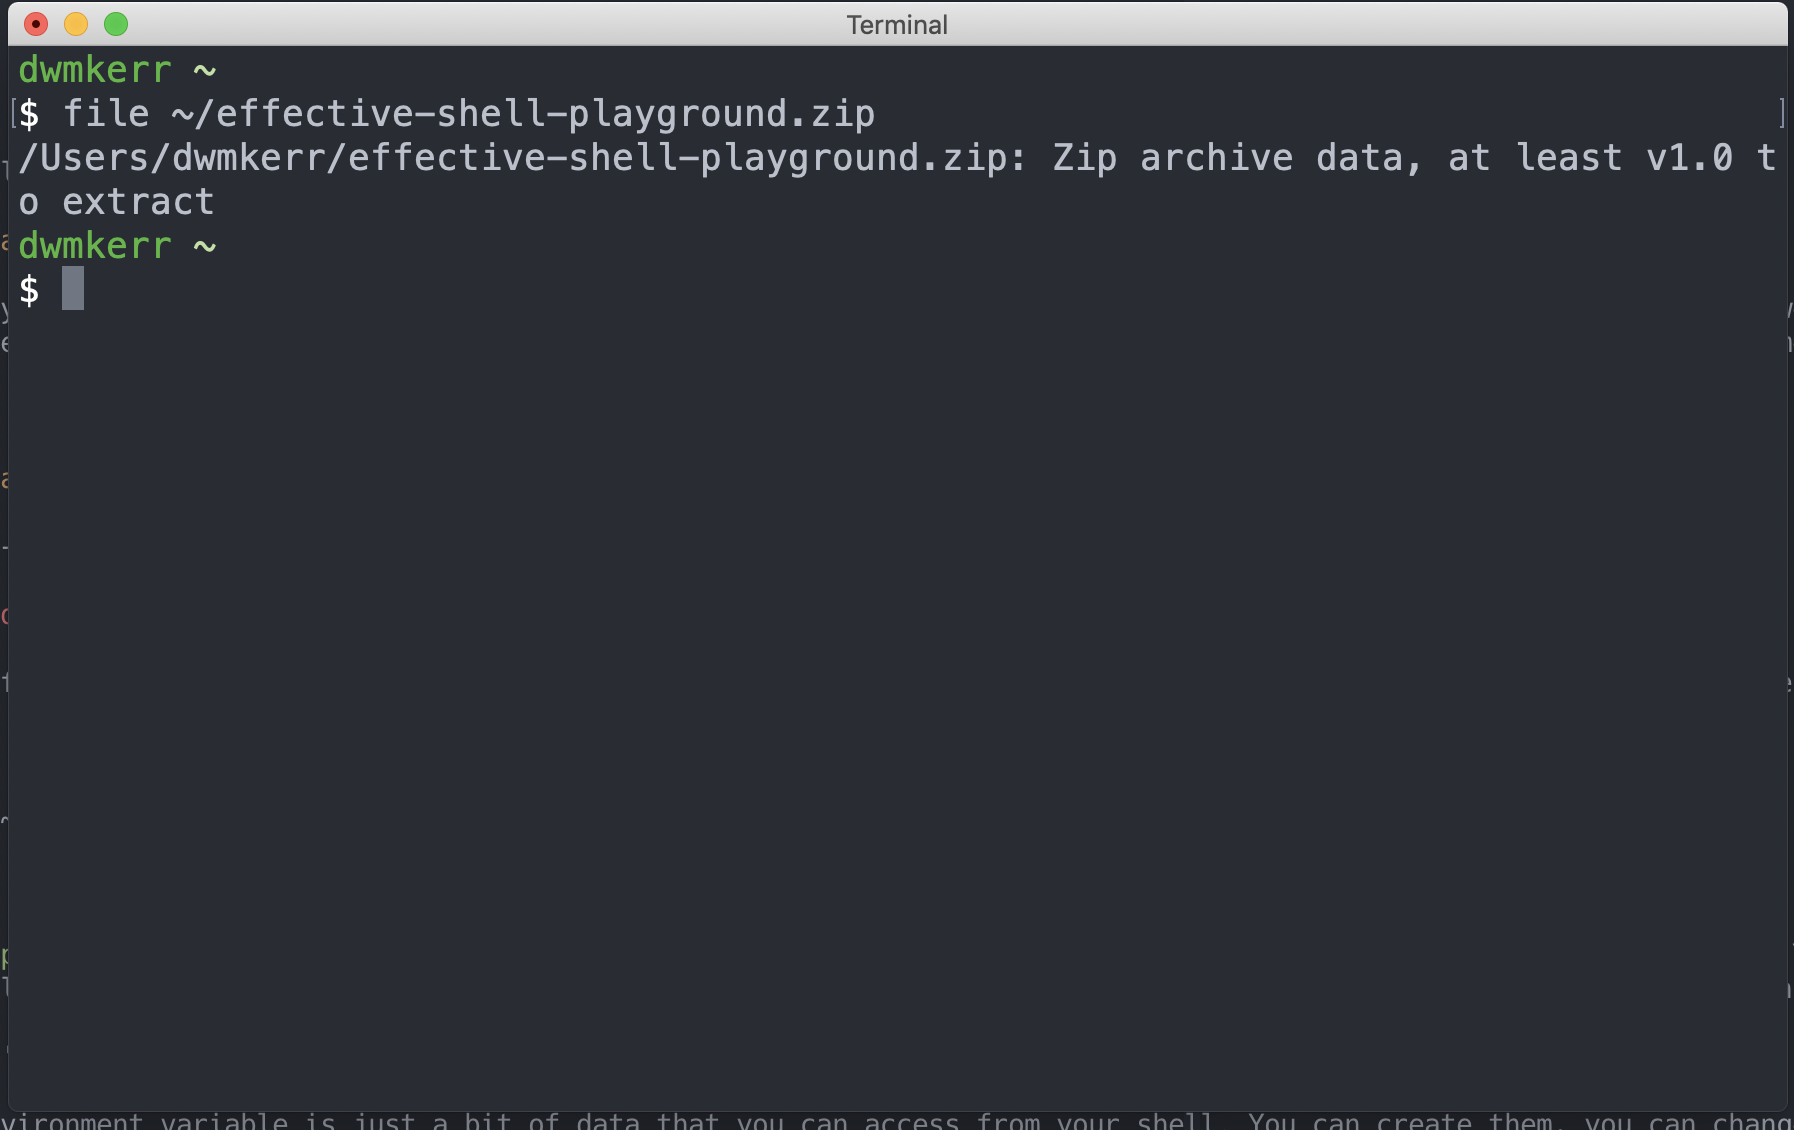
The file command is showing us we have a zip file - now it's time to unzip it!
Extracting the Zip
Right now we have a zip file. We need to extract it, unpack the files so that we can play with them. Again, in a system with a graphical user interface, this is easy, generally you just double click on it. But we're going to use the shell for this!
Run the command:
unzip ~/effective-shell-samples.zip
Now let's look at what we've got with the ls command:
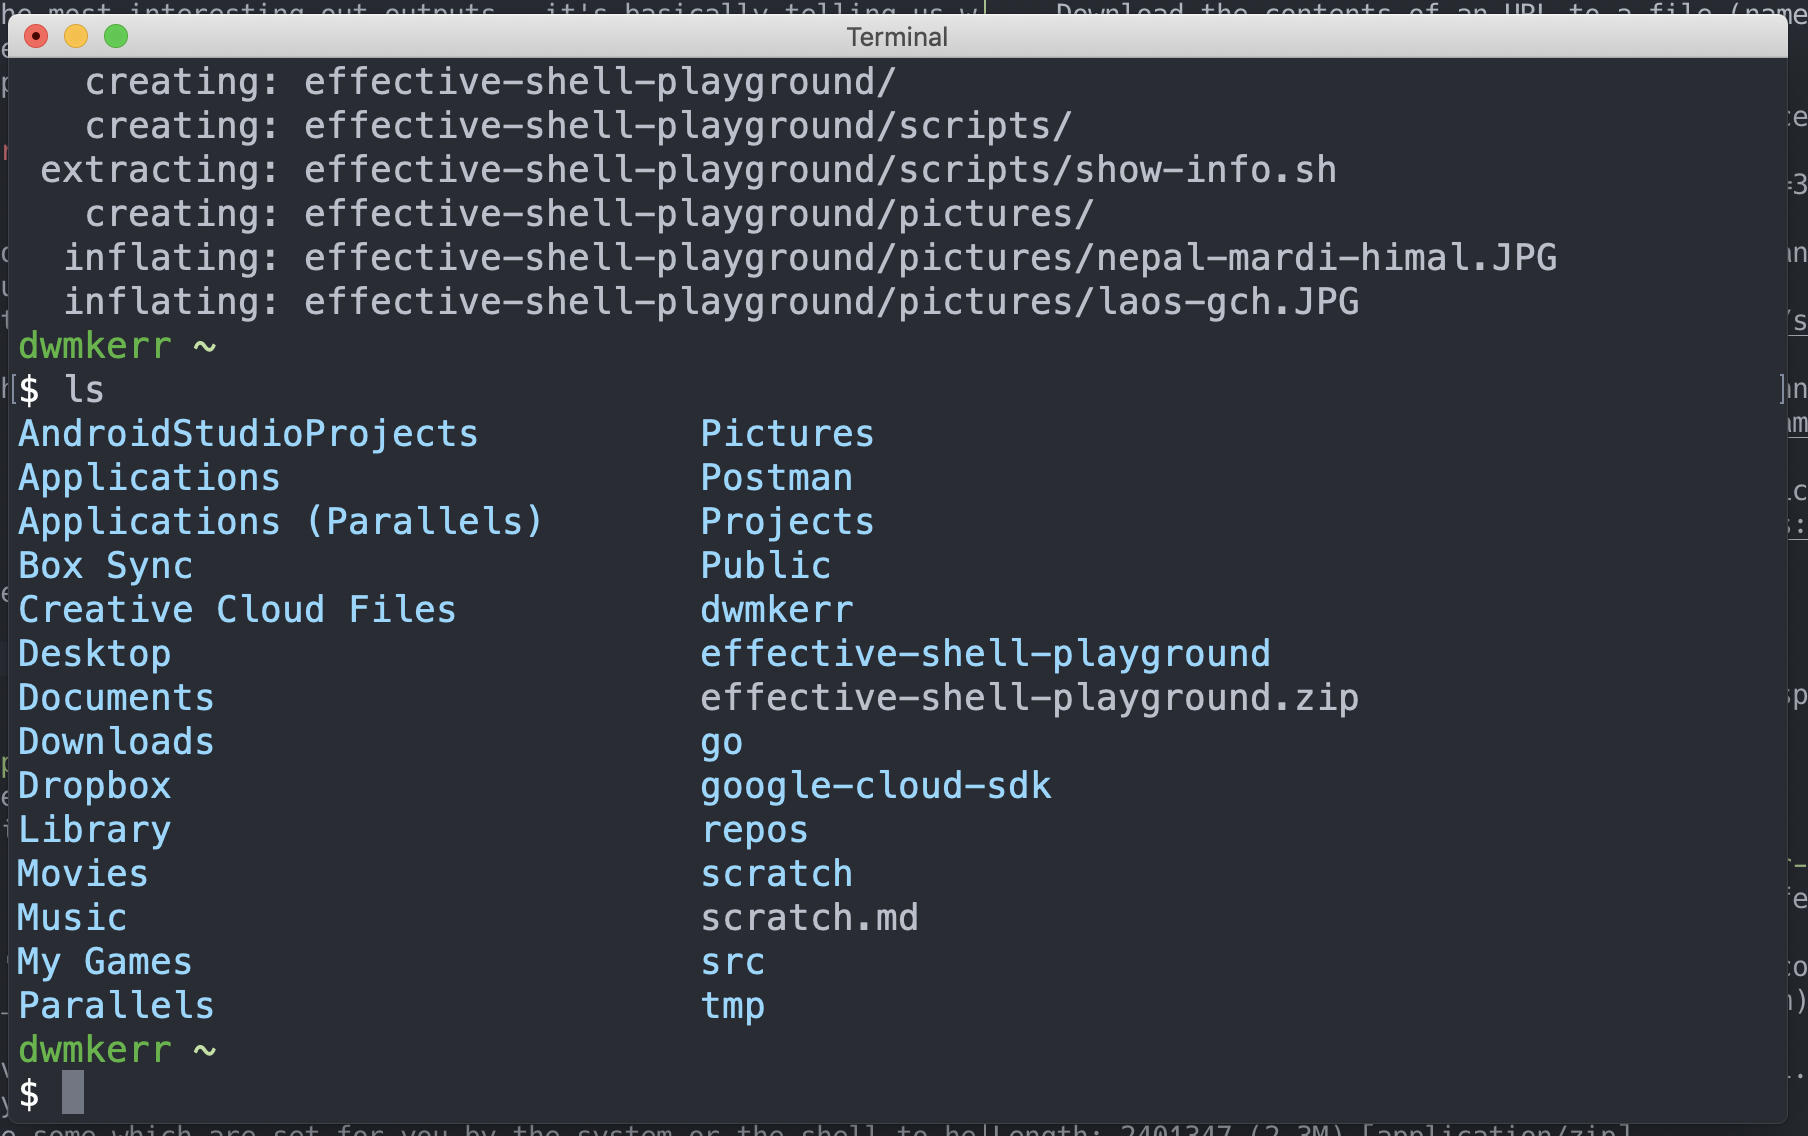
Excellent - we've now got a folder which contains all of the files in the zip archive.
Deleting Files
Now that we've downloaded and unzipped the file, we don't need the zipped version any more. So let's delete this file.
The rm (Remove) command can be used to delete a file. If we run:
rm ~/effective-shell-samples.zip
ls | grep samples
Then we'll see the following:
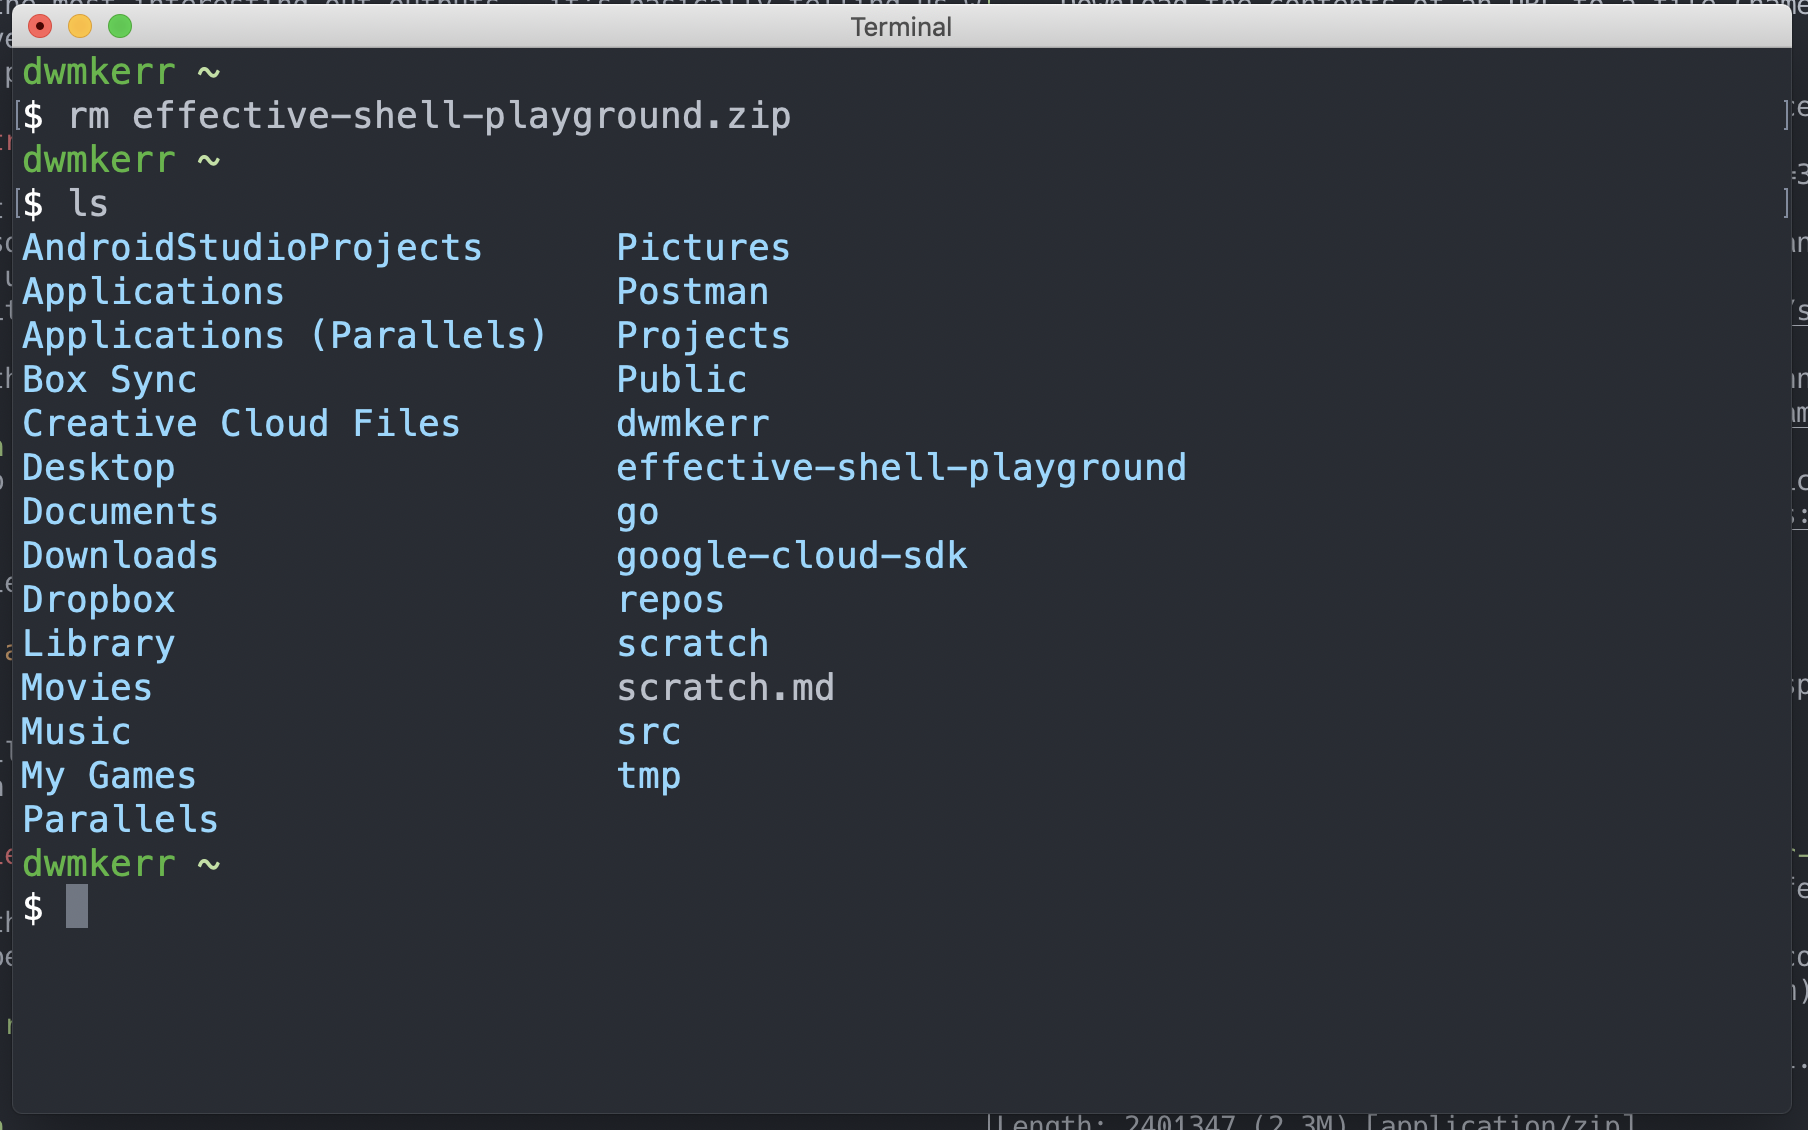
Notice that the zip file is gone - just the folder is left.
By the way - be really careful with the rm command. Unlike in a graphical interface, it won't put files you delete into a recycle bin, they are blatted forever! In a later chapter we'll see some ways to change this behaviour for your local machine, but always remember rm is a little risky!
However one thing it will do to try and help you not make mistakes is let you know if you are trying to delete a folder, not a file.
Run the following command to try and delete the unzipped folder:
rm ~/effective-shell-samples
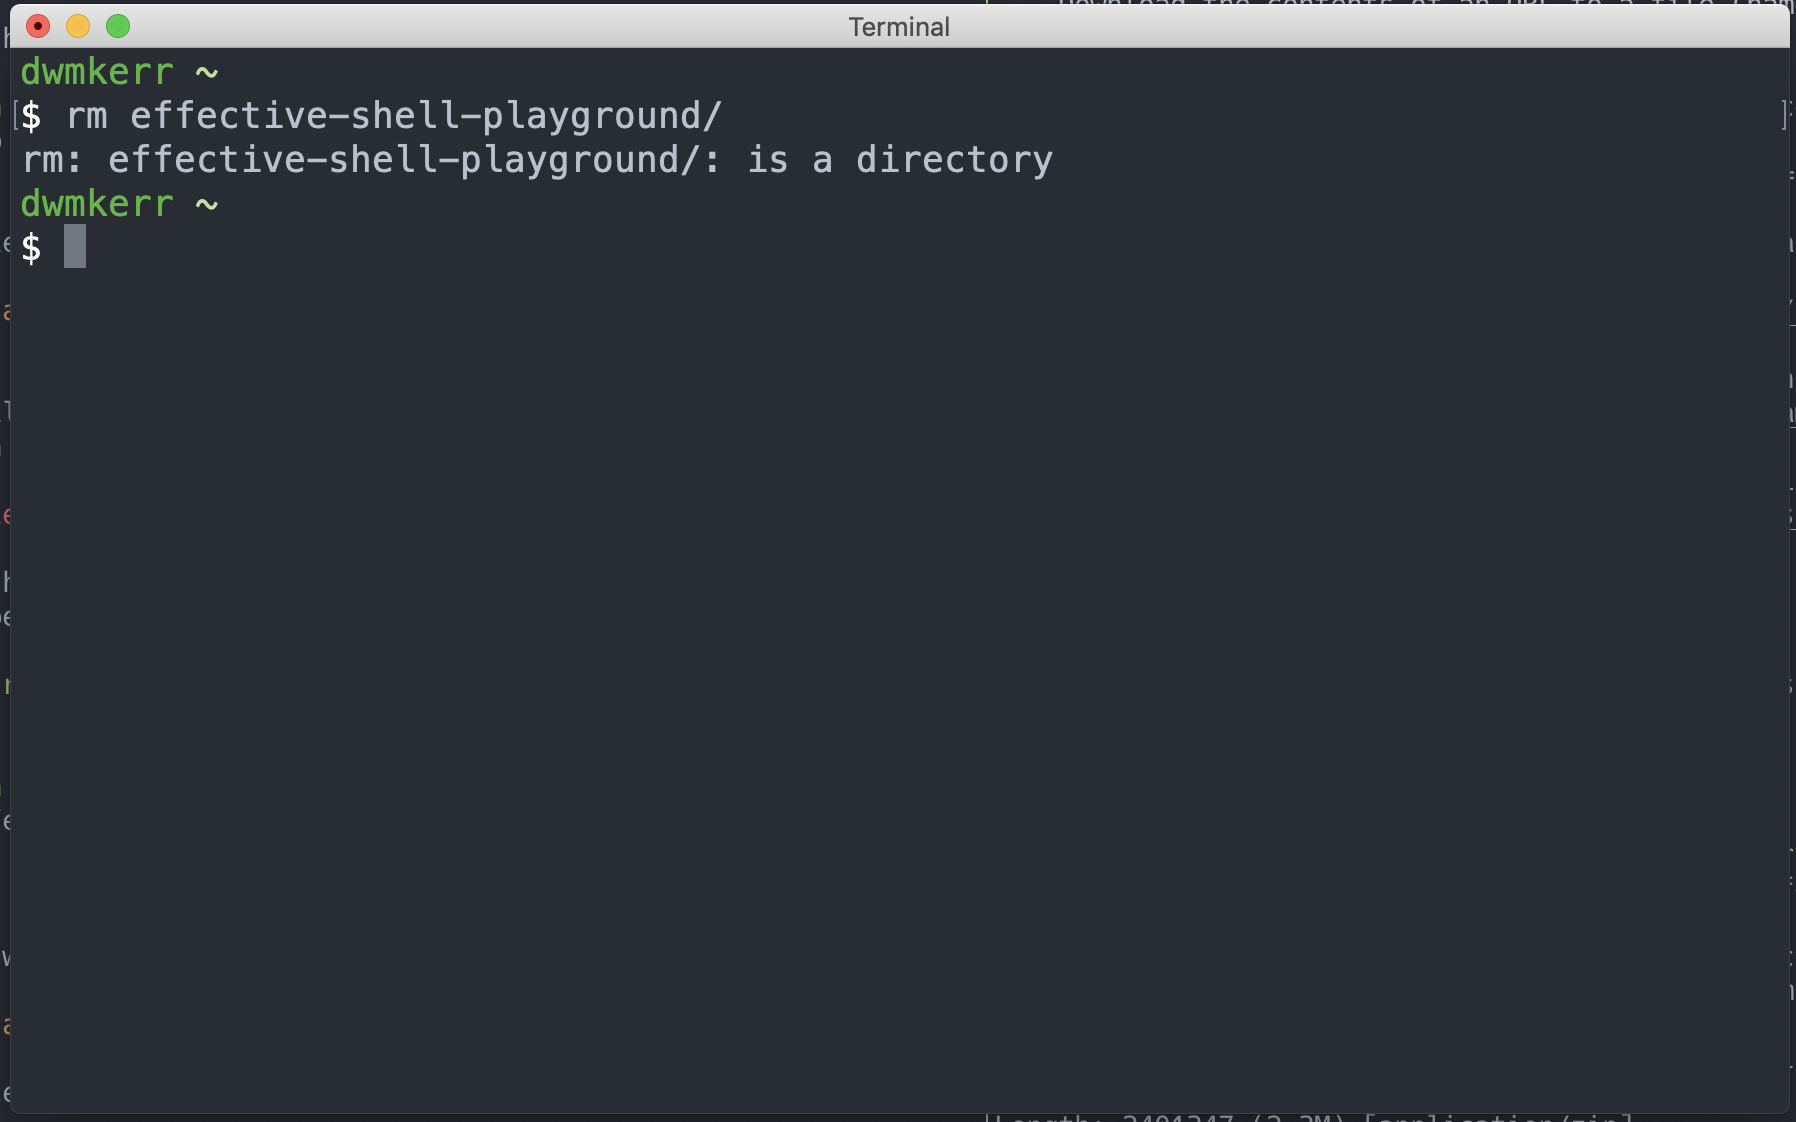
The rm command has not succeeded in this case - it's warning us that we're not deleting a file, but a whole directory.
Now we can get around this by adding the -r flag, which means 'recursive' - i.e. not just the folder but everything in it. But use this with caution!
Examining the Contents of a Folder
Let's take a look at what is in the samples. By the way, the output you see on your computer might have a few more files in it as I might have added some after writing this article!
In a graphical user interface, we'd open the folders and look at the files. In the shell, we can use the tree command to show the contents of a folder.
Now the tree command is not installed by default on all systems. So if you are on a Mac, run:
brew install tree
If you are on Linux, you will likely already have it. If you don't, use your distributions package manager to get it (e.g. apt-get install -y tree).
Using a non-universal command is generally not our goal in this book, but in these early stages while we are transitioning from the graphical user interface, the tree command can be really helpful. Later on we'll see how to use the more universal find command to give a similar output.
Try it out with:
tree ~/effective-shell-samples
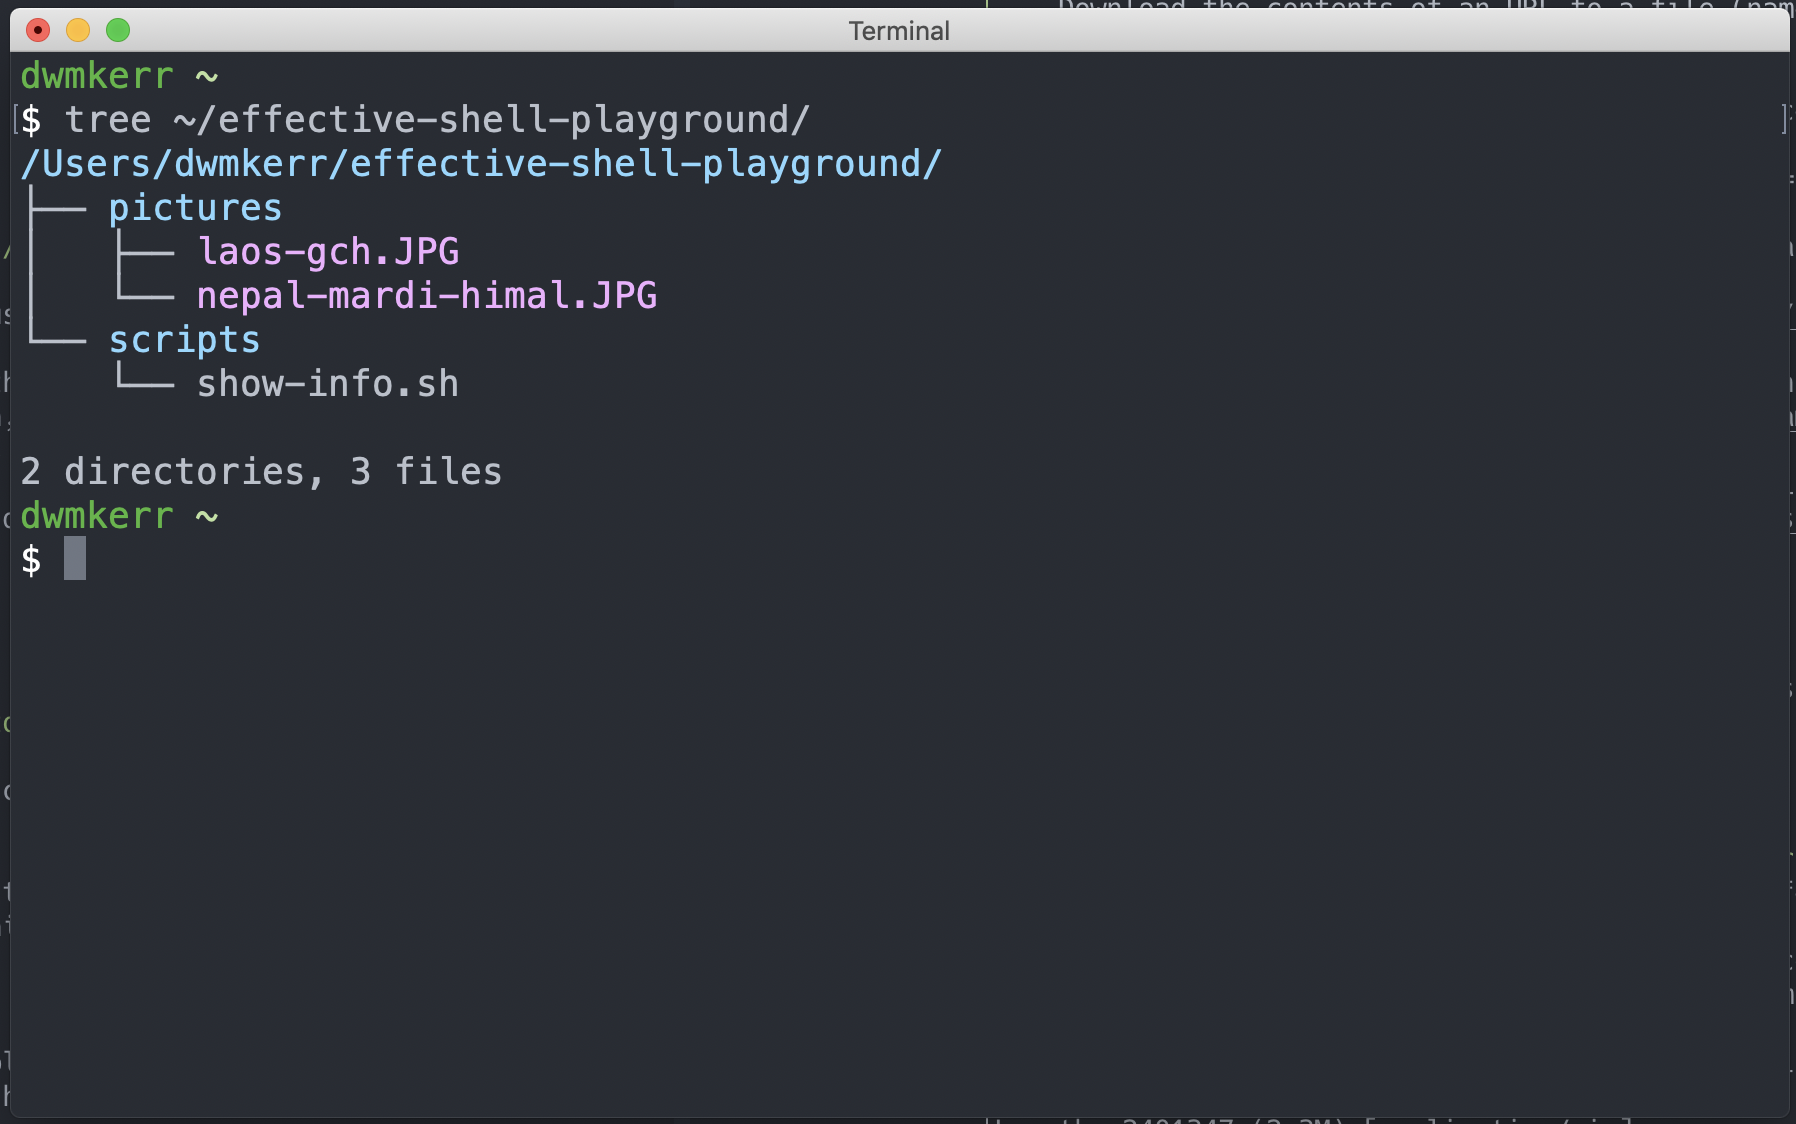
The tree command shows you all of the folders and files in a location. If we are unsure what one of the files is, we can ask the shell to give us more info. For example, I could find out more about the loas-gch.JPG file by running:
file ~/effective-shell-samples/pictures/loas-gch.JPG
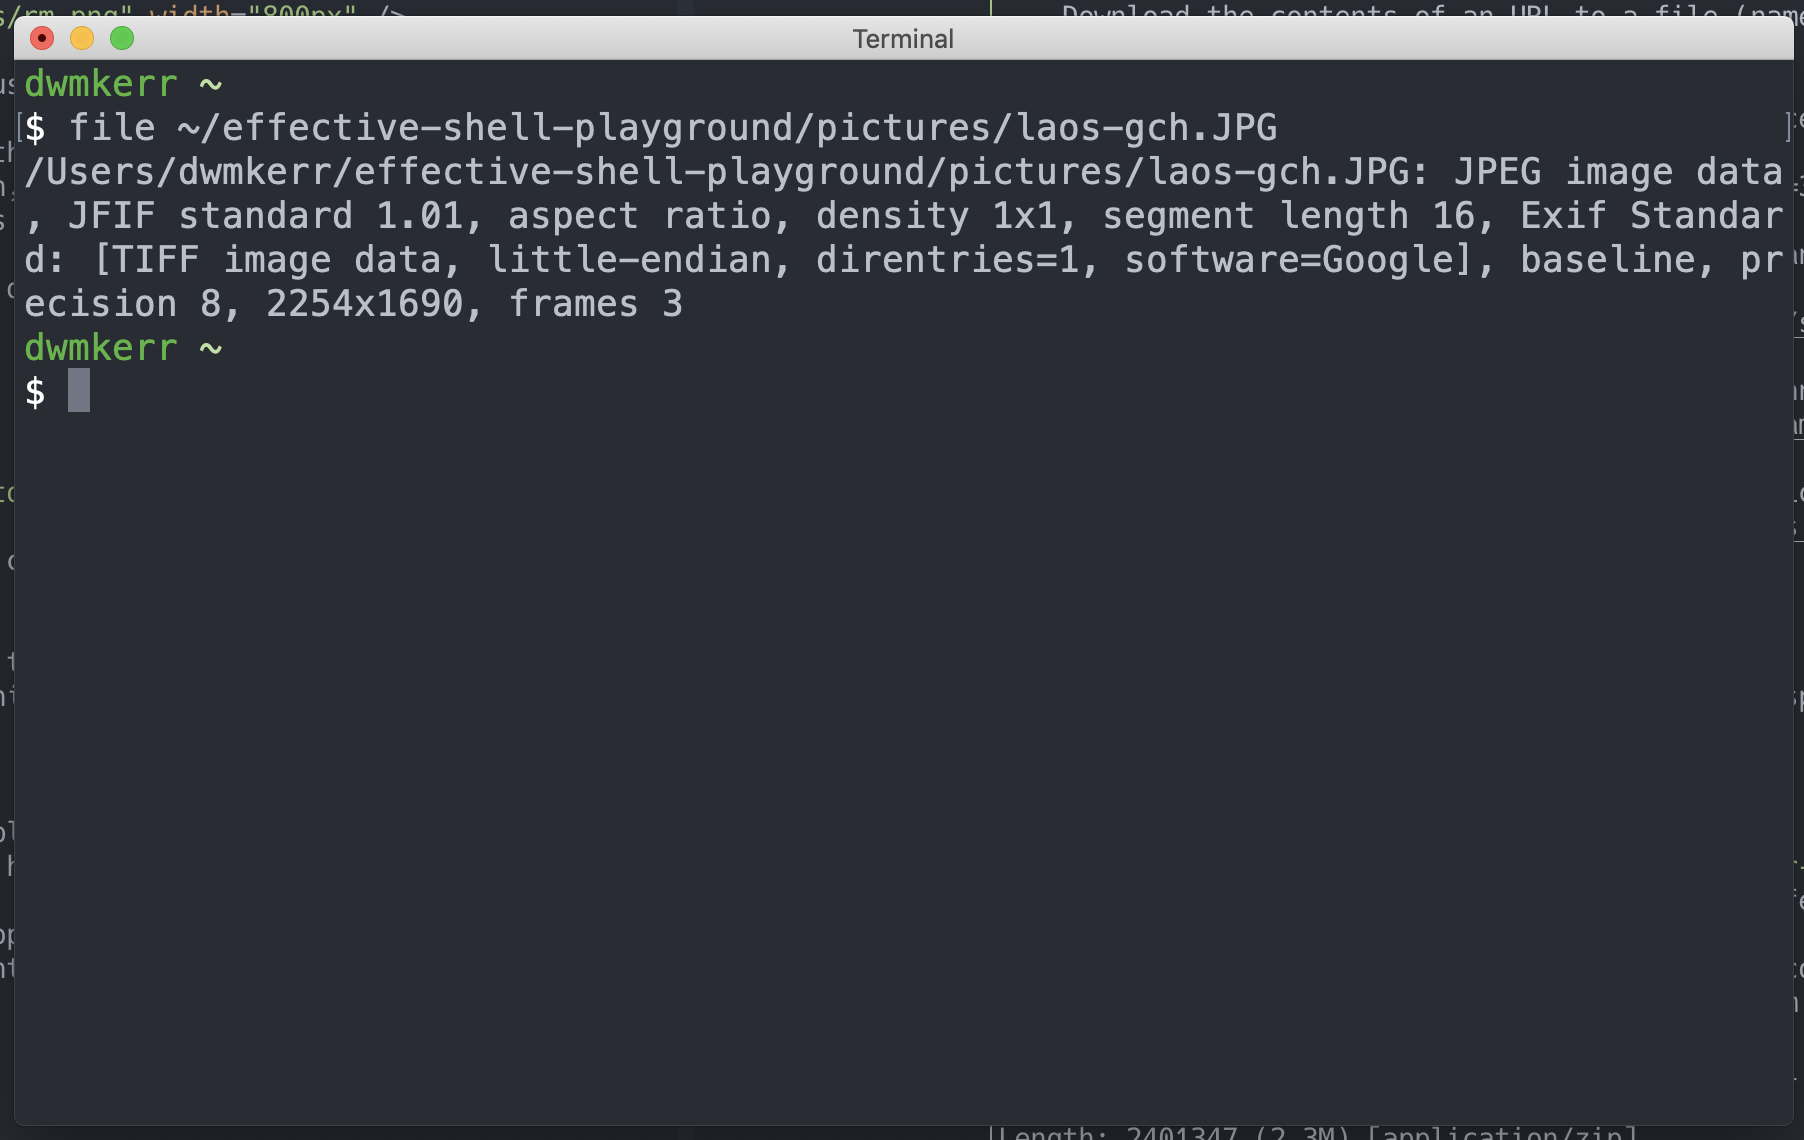
Note that the file command is already showing it is a bit more clever. It knows that the file is a JPEG file (a picture), but is giving other details as well.
Copying a File
Let's say we really love that photo, and we want to make a copy of it. We can do that easily by using the cp (_Copy) command:
cp ~/effective-shell-samples/pictures/laos-gch.JPG ~/effective-shell-playground/pictures/laos-gch-copy.JPG
This makes a copy of the file - if you are not sure if it has worked, just run:
tree ~/effective-shell-samples
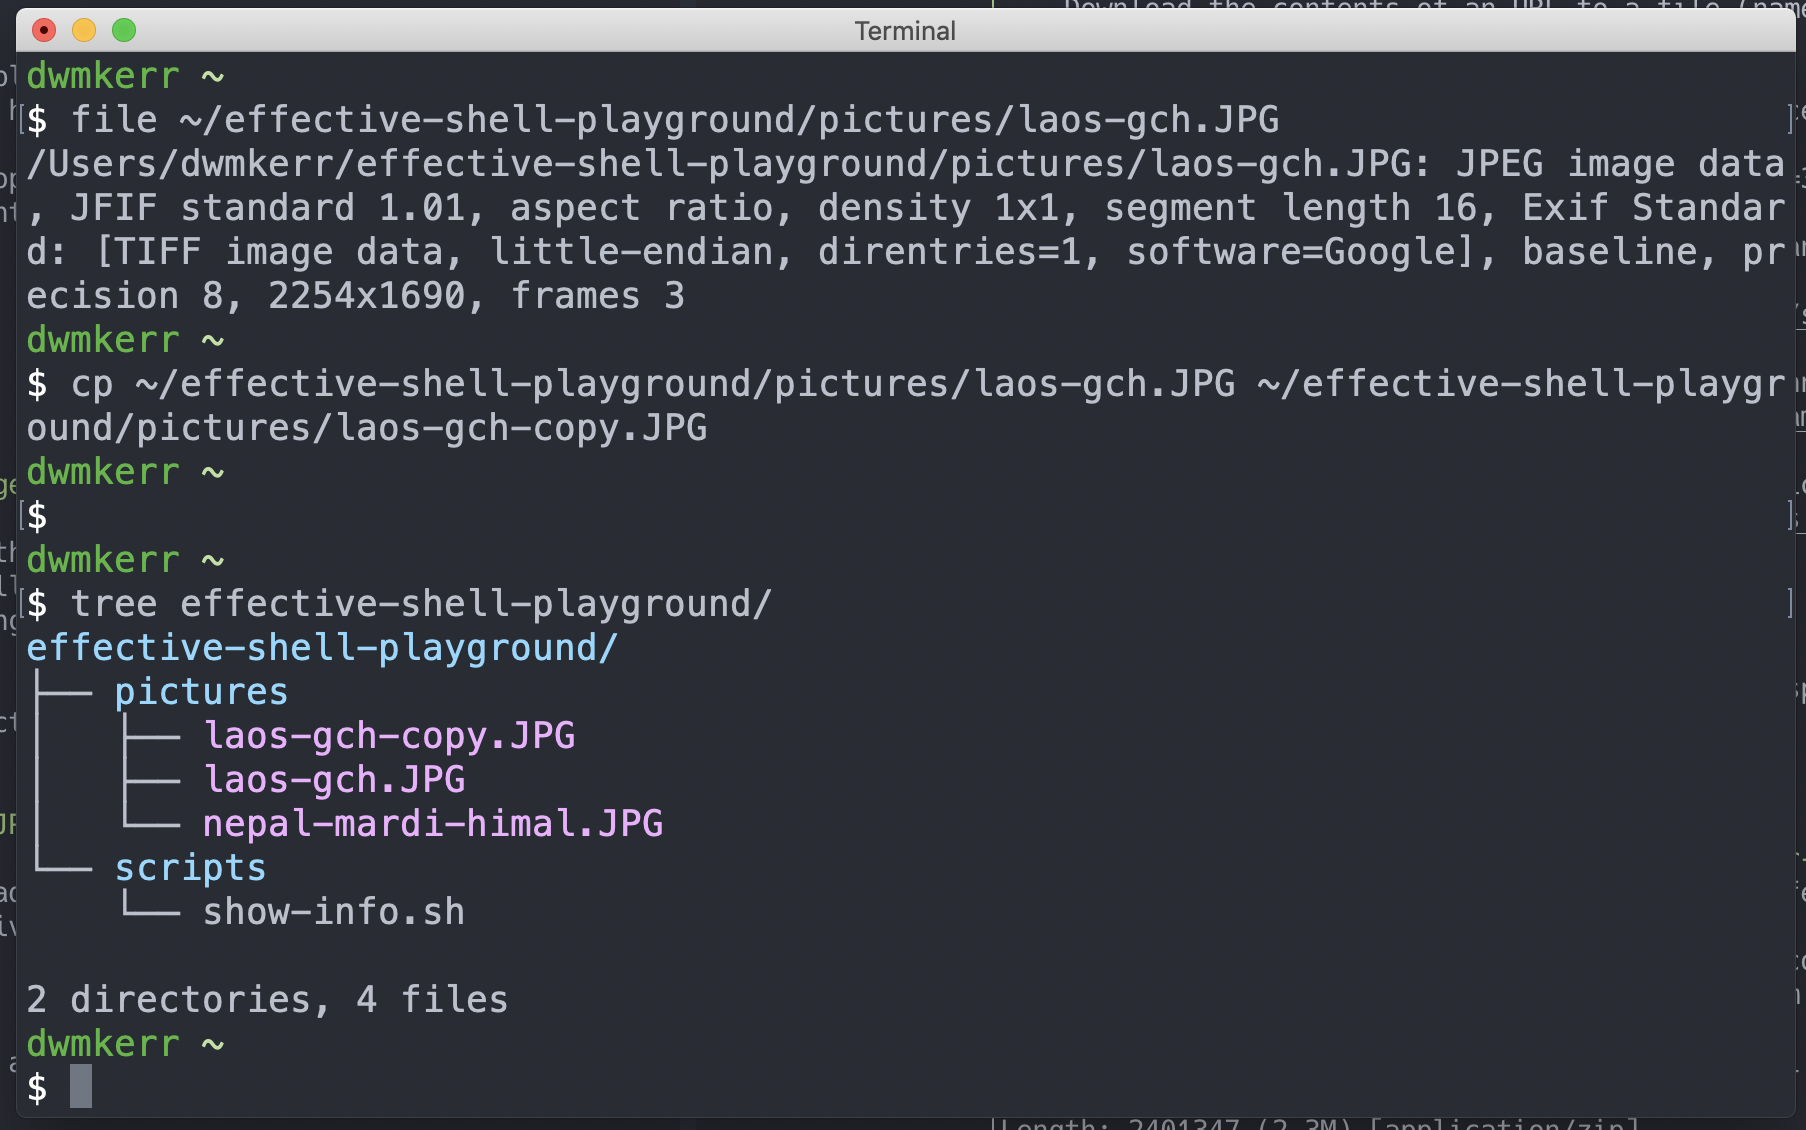
We can see we've made a copy.
Saving Some Keystrokes
Wow, it's painful putting ~/effective-shell-samples before everything! From Chapter 2- Navigating Your System we already know how to change directory, so let's do that now:
cd ~/effective-shell-samples
Remember - cd is change directory. Excellent - until we tell our shell otherwise, this our new working directory.
Renaming or Moving Files
You might have noticed that the photos have different endings - one of them ends in .JPG. Let's rename it so that it has the ending .jpeg to be consistent with the others.
To do this, we use the mv (Move) command. When it comes down to it, moving a file or renaming a file amount to the same kind of operation, so one command can do both.
Rename the copy we made of the photo by running:
mv pictures/loas-gch-copy.JPG pictures/loas-gch-copy.jpeg
Let's run tree to see what happened. Remember - now that our working folder is the playground, we don't even need to tell tree where to look, if we give it no arguments it'll assume we're looking at the working directory:
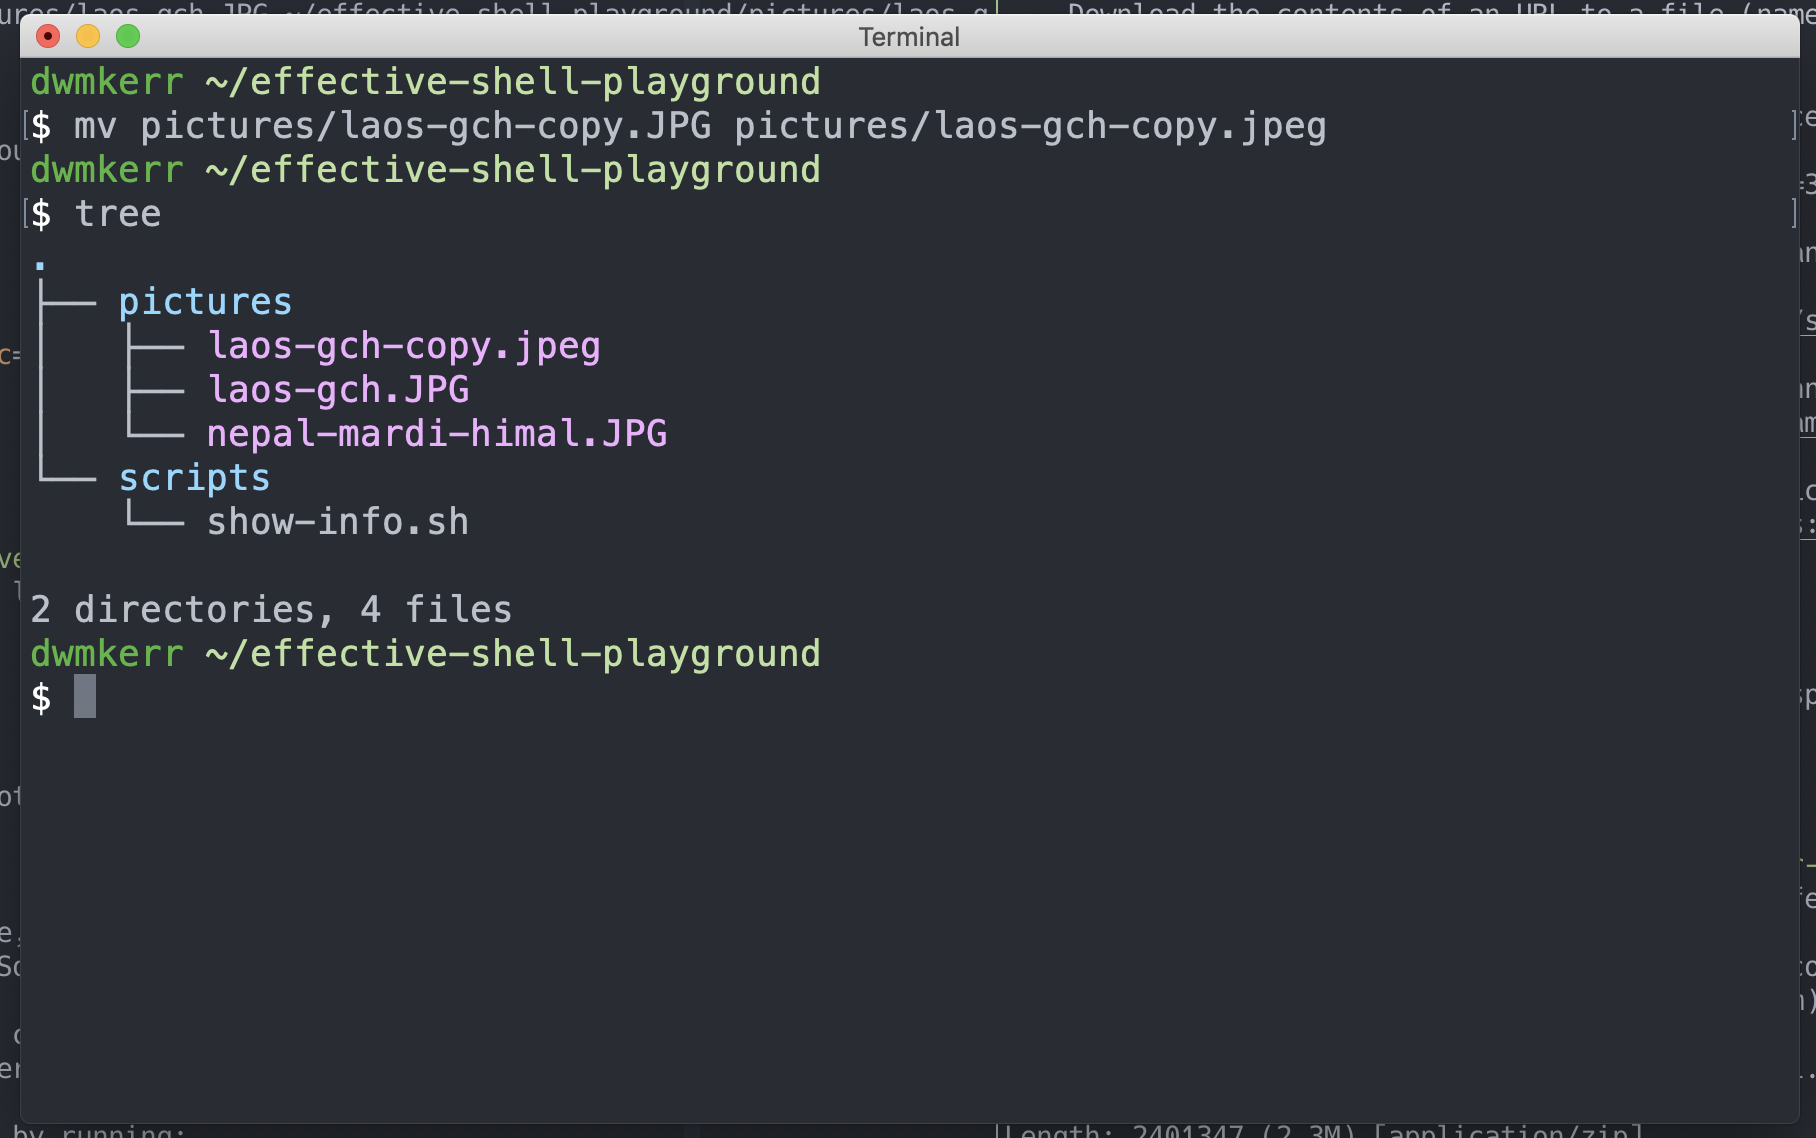
Much nicer! Now our copied file has been moved to have a new name. It's in the same folder still, but you can use mv to also change what folder a file is in.
Creating a New Folder
Perhaps we're not happy with the name pictures for our folder we've been playing with, maybe we'd prefer to have them all in a folder called photos?
Probably the first thing we'd do in a graphical environment is create a new folder - so let's do thee same here!
Run the commands:
mkdir photos
tree
And we should see:
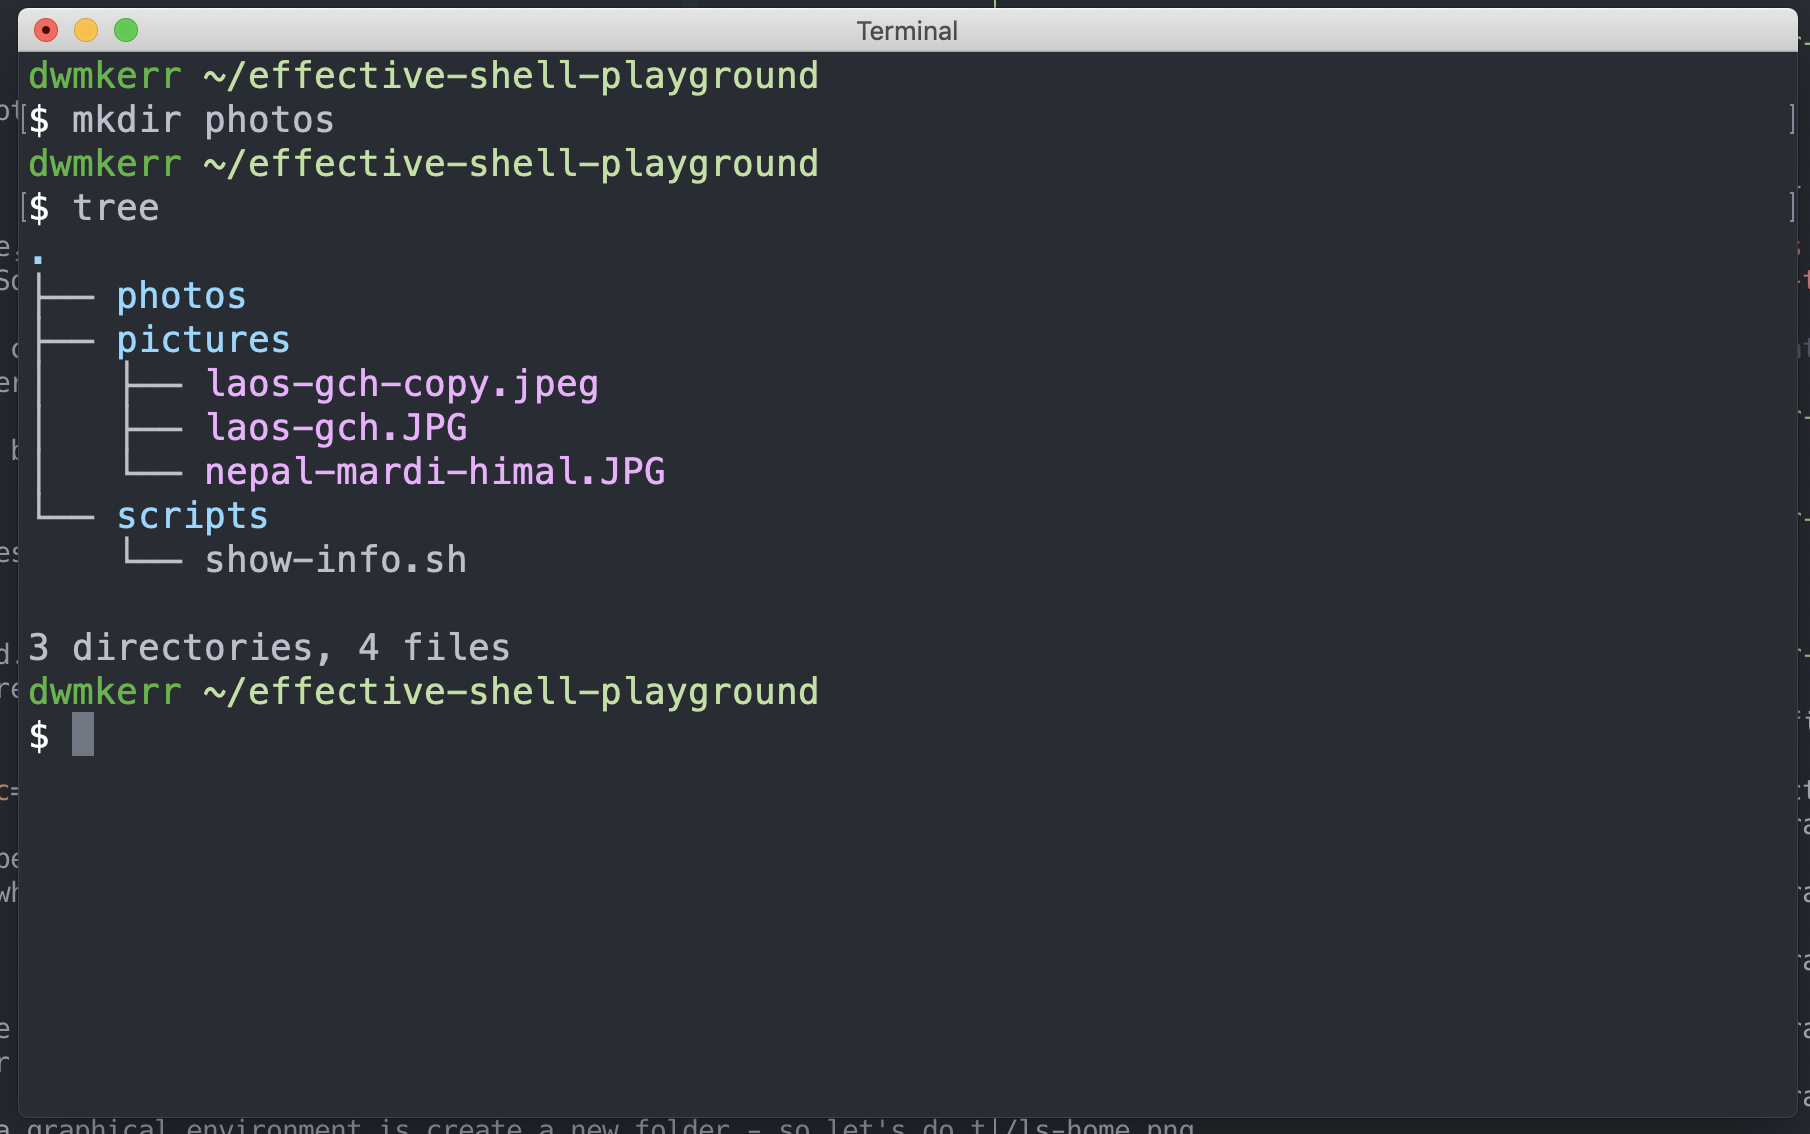
We've use the mkdir command, which is short for Make Directory. This is how we create a new folder in the shell.
Now let's say we wanted to be really organised, and create a photos folder by year and topic, perhaps 2019/outdoors/pictures. In a graphical user interface, we'd have to create each folder one at a time. In the shell, it's easy!
mkdir -p 2019/outdoors/pictures
tree
Let's see how it looks:
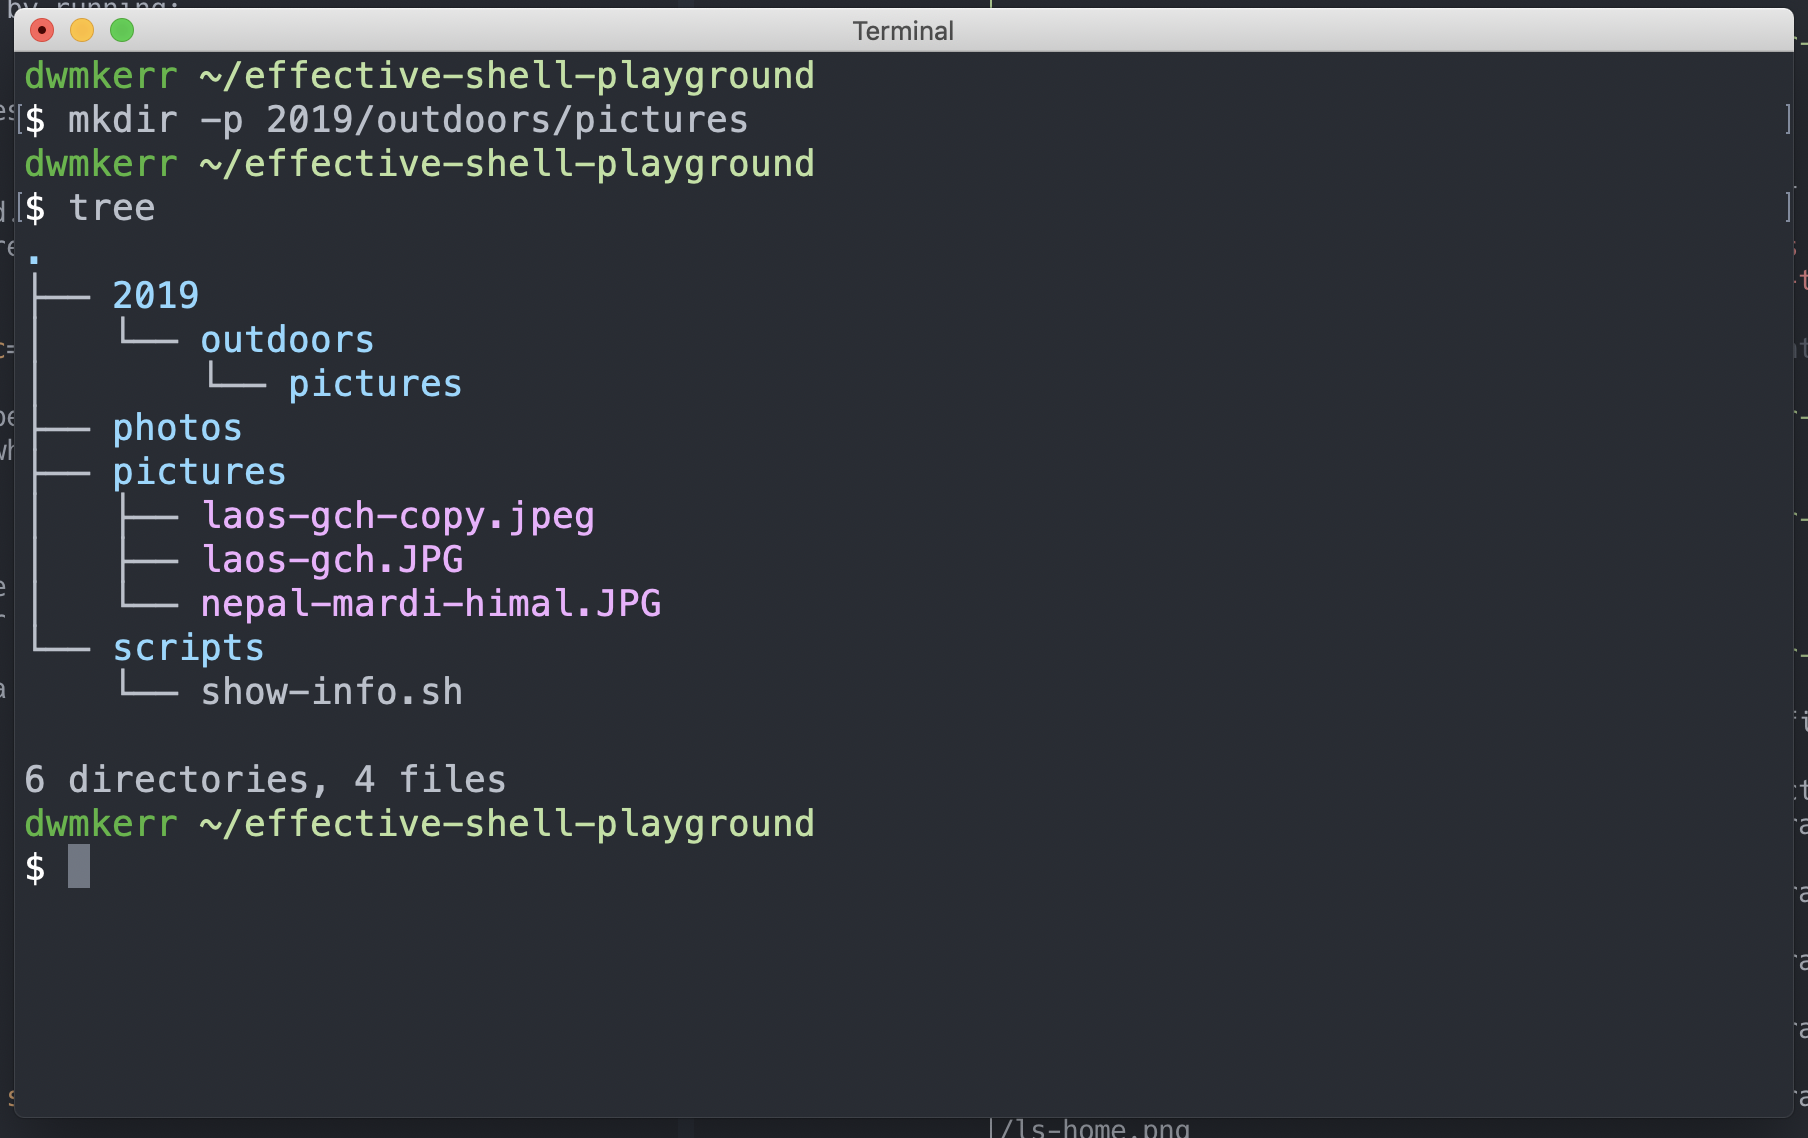
All we had to do was add the -p flag (which means "make the parent folder if it doesn't already exist) and we can create a whole set of subfolders. Now we're starting to see why knowing the shell can be powerful - if you know you have this trick up your sleeve you can be doing things like re-organising files more effectively in a shell than in your graphical user interface!
Copying or Moving Multiple Files with Wildcards
Let's copy the photos that we have in the pictures folder into the photos/2019/outdoor/climbing folder.
When we run the cp or mv command, we can use a wildcard to specify the files we are copying and moving. A wildcard is a simple pattern which can be used to select multiple files. Here's how we can copy the photos over:
cp pictures/* photos/2019/outdoor/climbing
Here's how it works for
Now we need to copy over our files from the pictures folder to the 2019/outdoor/photos folder. We'll use exactly the command we used before to copy a file - cp:
$ cp pictures/* photos/2019/outdoors/climbing/

$ tree photos
photos
├── 2019
│   └── outdoors
│       └── climbing
│           ├── laos-gch-copy.jpeg
│           ├── laos-gch.JPG
│           └── nepal-mardi-himal.jpeg
└── 2020
    └── outdoors
        └── climbing

6 directories, 3 files
Here we've used the wildcard symbol, which is *, to say "everything in the folder". Many commands can take wildcards as inputs. We'll see much more about them later!
Deleting a Folder
Now that we have our more organise 2019/outdoors/photos folder, we don't need the photos folder we created. So let's delete it! Remember how rm removes a file, and mkdir creates a folder? Well rmdir will remove a folder!
rmdir photos
tree
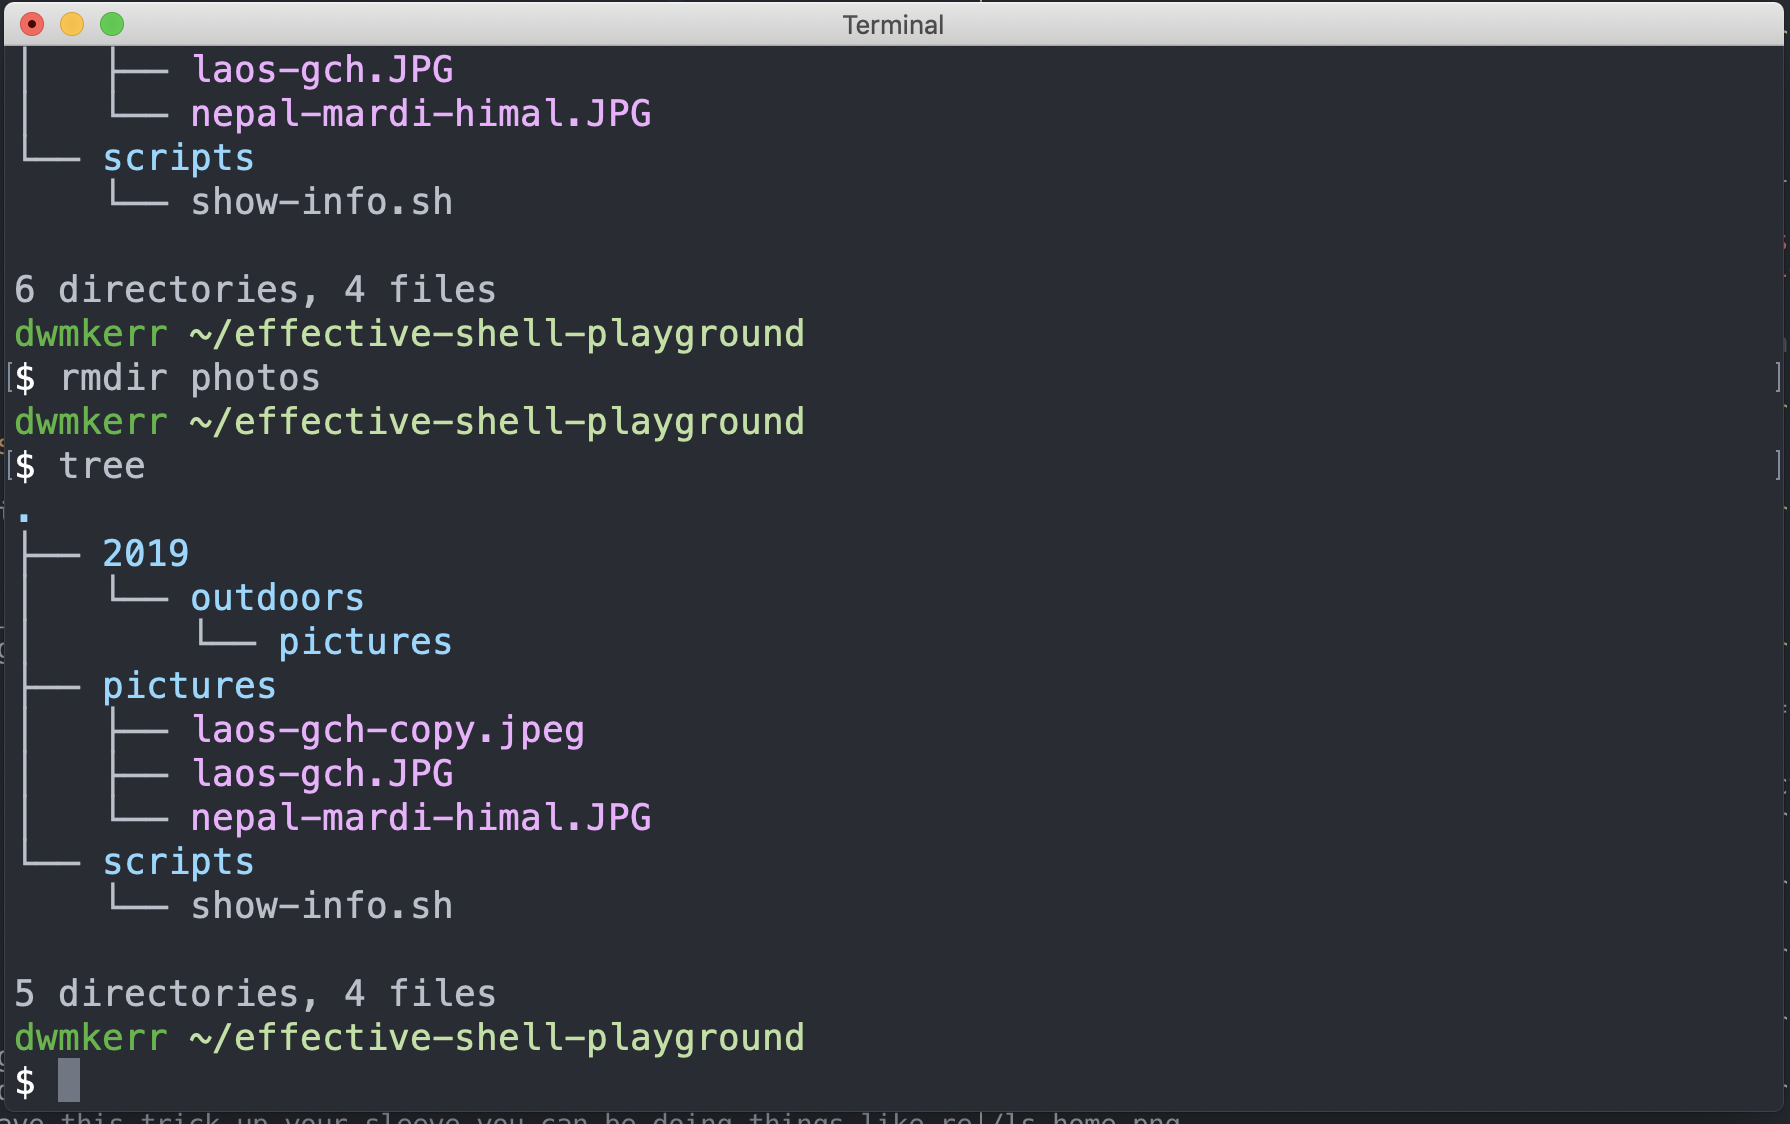
As an important sidenote, just how rm doesn't move files to your recycle bin, so you cannot undo the operation, rmdir works the same way. So if we try to remove a directory which has things in it, such as the pictures directory, it will fail:
rmdir pictures
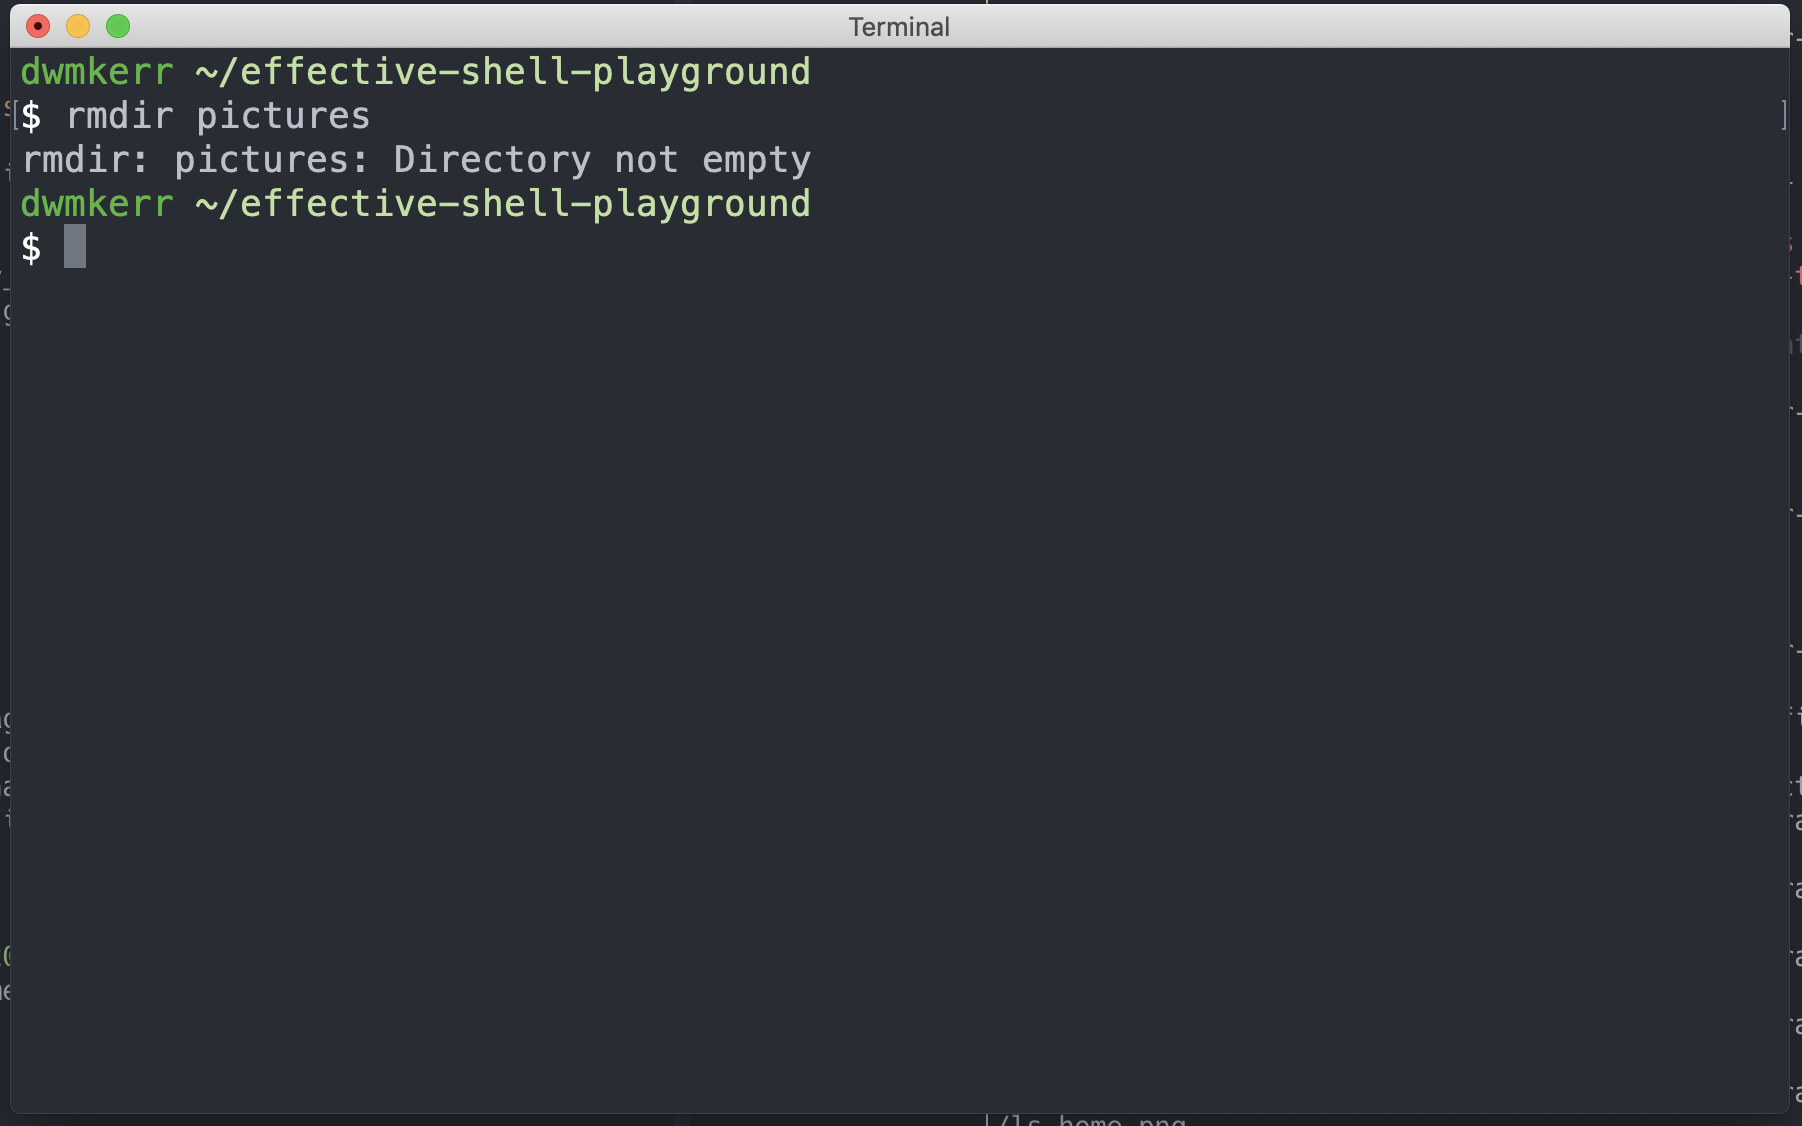
In this case, it is actually easier to just call rm -r pictures. Why is that? Well it's just like we saw in the earlier example - rm can delete files or directories. And if the directory is not empty, we just add the -r (Recursive) flag to tell it to delete the directory and everything it contains.
Looking at Text Files
Run tree and you'll see we have a quotes folder:
tree
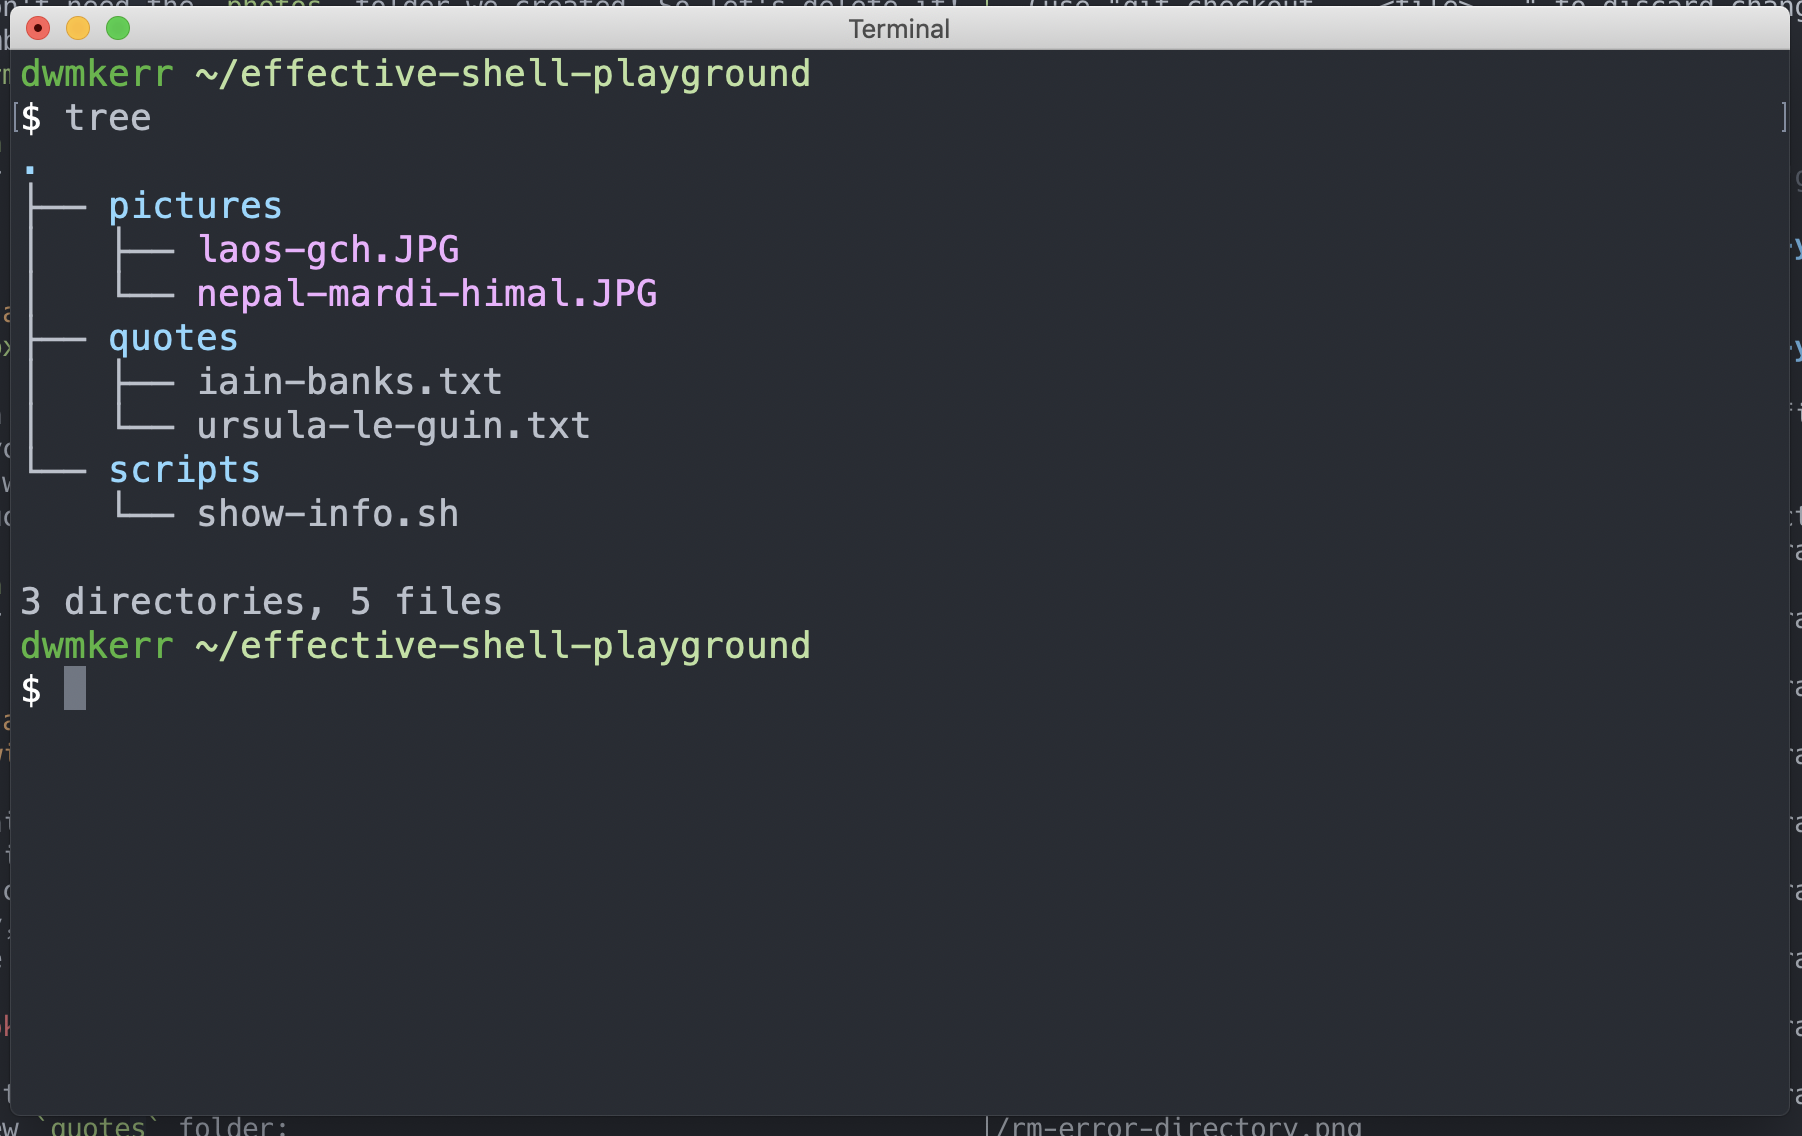
We're going to use the cat (Concatenate) command to look at the Ursula Le Guin quote. Run the following command:
cat quotes/ursula-le-guin.txt
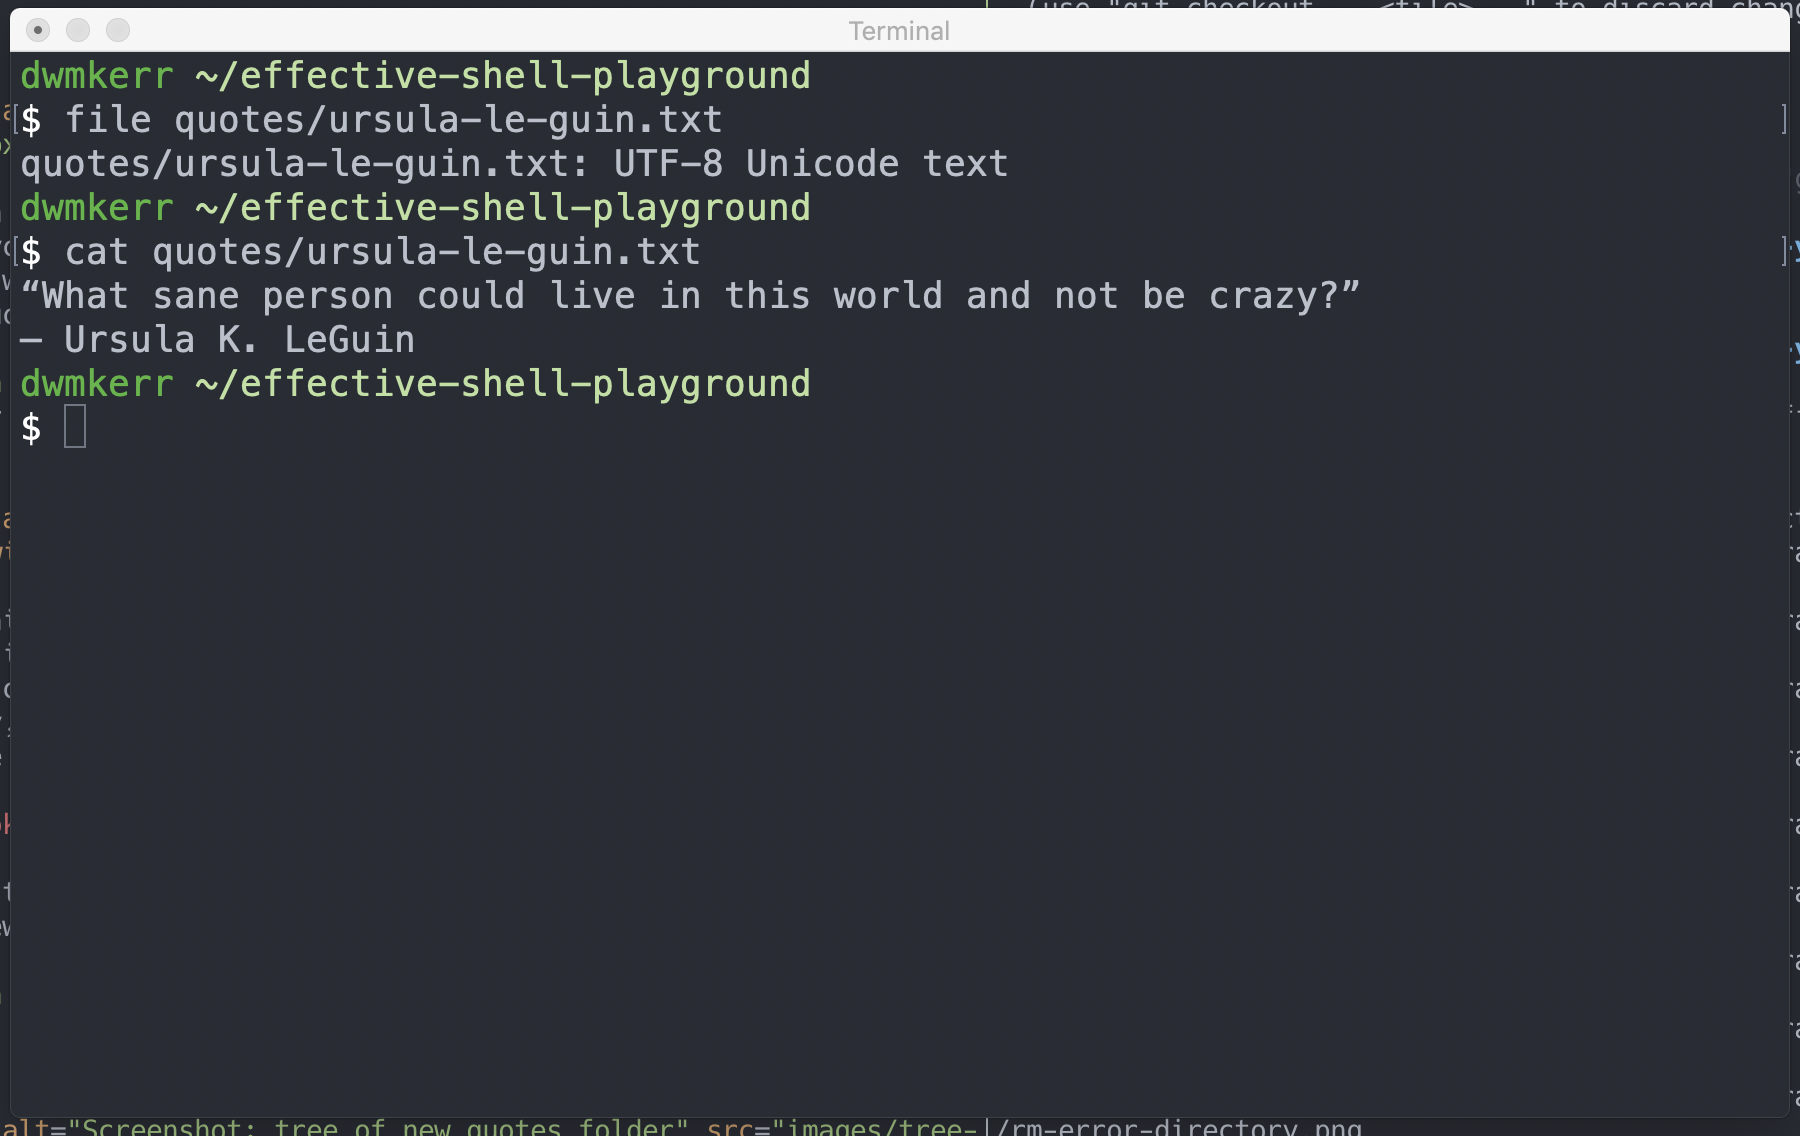
In the screenshot we snuck in a quick file call to see what the shell thinks the file is.
Why Concatenate? We're just showing the text in the terminal, not concatenating (i.e. joining) anything! Well the reason is that the cat command does concatenate files (i.e. puts them together), it's just that we only gave it one file, so it had nothing to join it to. By default, cat writes the output to the screen, so this is one of the most common ways you'll see to quickly look at the contents of a file.
We'll see a lot more about how this works later, and how you can then take that output and put it somewhere else. But for now, let's finish with a couple of tricks.
First, let's just cat the whole folder:
cat quotes/*
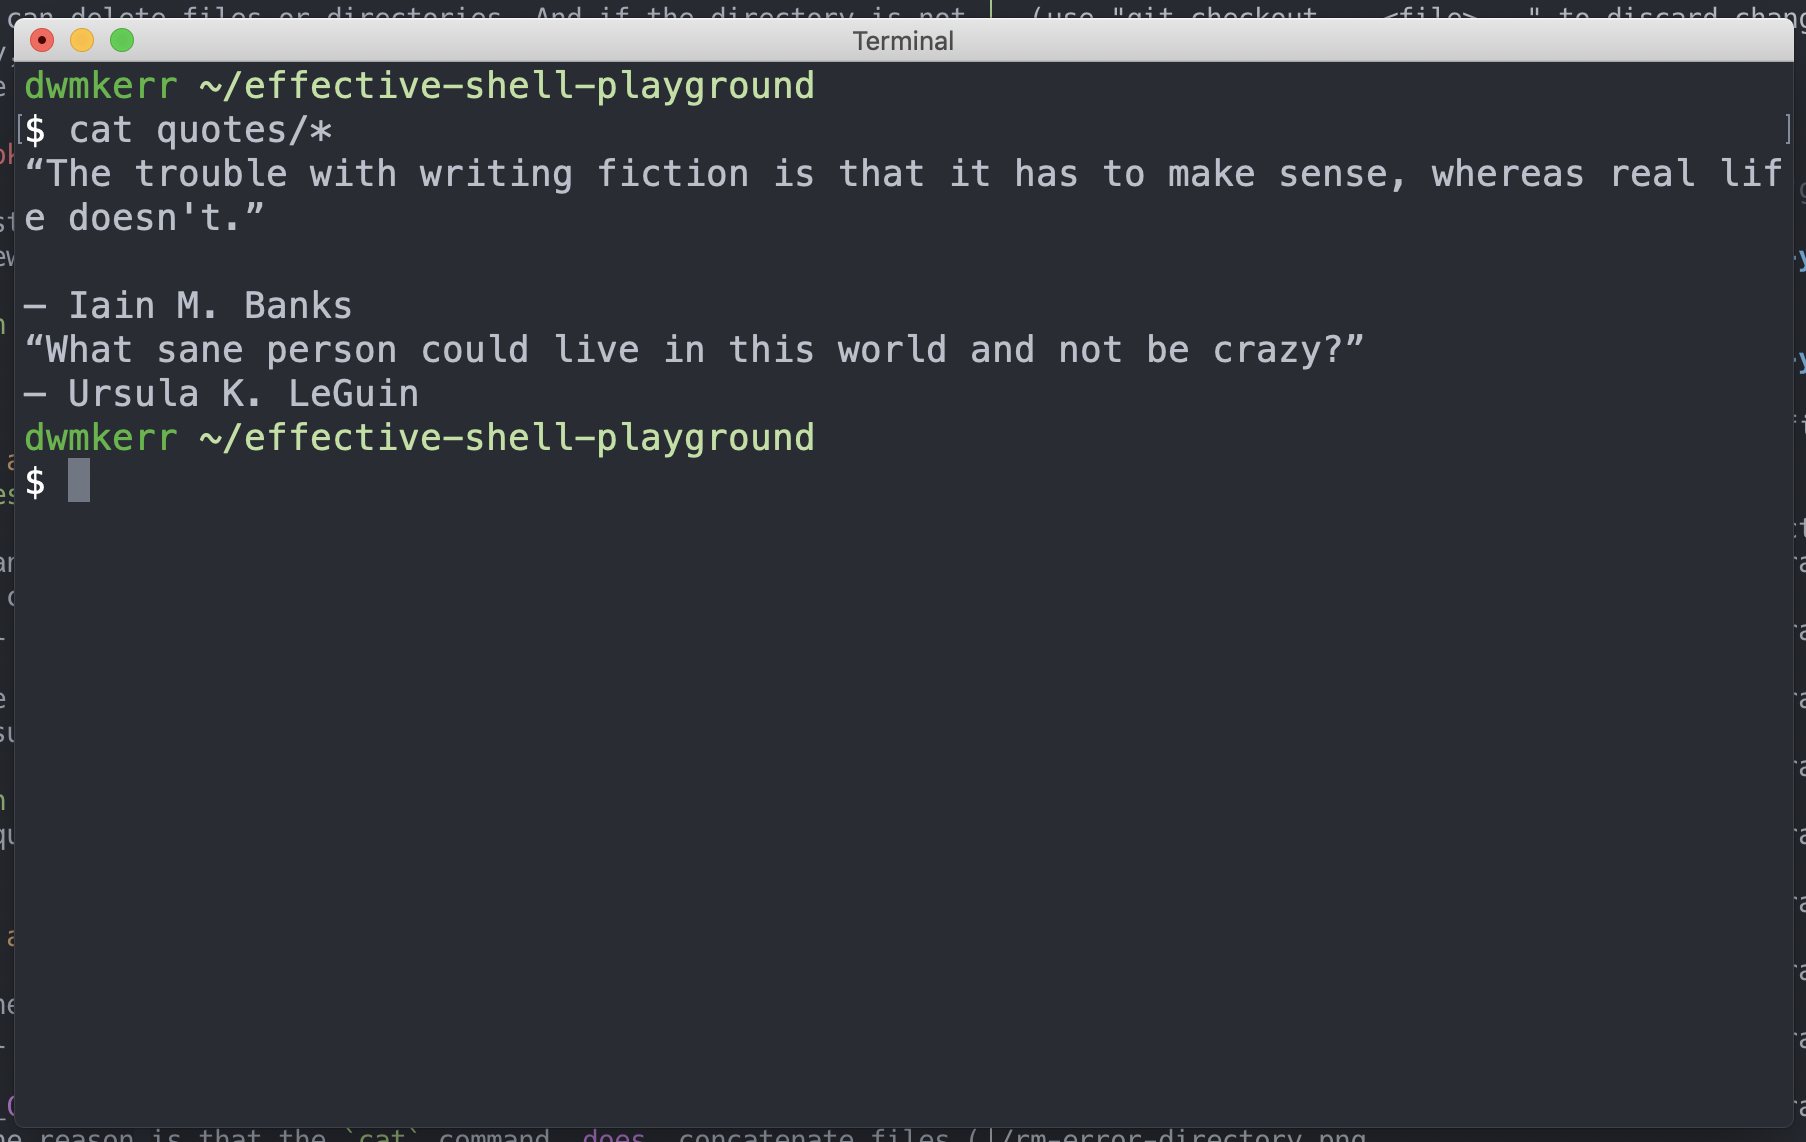
There we see the * wildcard again. We could be more specific and use something like cat quotes/*.txt to only show files ending in .txt.
Notice how the output from all of the files has been concatenated together into a single output? That's where the cat name comes from - it concatenates, i.e. joins files.
As one last trick, let's use this output but instead of showing it on the screen, put it into a single all-quotes.txt file:
cat quotes/* > quotes/all-quotes.txt
tree
cat quotes/all-quotes.txt
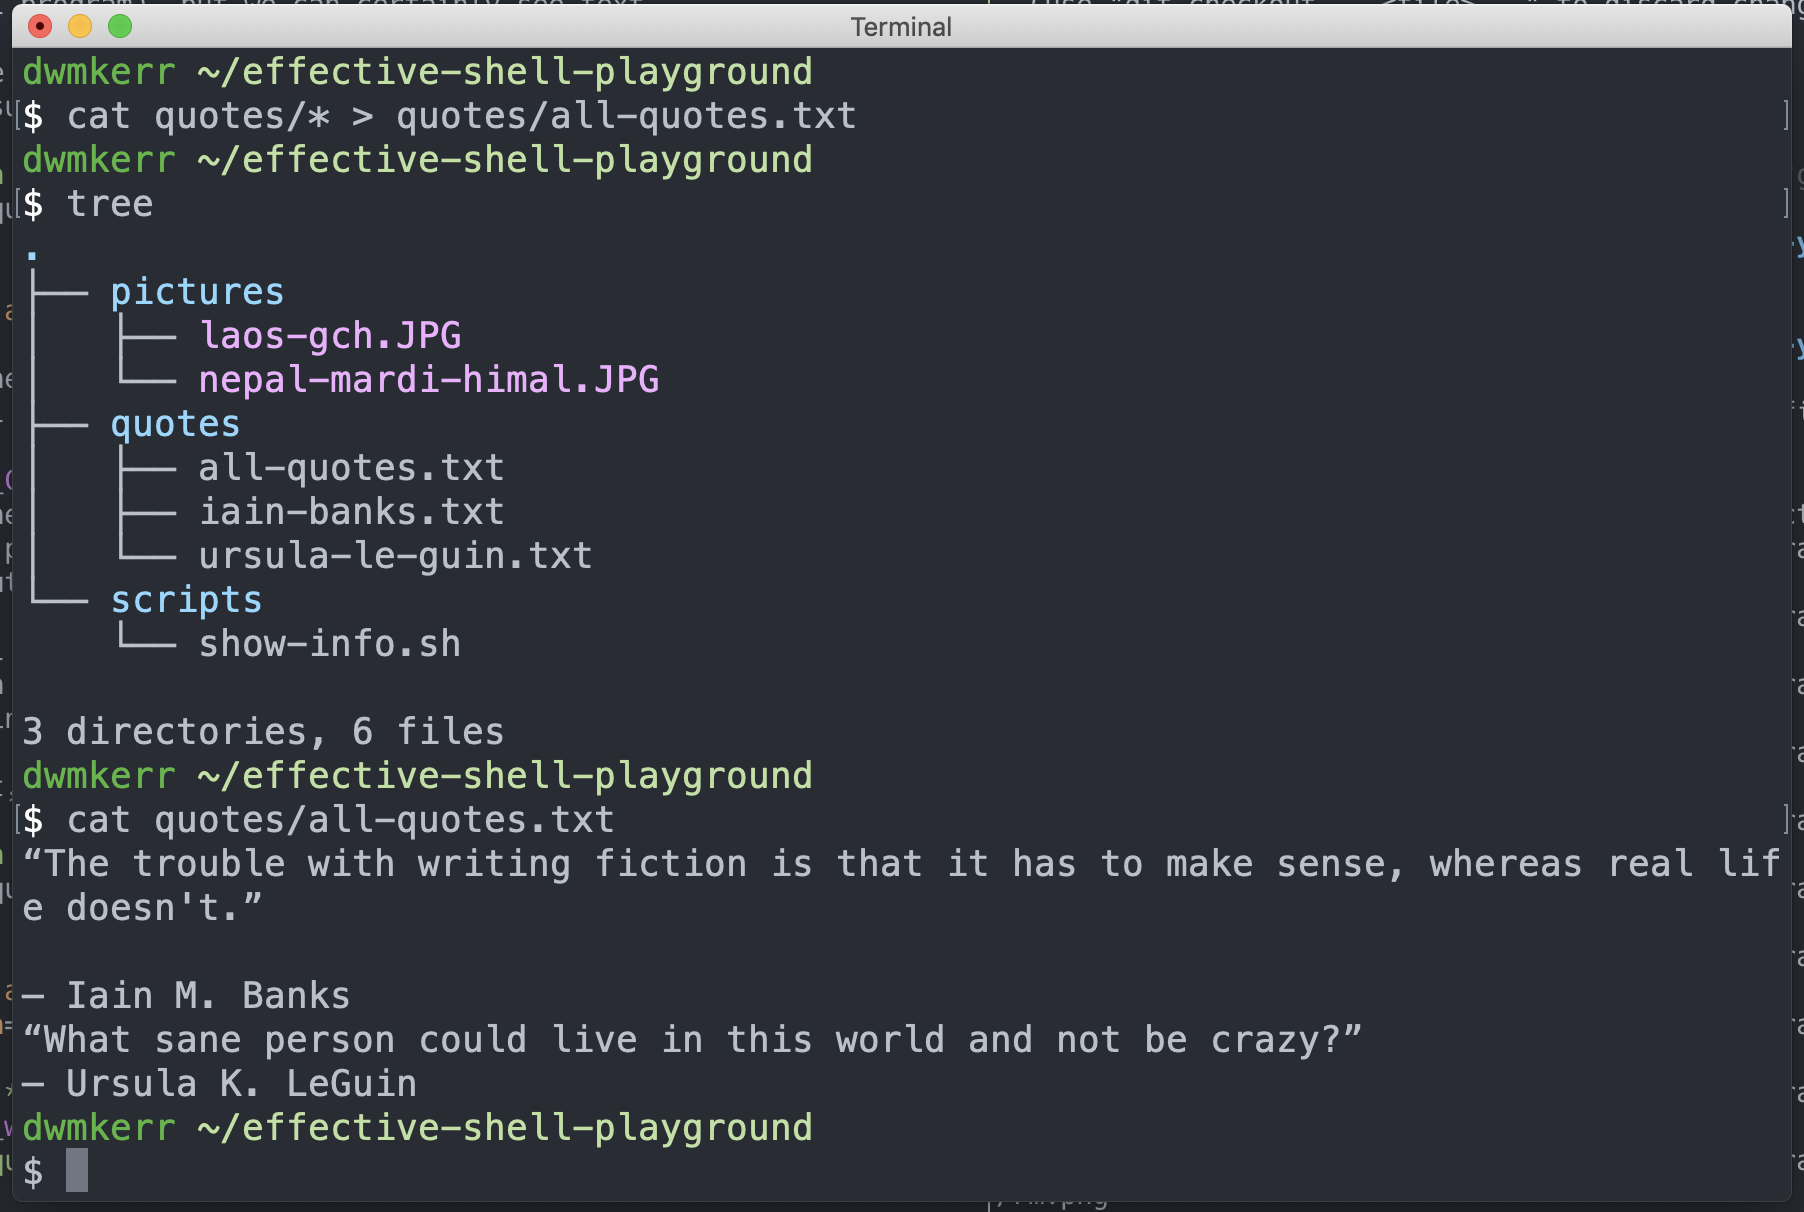
The > part of this is called a redirect operator - in short it's telling the shell not to write to the screen, but to write to a file. We've concatenated all of the individual quotes and made a single file from them.
We'll look at wildcards and redirection in a lot more detail as we continue through the book!
Zipping up Files
Let' say that we want to zip up the new 2019/outdoors/pictures folder. We've already seen the unzip command, let's see how to use the zip command to zip up a folder:
Run the command below:
zip -r 2019-outdoor-pictures.zip 2019
This is how it will look - there's a tree and ls command before and after so we can see what's happening!
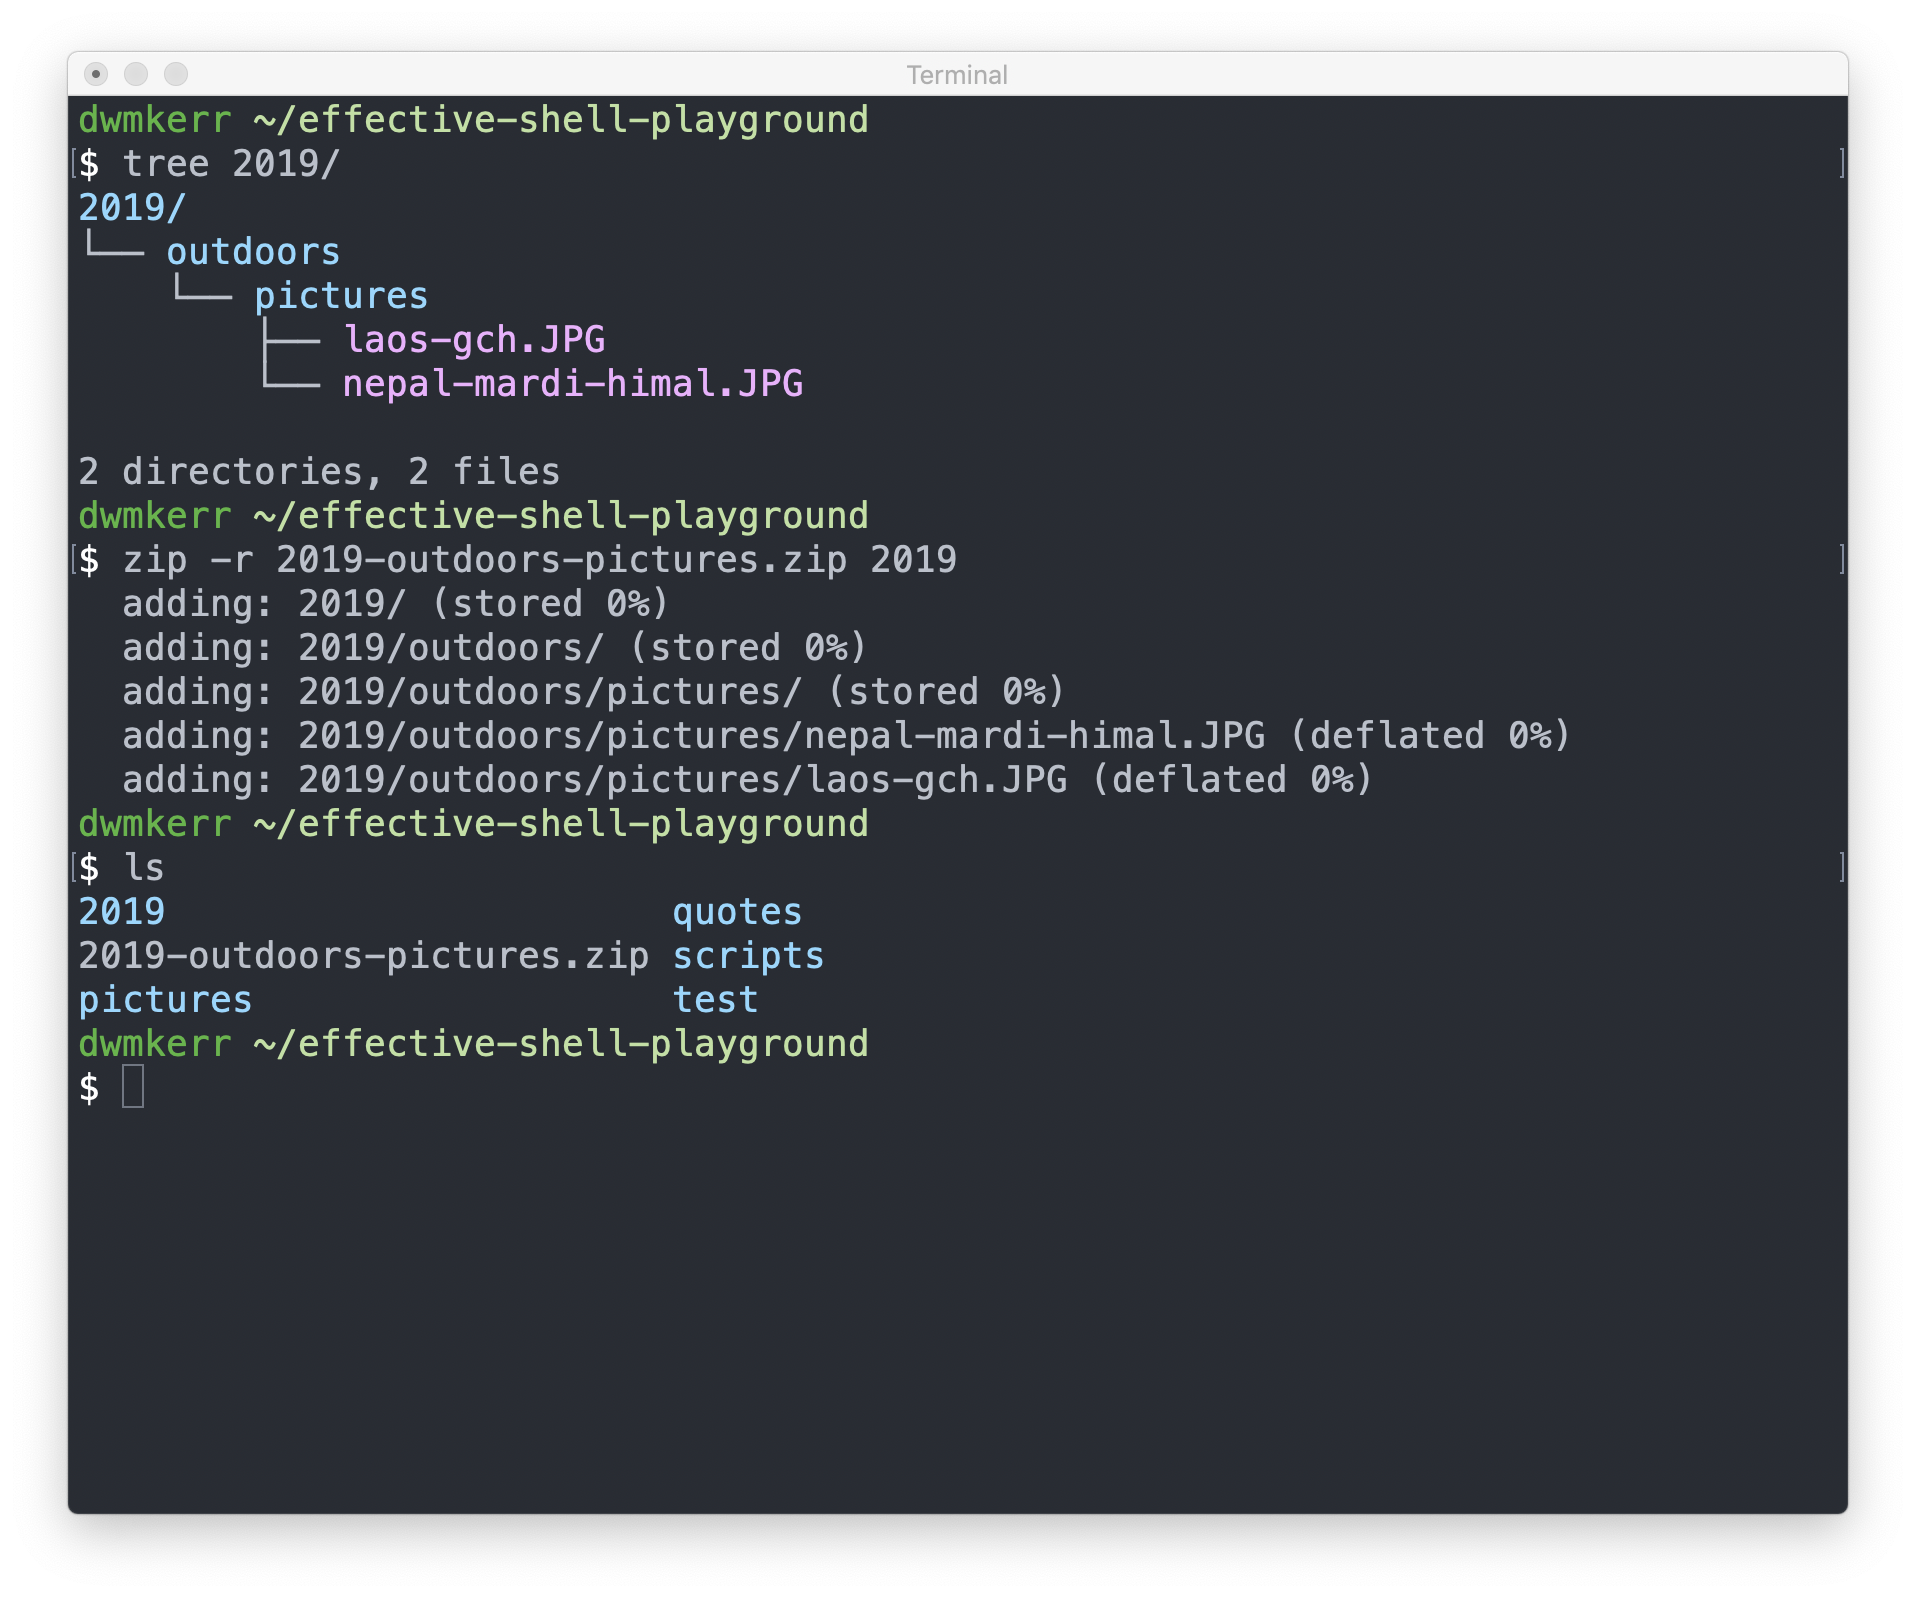
Great! We've created a zip. Let's dissect the command a bit:
zipjust means call thezipexecutable-rmeans recursive we don't just want to zip the 2019 folder, we want to zip everything inside it as well!2019-outdoor-pictures.zipis the name of the file we want to create, we put this first...- ...because everything which follows (e.g.
2019) is going to be zipped, and we can specify many files and folders if we want
Summary
In this chapter we introduced the following:
- The
wget(web get) command can download a file from the web. - If we use the
-O(output location) flag, we can specify where we want to download the file to. - The
filecommand can be used to ask the shell what it thinks a file is (this is quite useful because unlike on some systems, not all files in Linux have a file ending). - The
unzipcommand can unzip a file for us. - The
rm(remove) command can delete a file. - The
rmcommand won't delete a folder which has files in it, unless you tell it to by adding the-r(recursive) flag. - The
treecommand can show the files and folders in a given directory, or the current directory by default. - The
cp(copy) command can copy a file. - The
cpcan also be given wildcards like*to copy many files. - The
mv(move) command can move or rename a file. - The
mkdircommand can create a folder - it can even create a whole tree of folders if you pass the-p(create parent directories) flag. - The
rmdircommand can delete a folder - but just likermit will fail if the folder is not empty! - When we delete files in the shell with
rmorrmdirthey are gone forever, no recycle bin! - The
catcommand (concatenated) can be used to write the contents of a file to the screen. - We can pass multiple files to commands like
catif we use wildcards, such asquotes/*. - We can write the output to a file instead of the screen, if we use the
>(redirect to file) operator.