Getting Started
This section is for those who are completely new to this topic. In this section we'll introduce just what the shell is, who this book is useful for, and what you can expect to learn.
We'll also look at how to set your computer up so that you can follow along with the examples. We'll finish by demonstrating a few basic skills so that you can learn to move around in the shell and get started with the rest of the book.
If you are already comfortable with running a shell, know what bash is, and know how to run basic commands like ls and cd, are familiar with terms like command and parameter then you can skip this section. You could also just review the Summary to make sure that you are comfortable with the material which has been introduced and then move onto the next section.
What is the Shell?
If you don't know what the shell is, then this is the place to start!
When we talk about "The Shell", we're normally referring to the simple, text-based interface which is used to control a computer or a program.
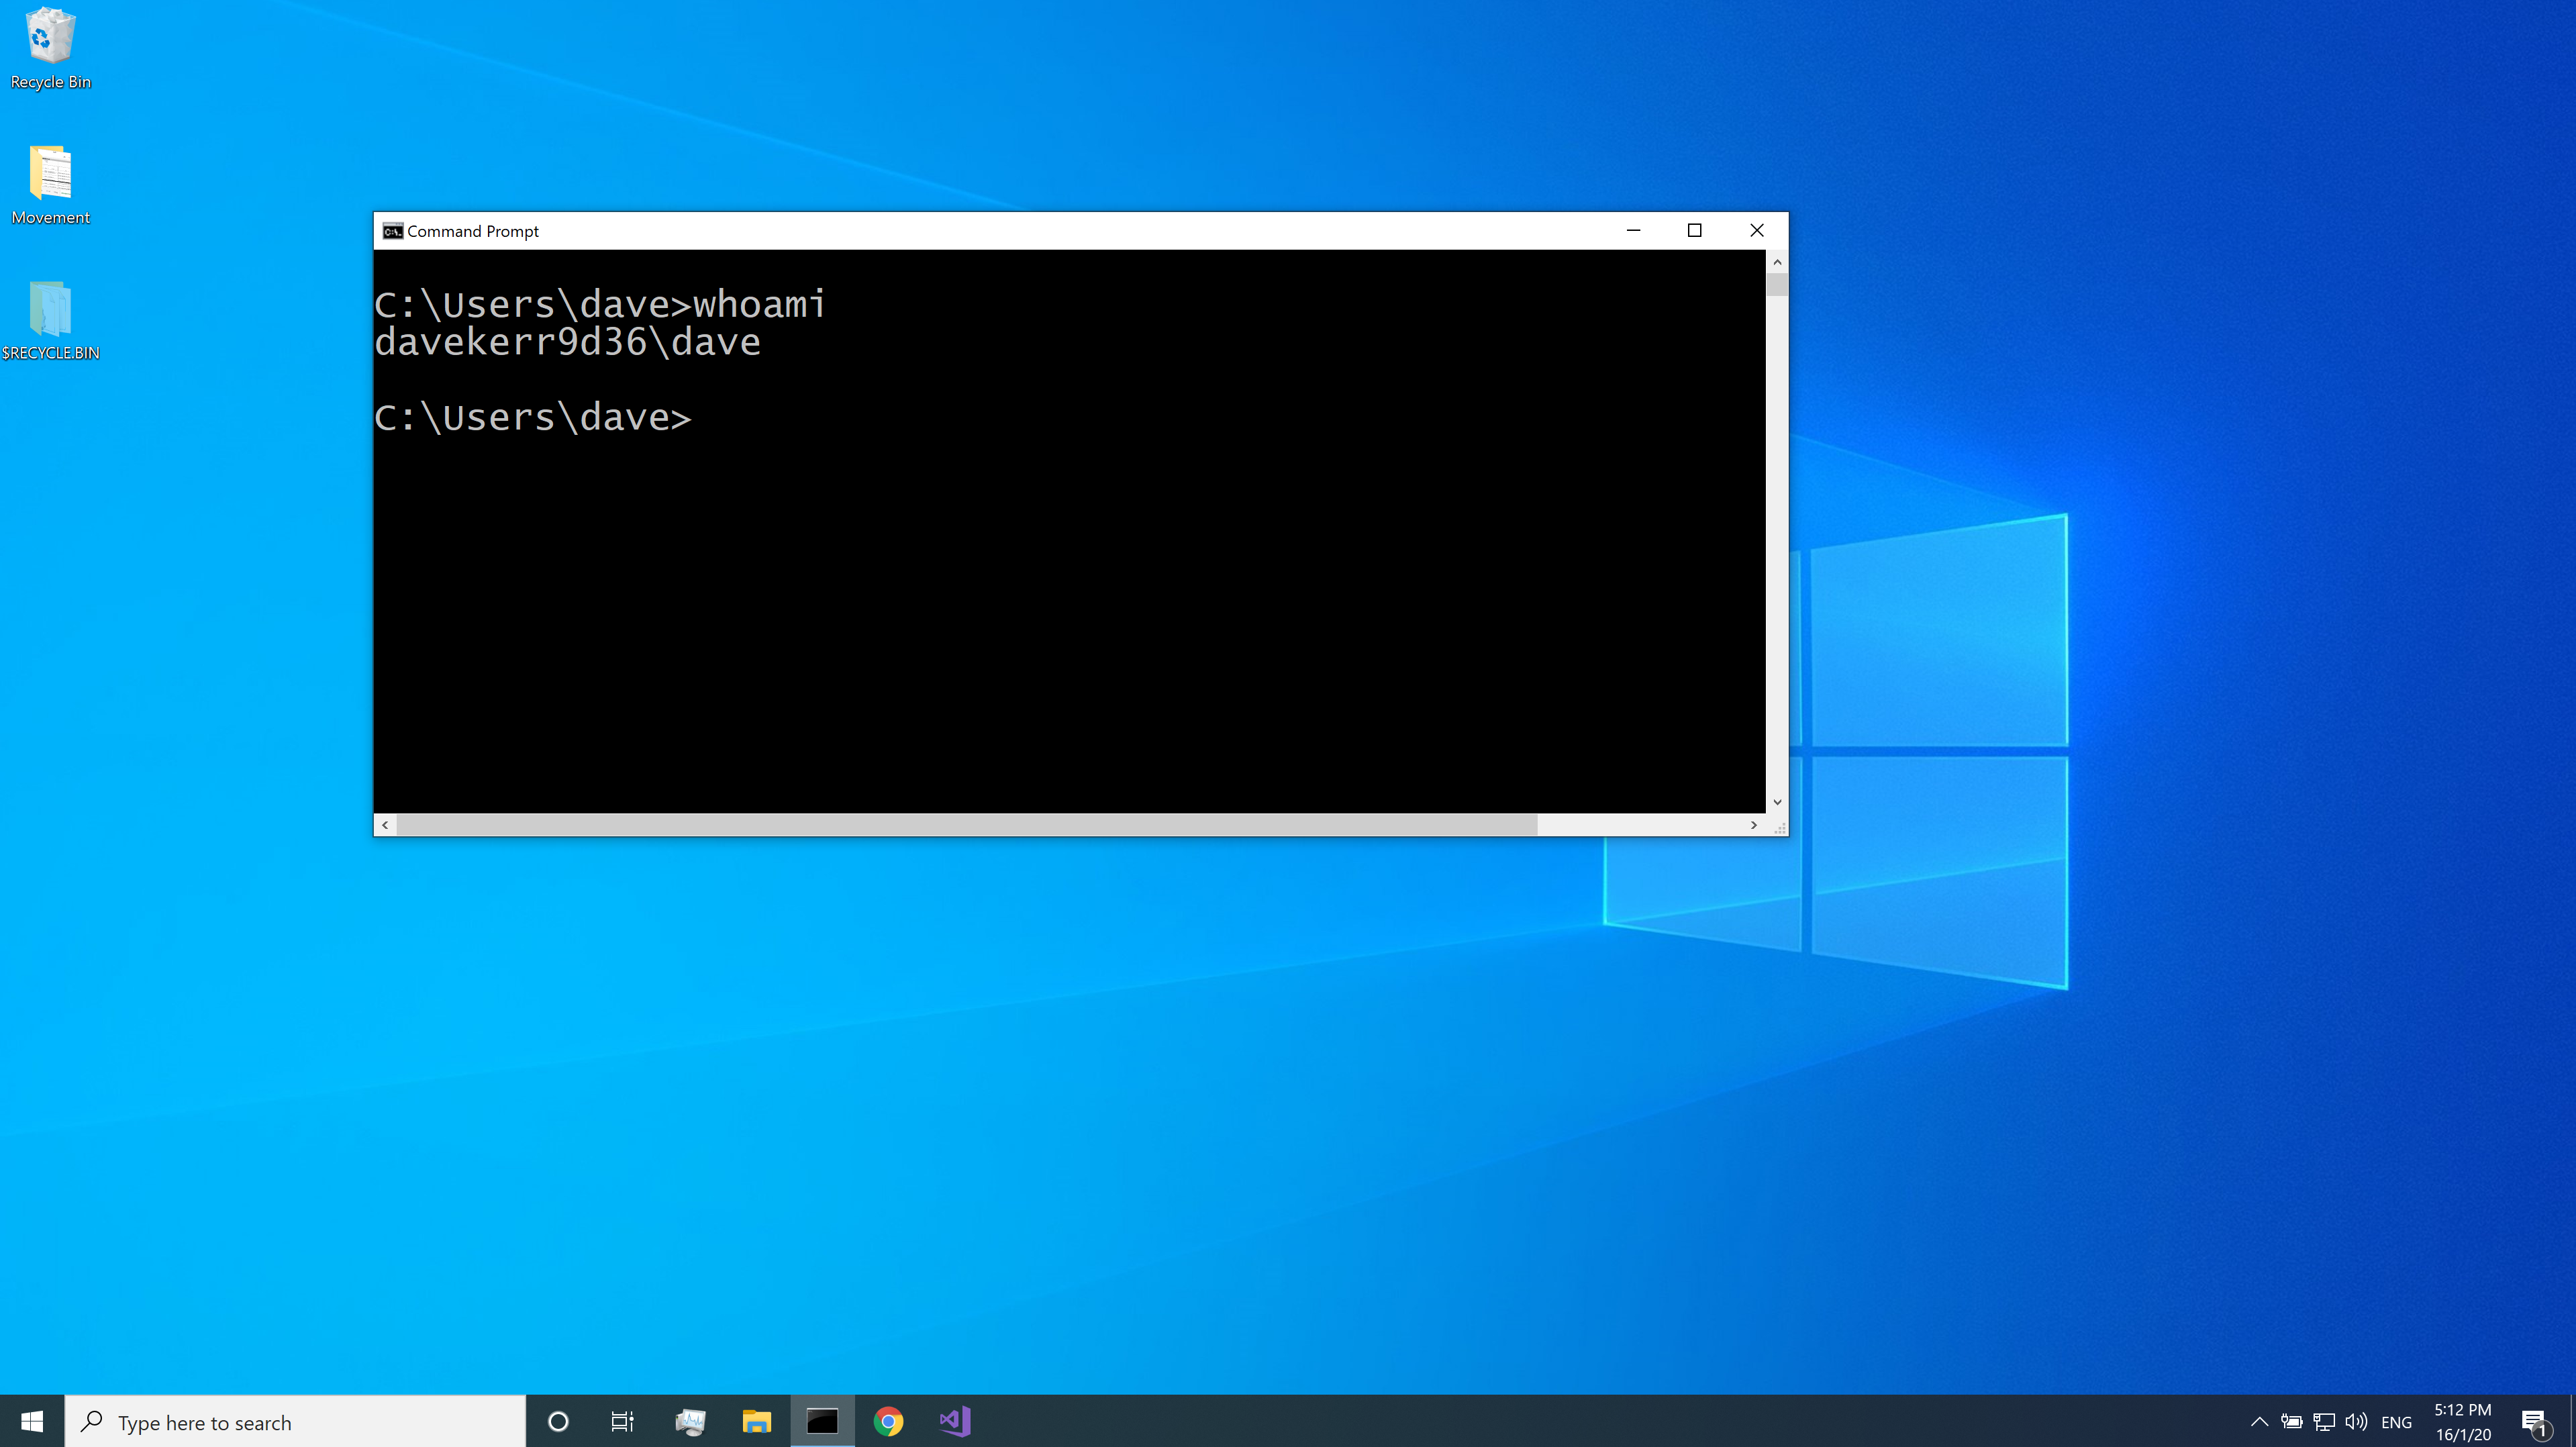
Here's what the shell looks like on Windows:
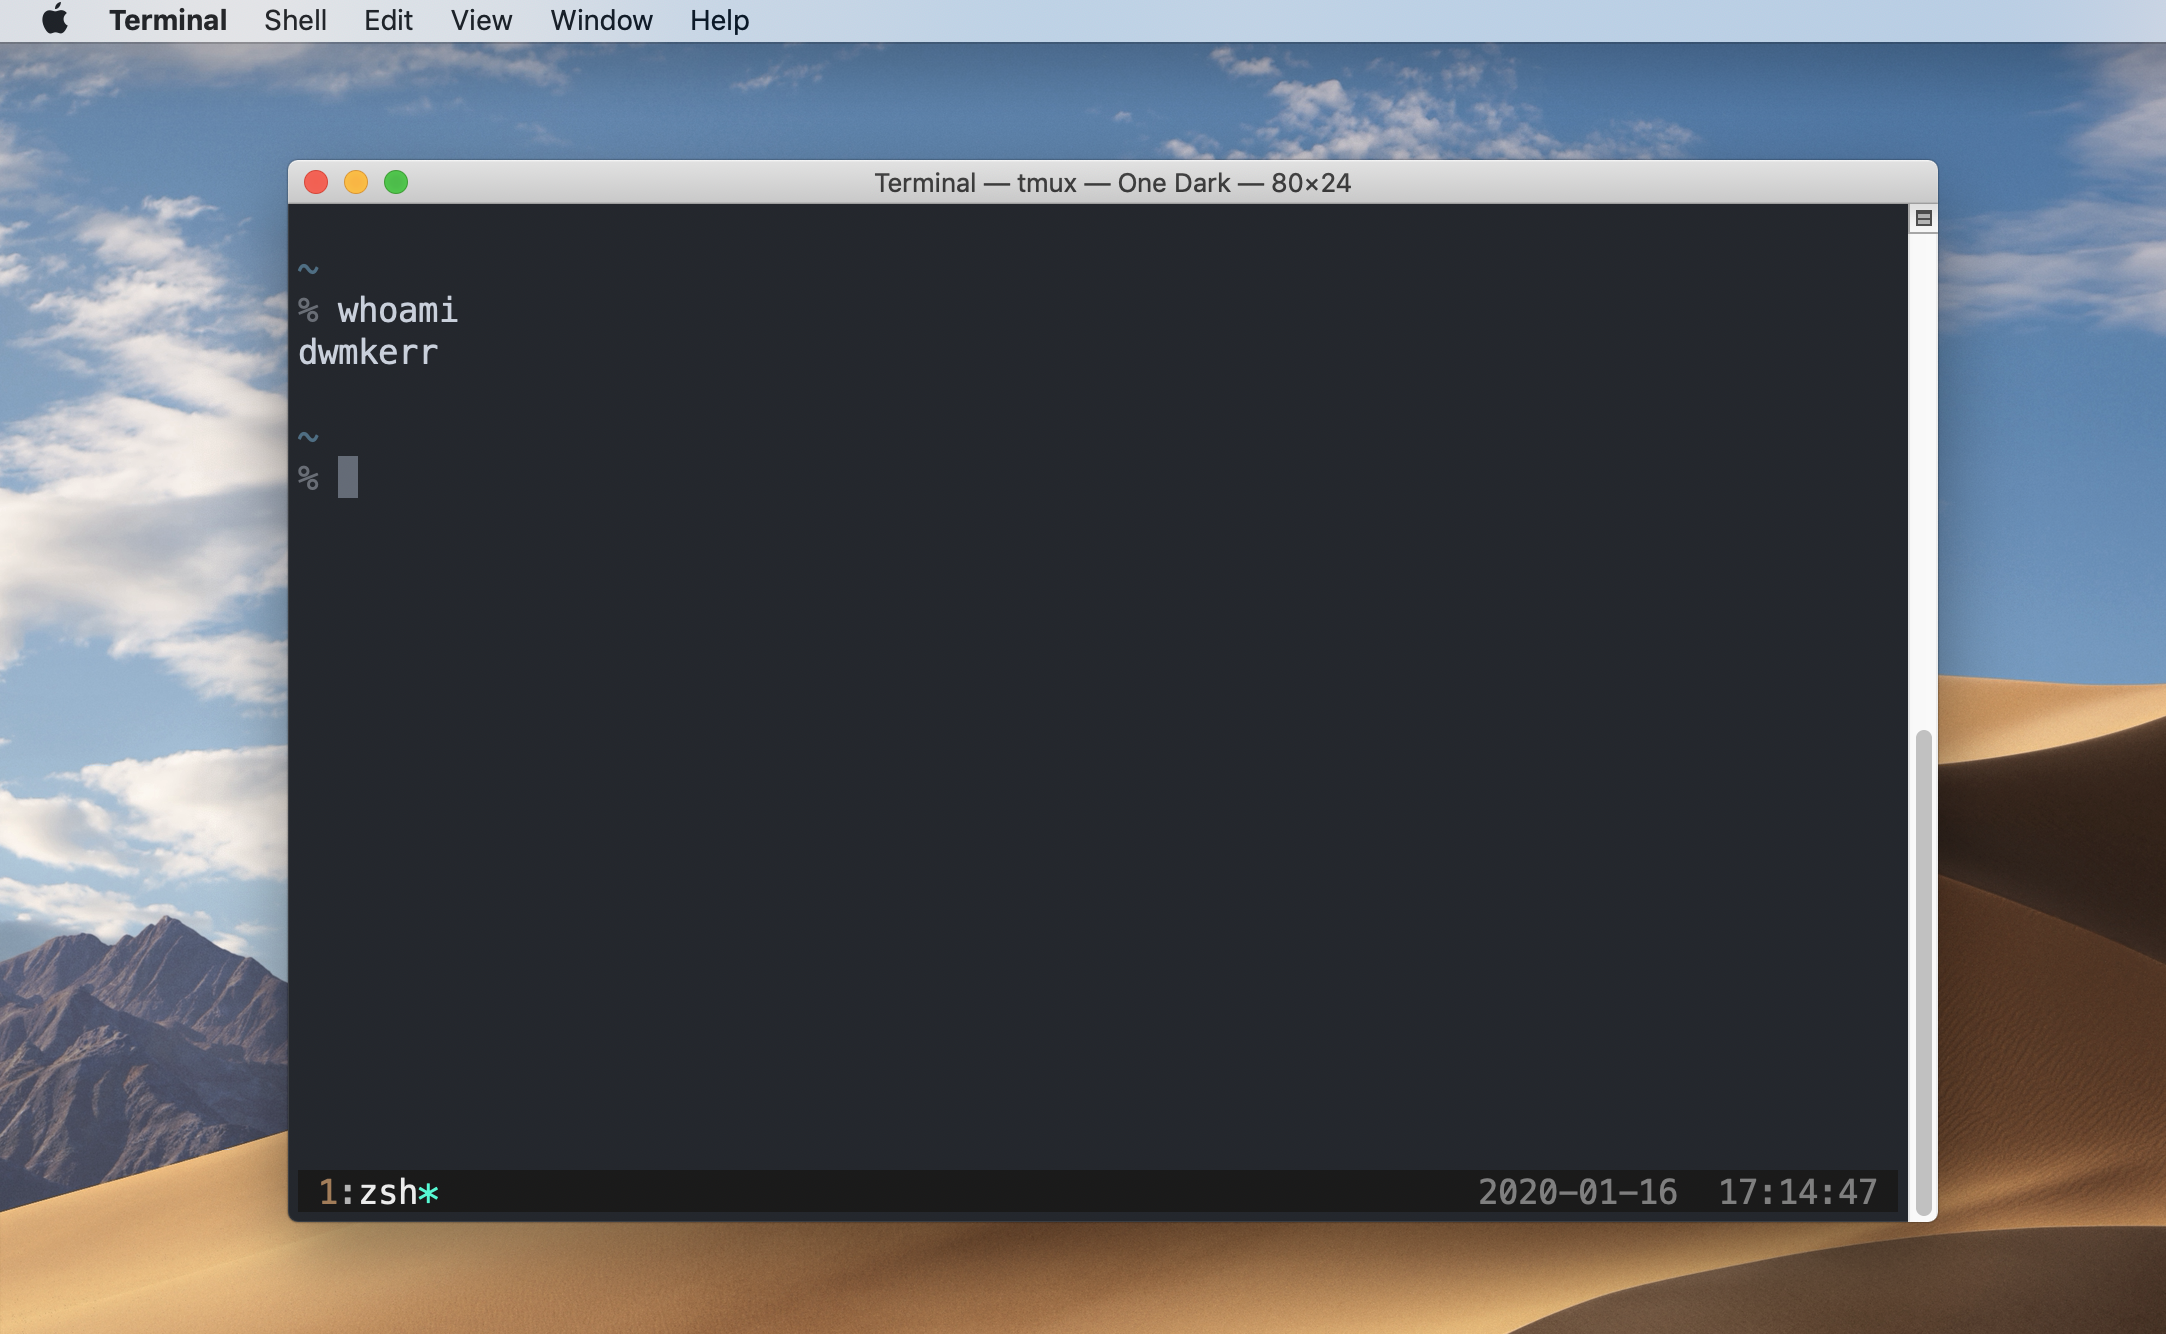
And here's what it looks like on a Mac:
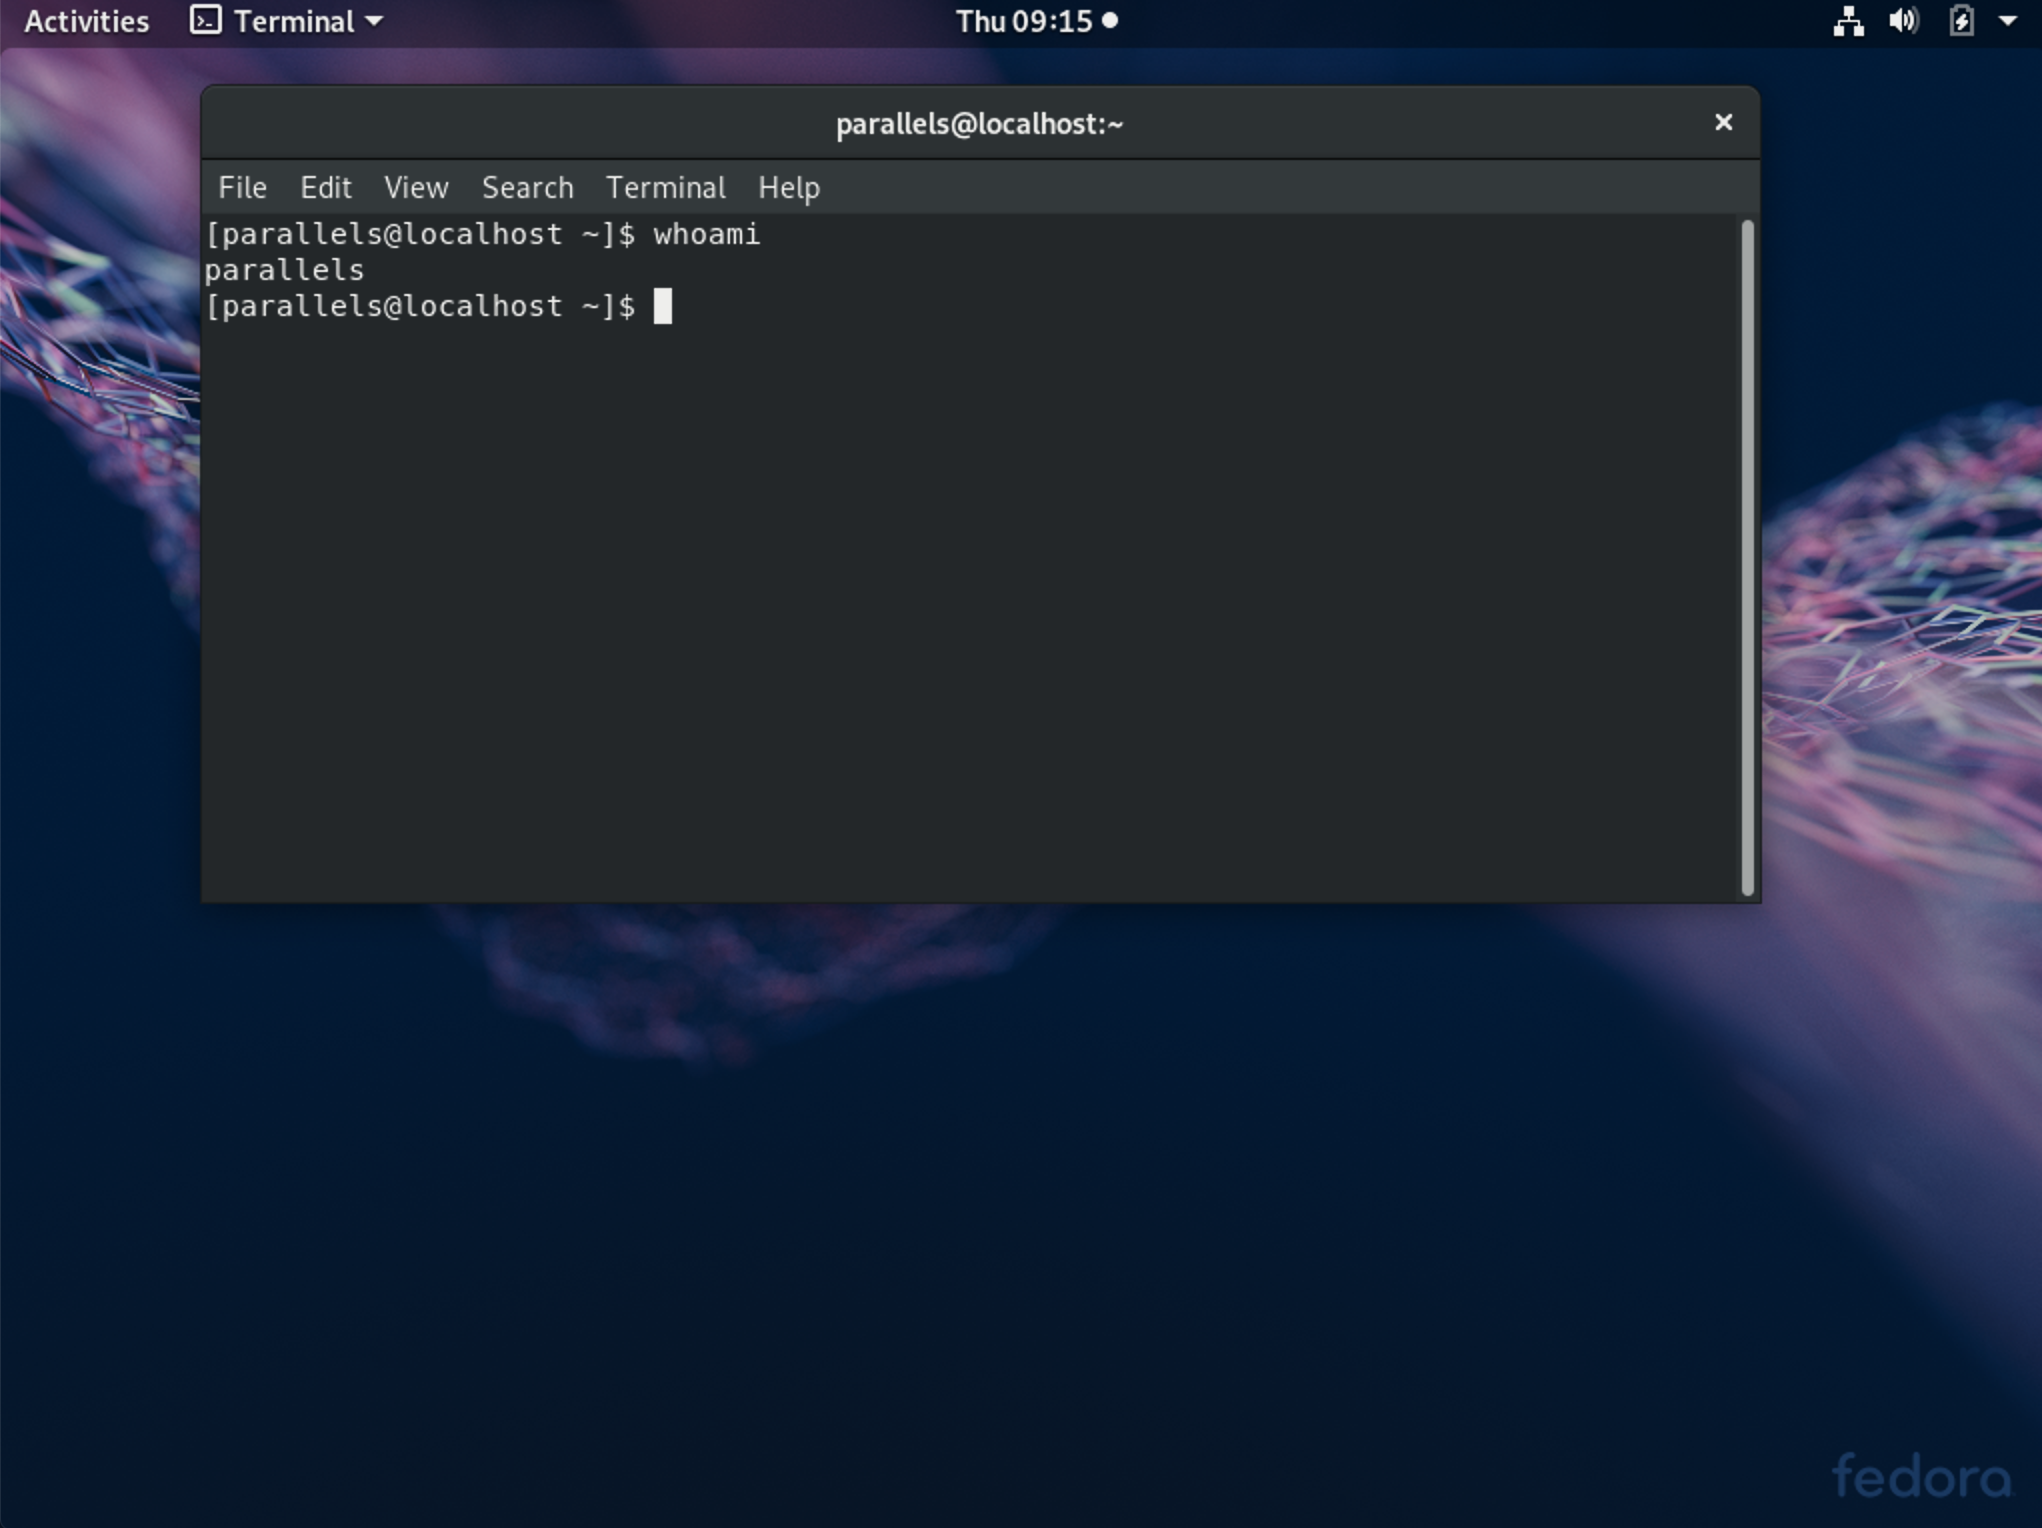
And here's what it looks like on Fedora, a popular Linux distribution:
When we are talking about the shell in this book, we're talking about the simple program which can be used to operate the computer using this text based interface.
Why would you want to do this? There are a few reasons!
Firstly, using the shell can help you learn more about the internals of how your computer can work. This can be really helpful if you are a technology professional or work with computers.
Secondly, there are some scenarios where you have to use a shell. Not every program or system can be operated with a Graphical User Interface, which is the visual point-and-click interface you are probably using now. Some lower-level programs do not have such interfaces, and many computers do not either.
Finally, there are some scenarios where it can be more efficient to use the shell. Operations which might be time consuming or repetitive to perform using the user interface might be much faster to perform in a shell. You can also write shell scripts to automate these kinds of operations.
In the next section you'll learn how to startup the shell on your computer. Once this is done you are ready to continue with the book.
Opening the Shell
Now let's actually learn how to open the shell on your computer.
Once we've done this, we might need to make some configuration changes so that we get it to behave in a way which as consistent with other shells as possible - we'll get to that in the next chapter.
Microsoft Windows
There are a number of shell programs on Microsoft Windows. We'll be using the basic shell which is pre-installed, which is called the "Command Prompt".
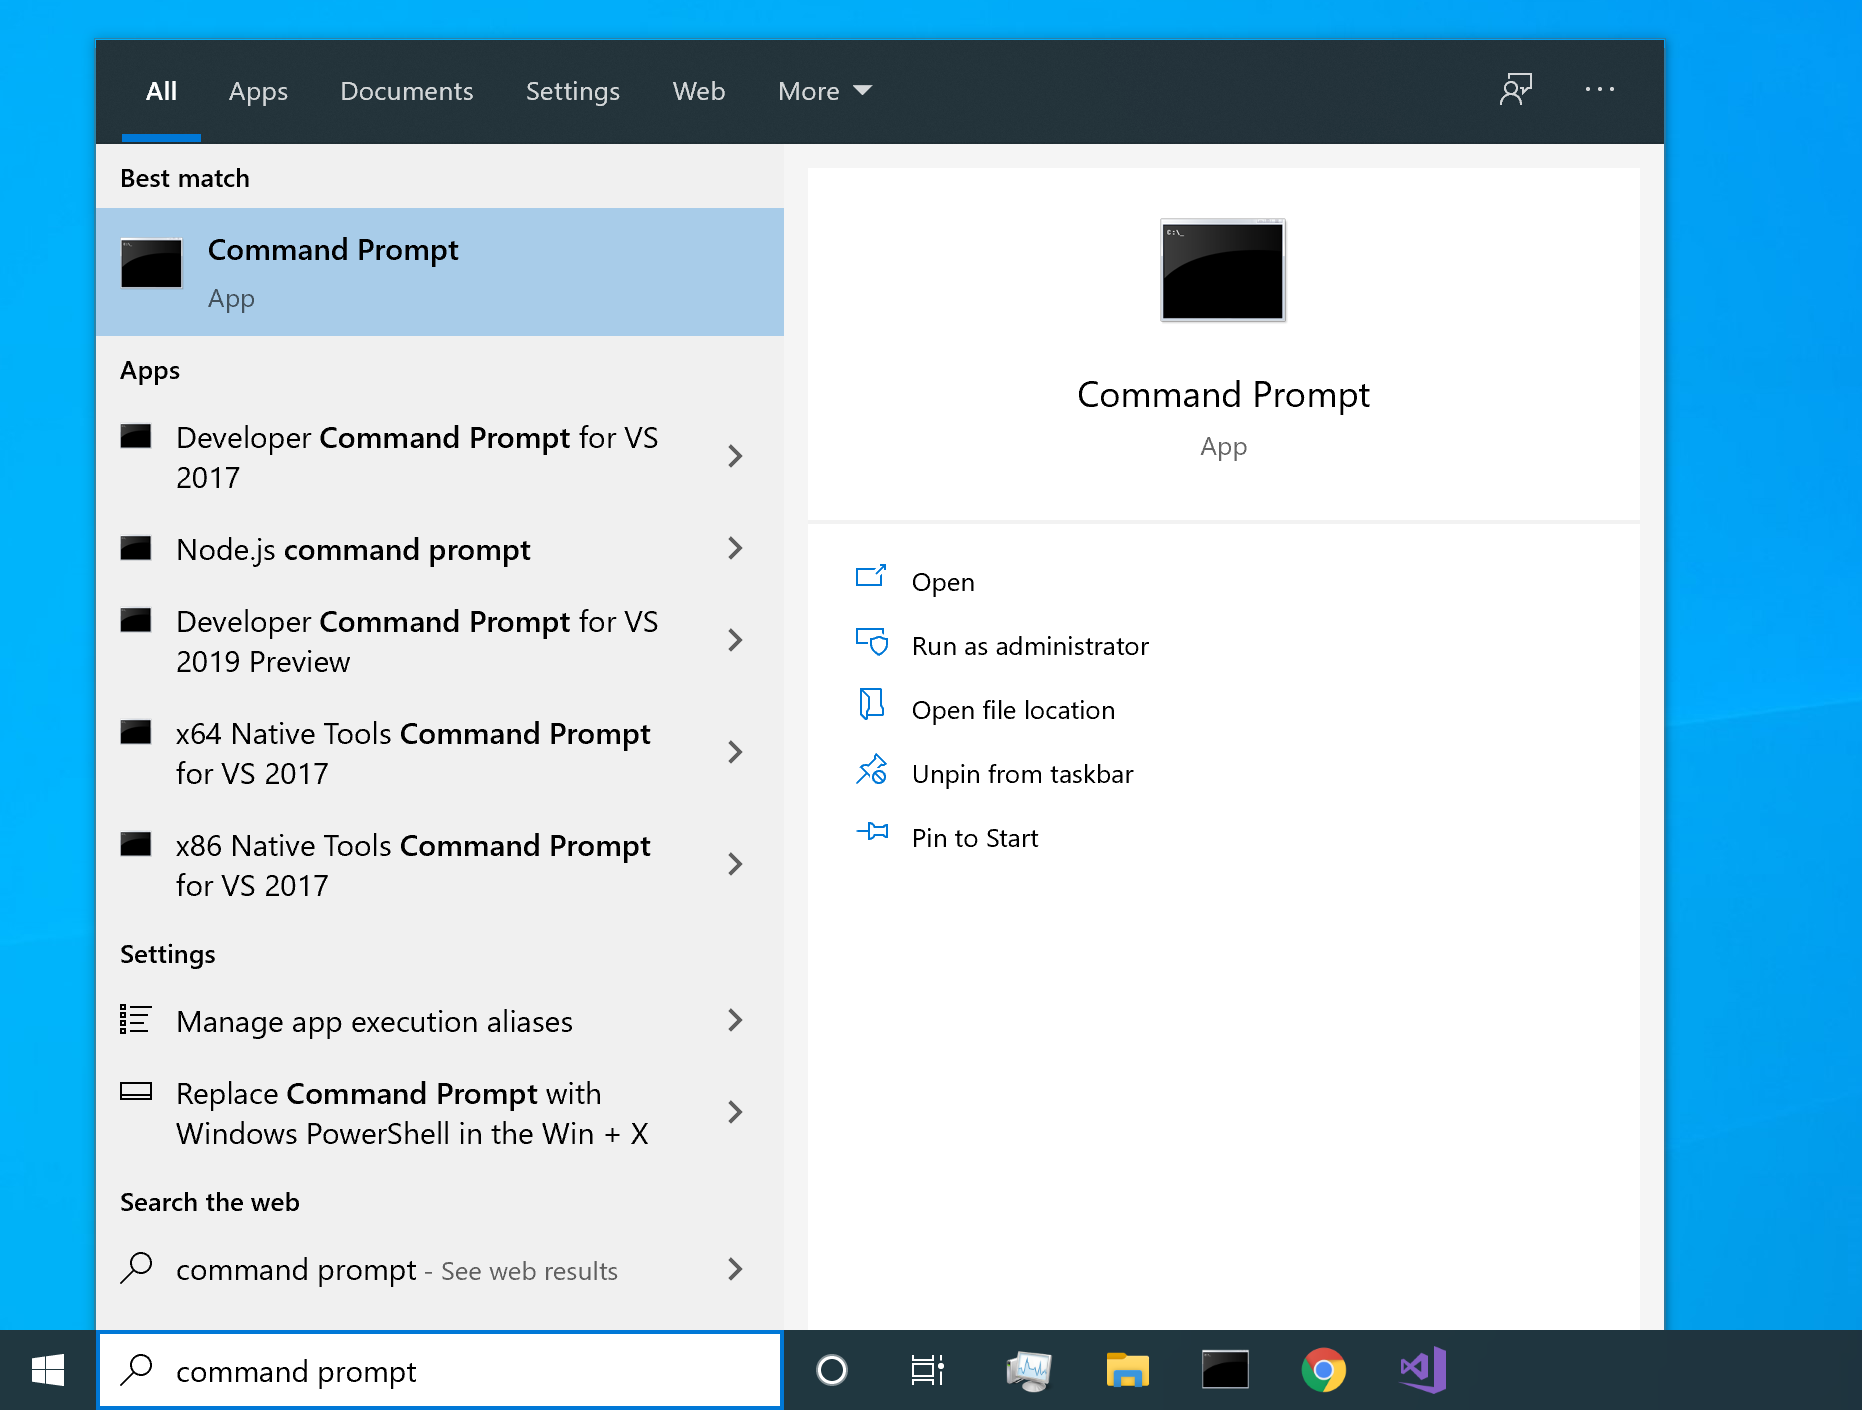
To open the command prompt, start by clicking the start button on the bottom left hand side of the screen, and type command prompt. Open the Command Prompt program:
Once the program has opened, type whoami then hit the Return key. The whoami program will show the username of the logged in user:
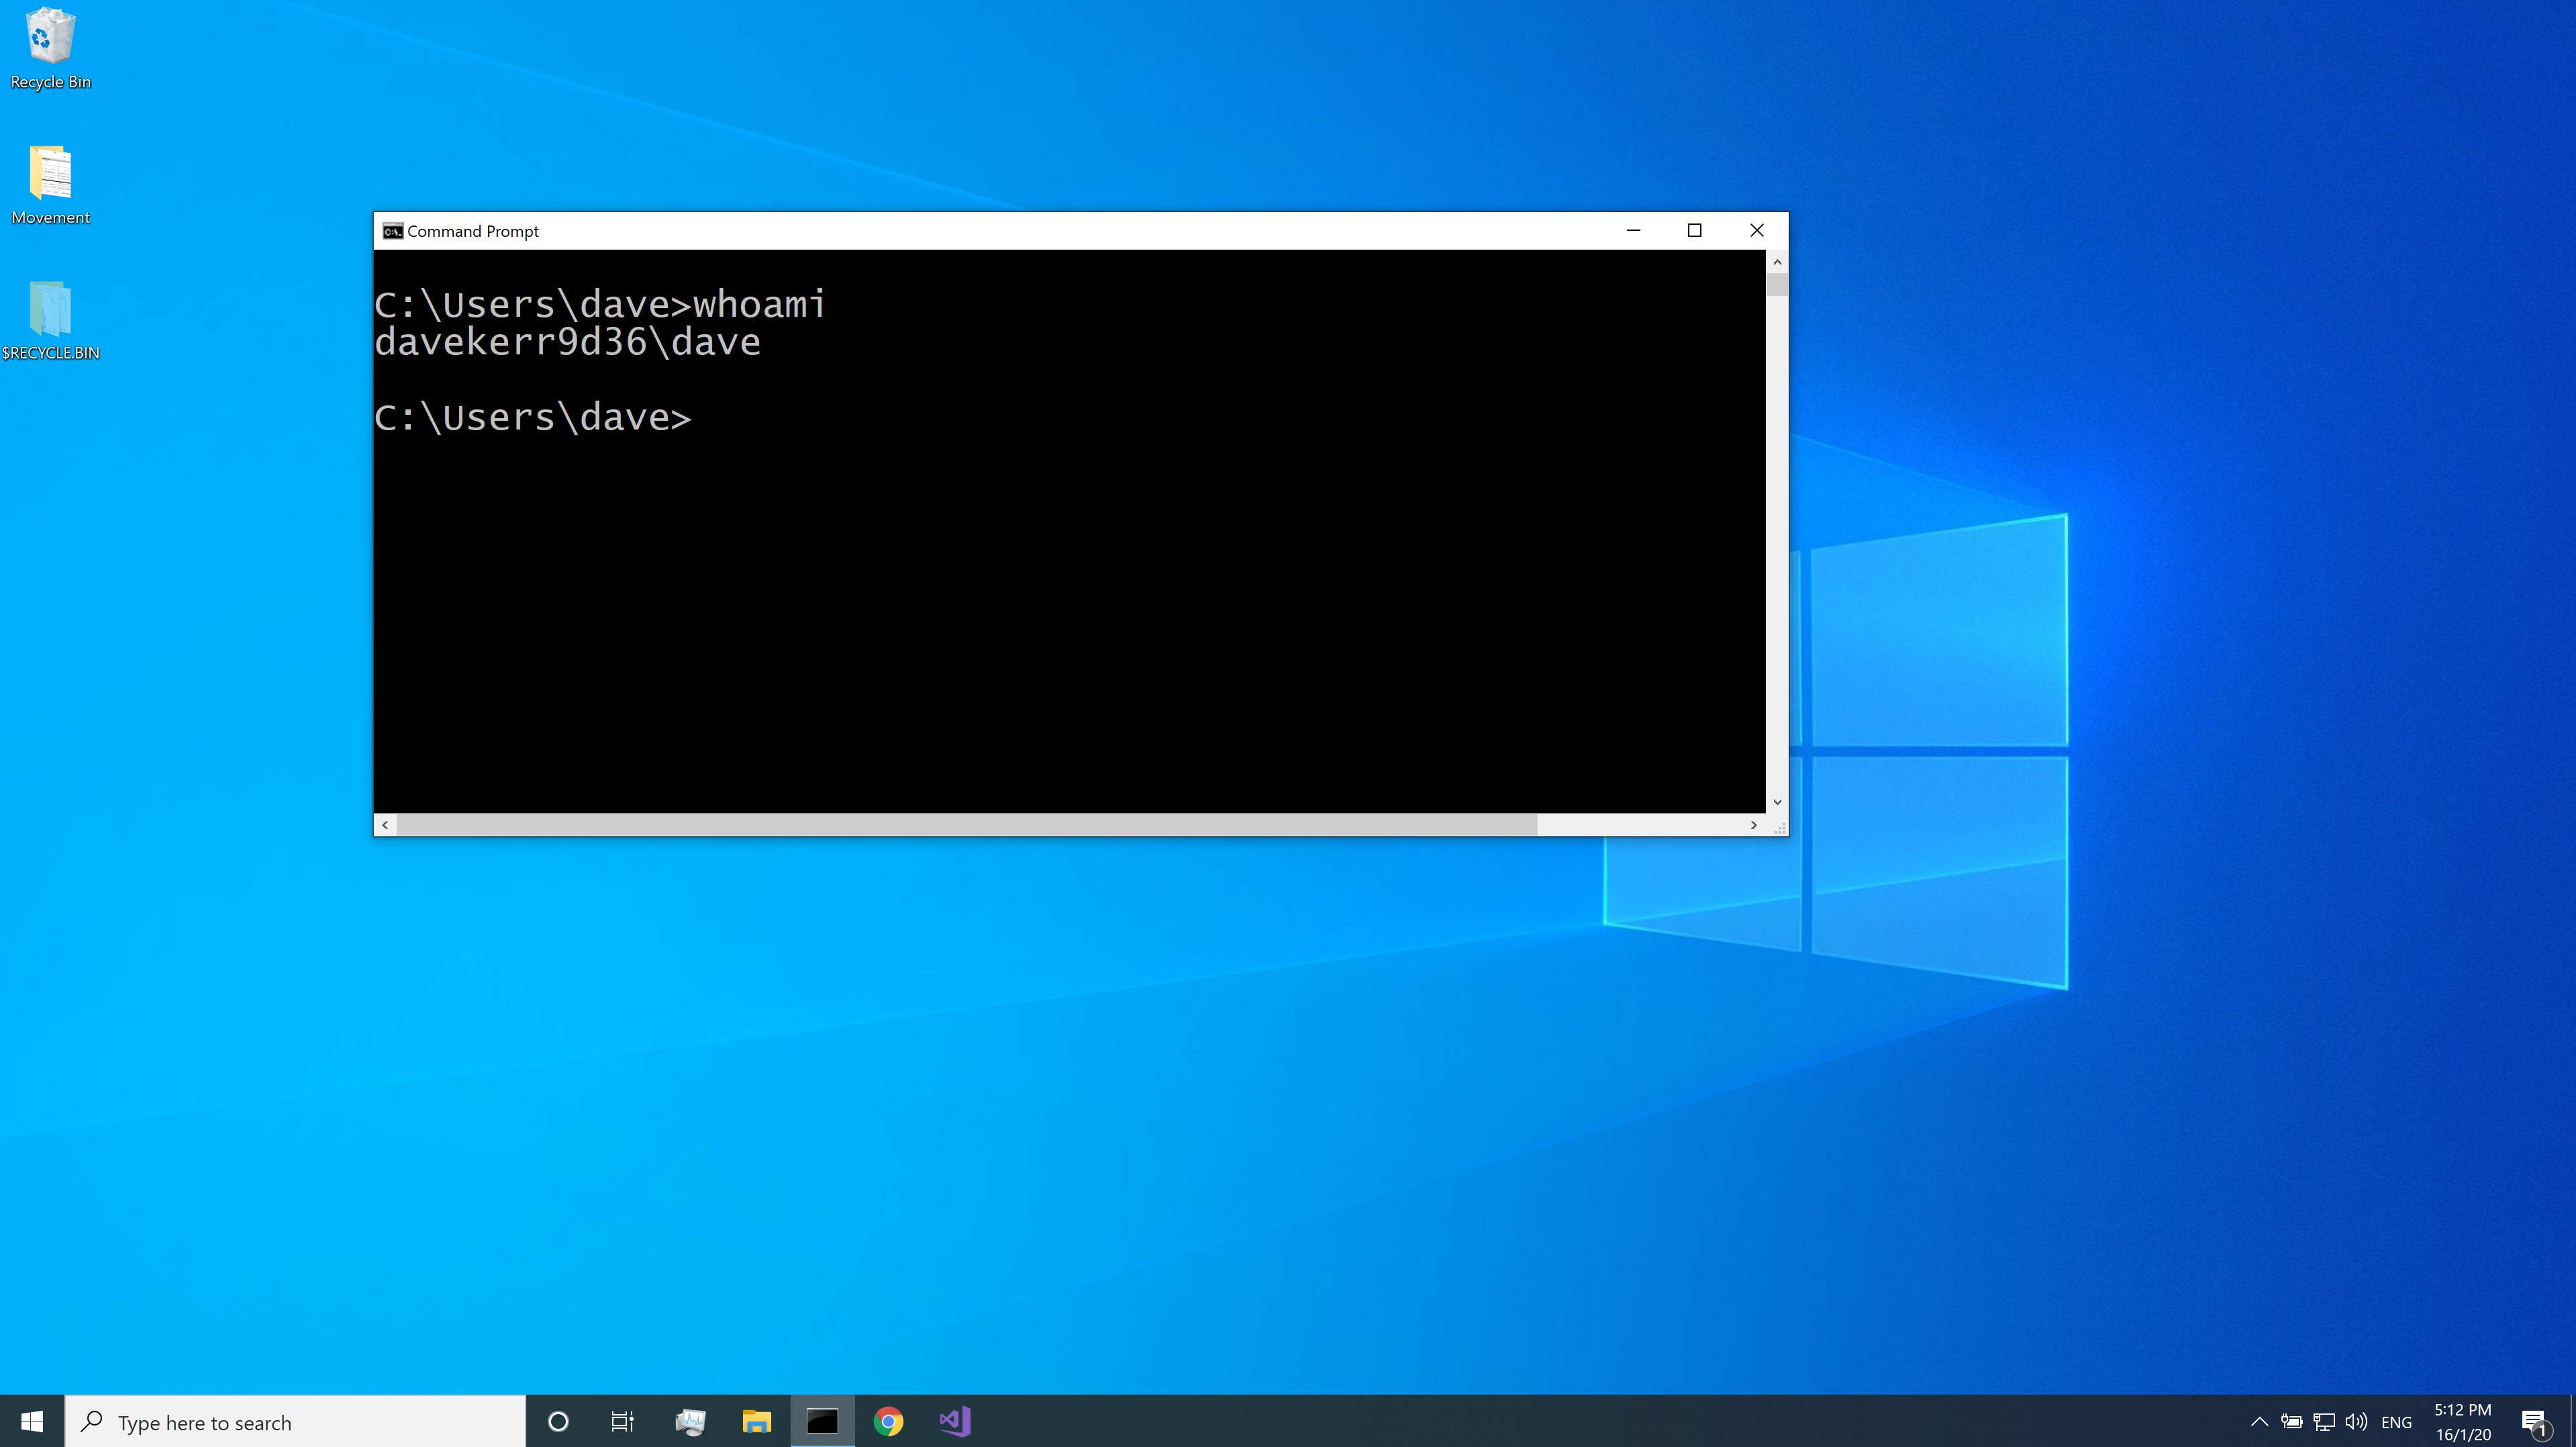
That's it! We've still got some configuration to do to make this shell behave more like a Linux shell, which this book uses as the standard, but we'll come to that in the next section.
MacOS
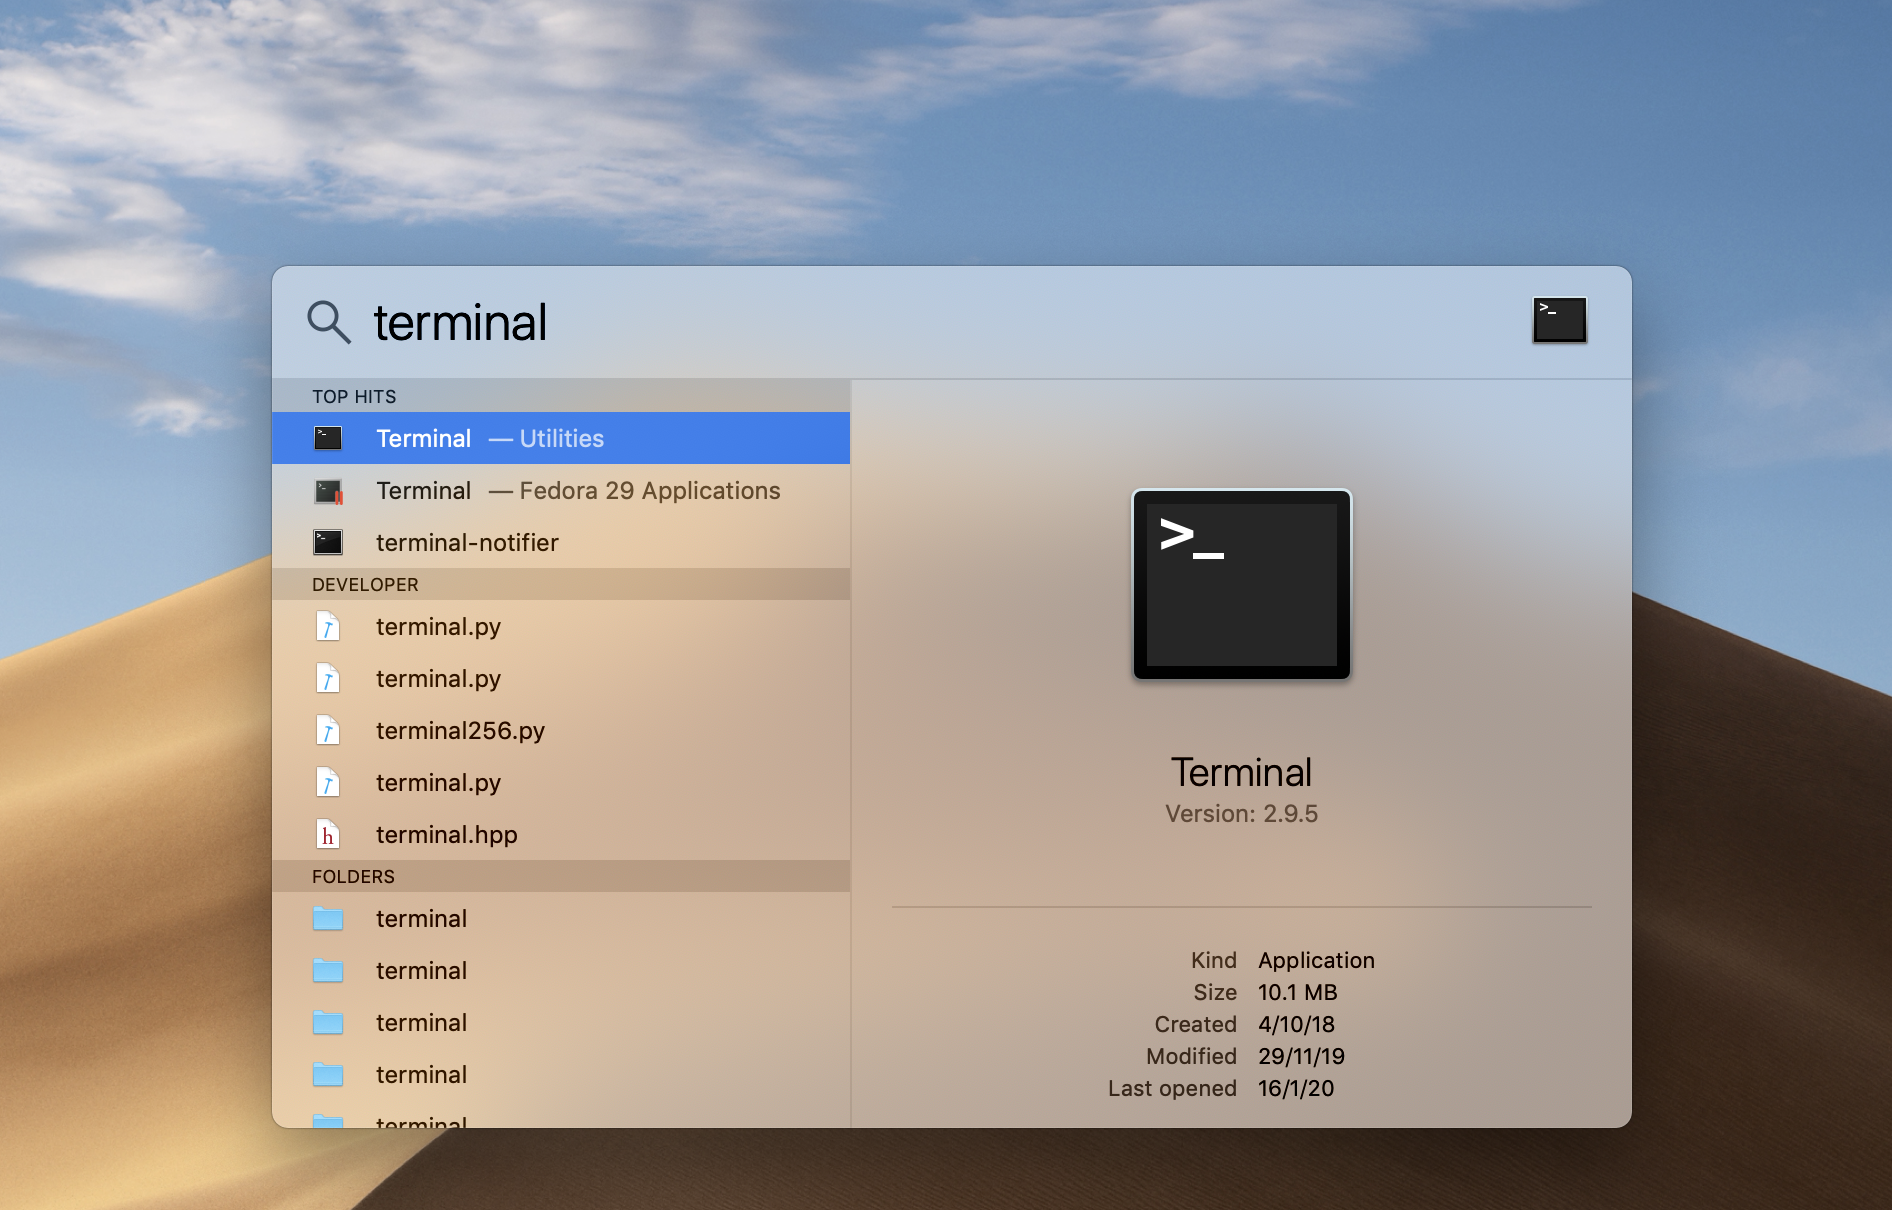
If you are using a Mac, then you just need to run the "Terminal" program to open your shell. Hold down the Command Key and press Space, then type terminal. Open the terminal program which is shown:
Once the program has opened, type whoami then hit the Return key. The whoami program will show the username of the logged in user:
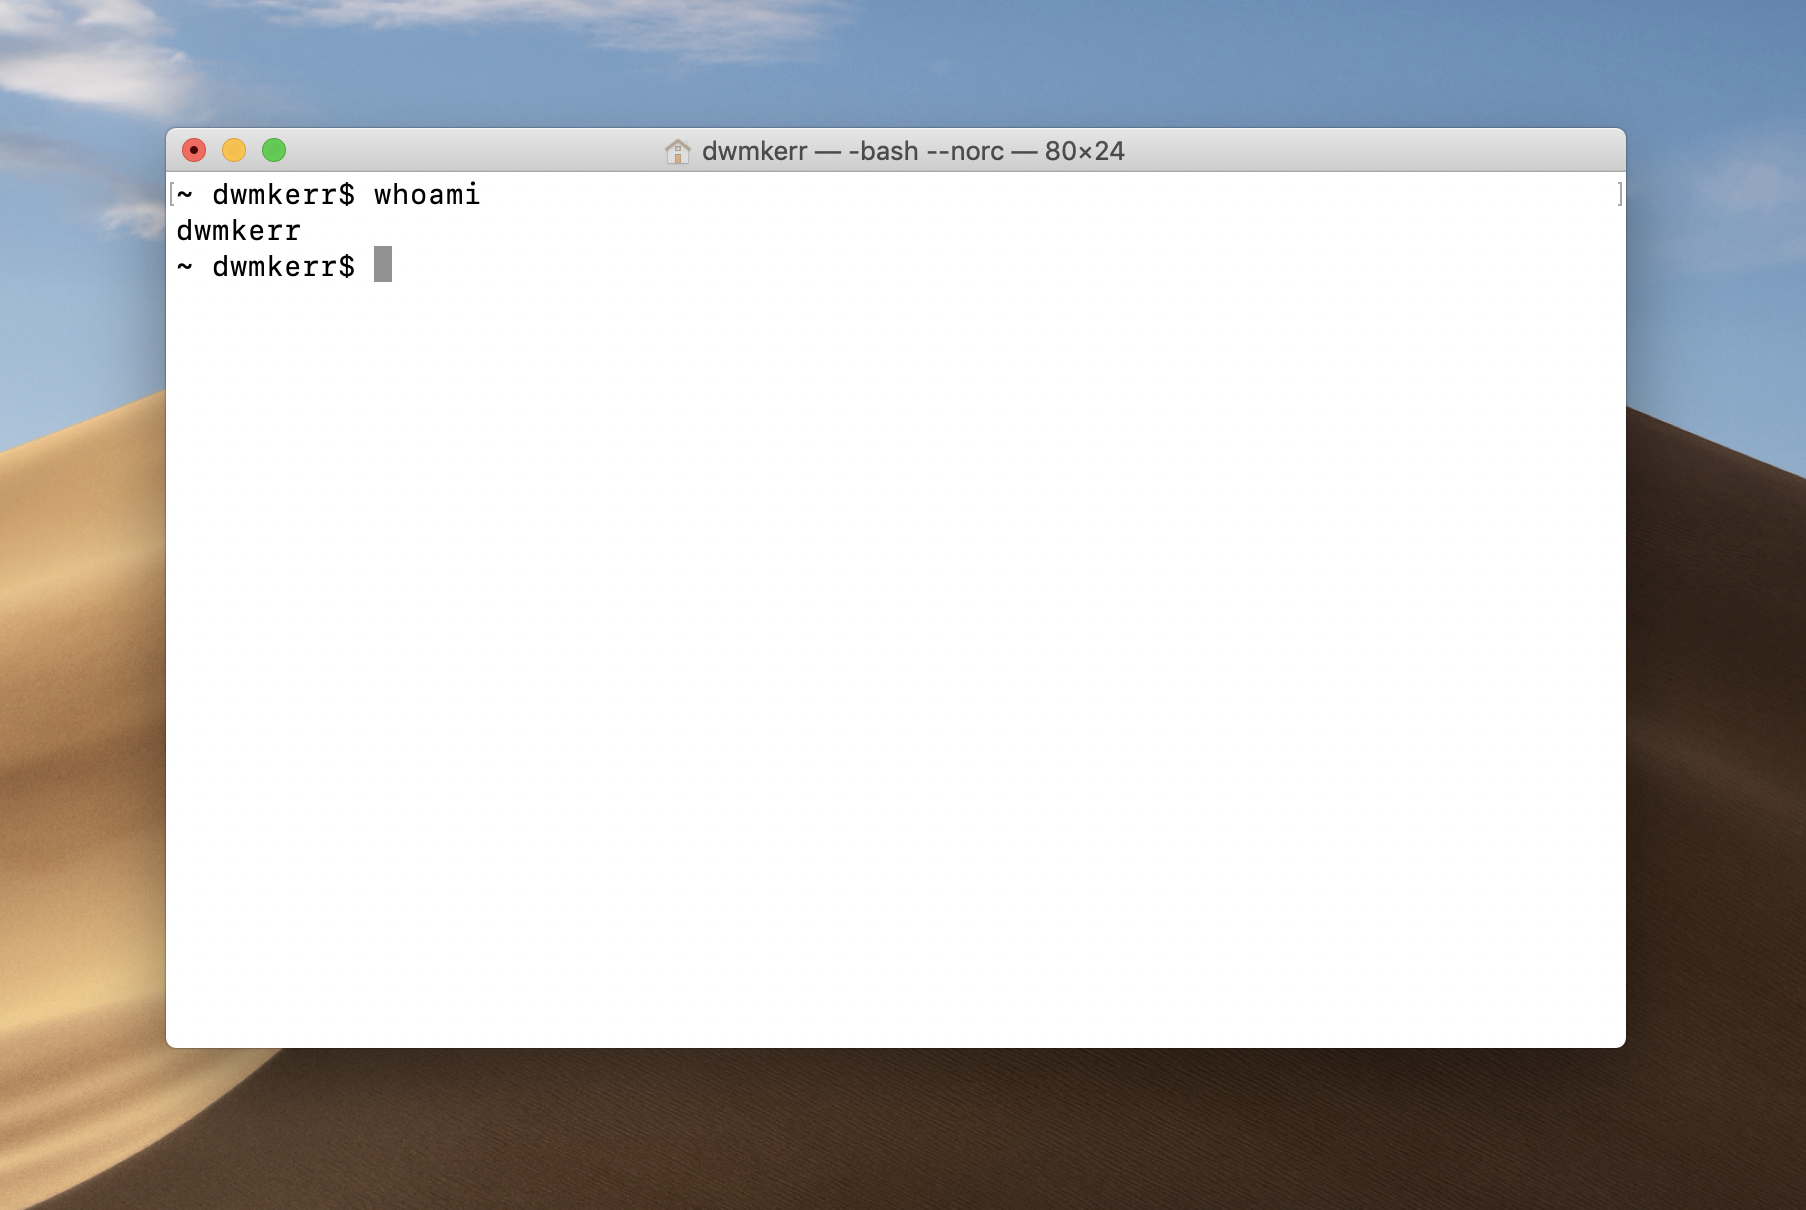
That's it! In the next section we'll make some minor configuration changes to keep things consistent with the samples in the book.
Linux / Unix
If you are using a Linux or Unix system, I'll assume that you are familiar enough with it to open a shell. Which terminal you use should not affect how you use this book, but for consistencies sake be aware that most of the examples are assuming that the user is using Bash version 5.
Configuring the Shell
Shells can vary enormously between different systems. In general, Linux systems tend to use the "Bash" shell and require little configuration. Apple's MacOS operating system is actually based on BSD Unix, and under the hood is somewhat different to most Linux systems. Microsoft Windows is a completely unrelated operating system to either Linux or Unix and operates in a fundamentally different way from both of them.
In this book, we assume that you are using a "Linux-like" system, something which operates like a modern Linux distribution. This is a deliberate choice. If you become comfortable using a Linux-like shell, you can generally apply the techniques we'll show to MacOS with no difficulties. For Windows, the techniques are not necessarily transferable immediately, but still valuable to know. Windows is actually being updated at the time of writing to provide a Linux-like shell interface as part of the core operating system (this is known as the Windows Subsystem for Linux. As time progresses it will be easier to run commands using the techniques in this book natively, but for now we'll have to tweak a few things.
In this section we'll make sure that we are running with a setup which is close to Linux, and aim to set the latest version of our shell to the popular "Bash" program. If you are familiar with Bash but prefer to use another shell, that is fine, most of the book will work with any modern shell. However, if you are not sure what shell you should be using, I would recommend you follow the guides below to setup the most popular shell at its latest version.
Once this is done then we are ready to get into the book properly!
Microsoft Windows
Windows is not anything like Linux under the hood. So to get a shell working, we have three options:
- Use a tool which provides common Linux tools which have been written to work with Windows
- Use a "virtual machine" running Linux
- Use the Windows Subsystem for Linux
The first option is the best if you want to actually be able to work with the files on your computer quickly and easily day to day.
The second option is best if you want to be able to experiment with the shell, but keep it completely separate from your main computer and its files.
The final option is best if you are a power user or expert who wants to use the latest WSL features and build the skills with the platform as soon as possible.
We'll go through all options here.
Option 1: Install Linux Tools
This is probably the easiest option and the one I would recommend for most user. It will let you run something like a Linux shell when you choose to, but not get in your way during day-to-day usage of your computer.
To get a Linux-like experience on a Windows machine, we'll install Cygwin. Cygwin provides a large set of programs which are generally available on Linux systems, which are designed to work on Windows.
Download the Cygwin installer and start the installation process. You should see something like this:
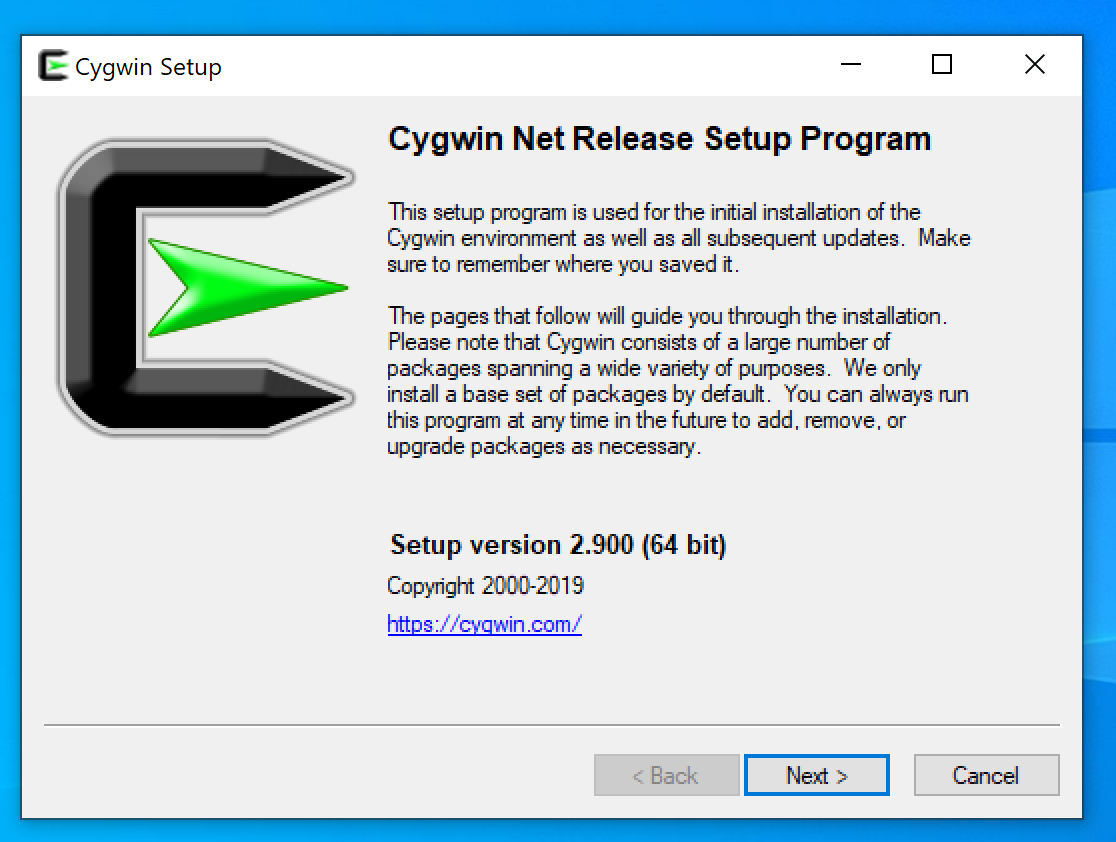
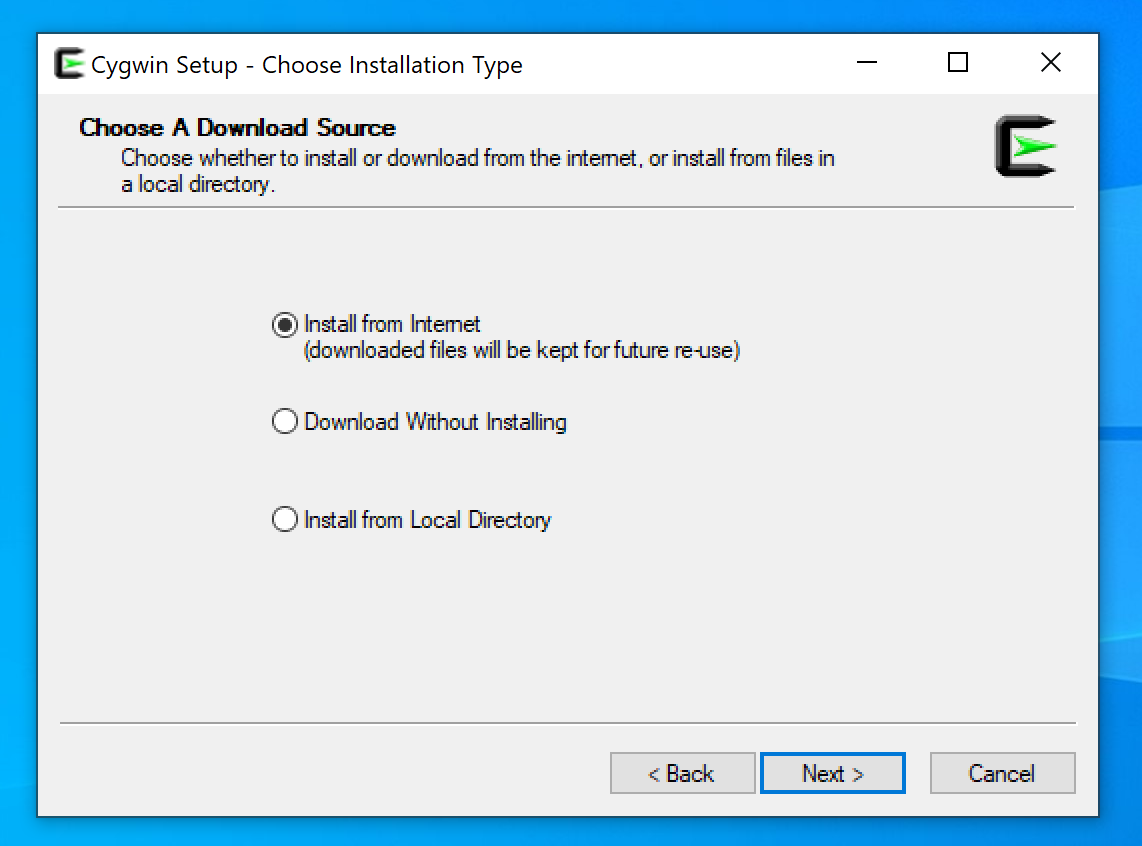
Start the installation and tell it to install from the internet (the default option):
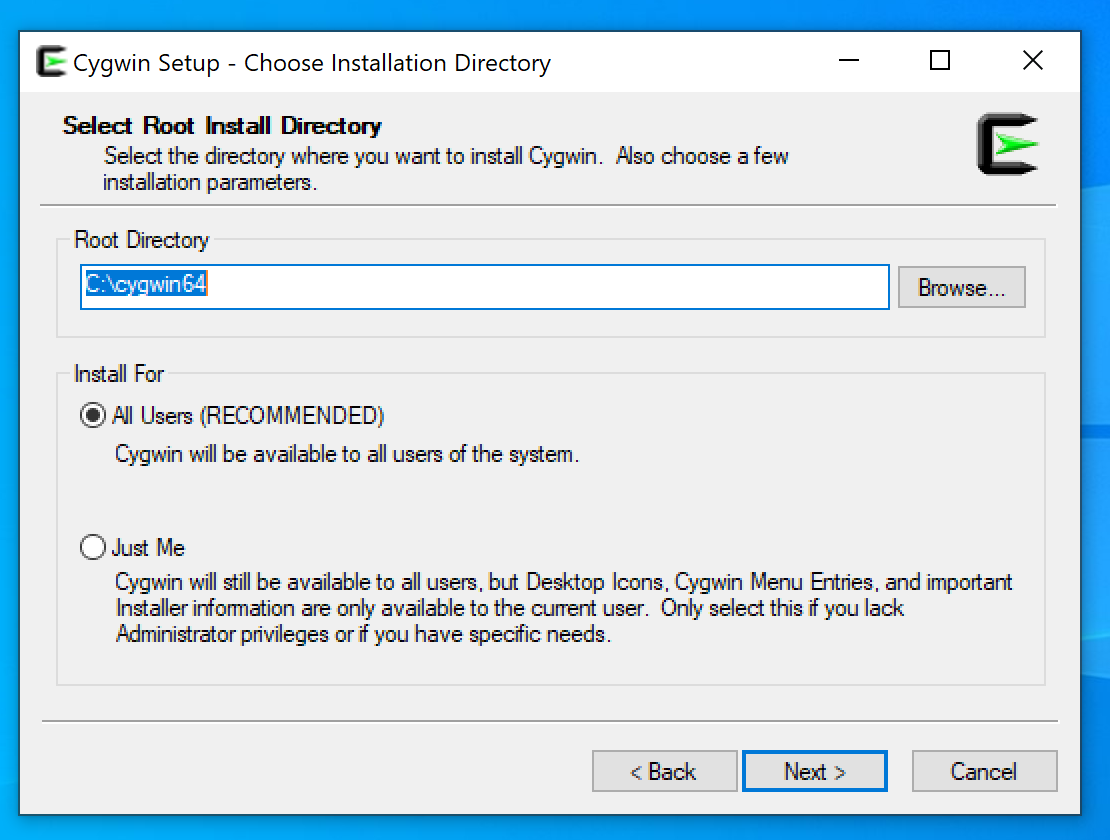
Install for all users in the default location. It is also fine to change the options if you prefer:
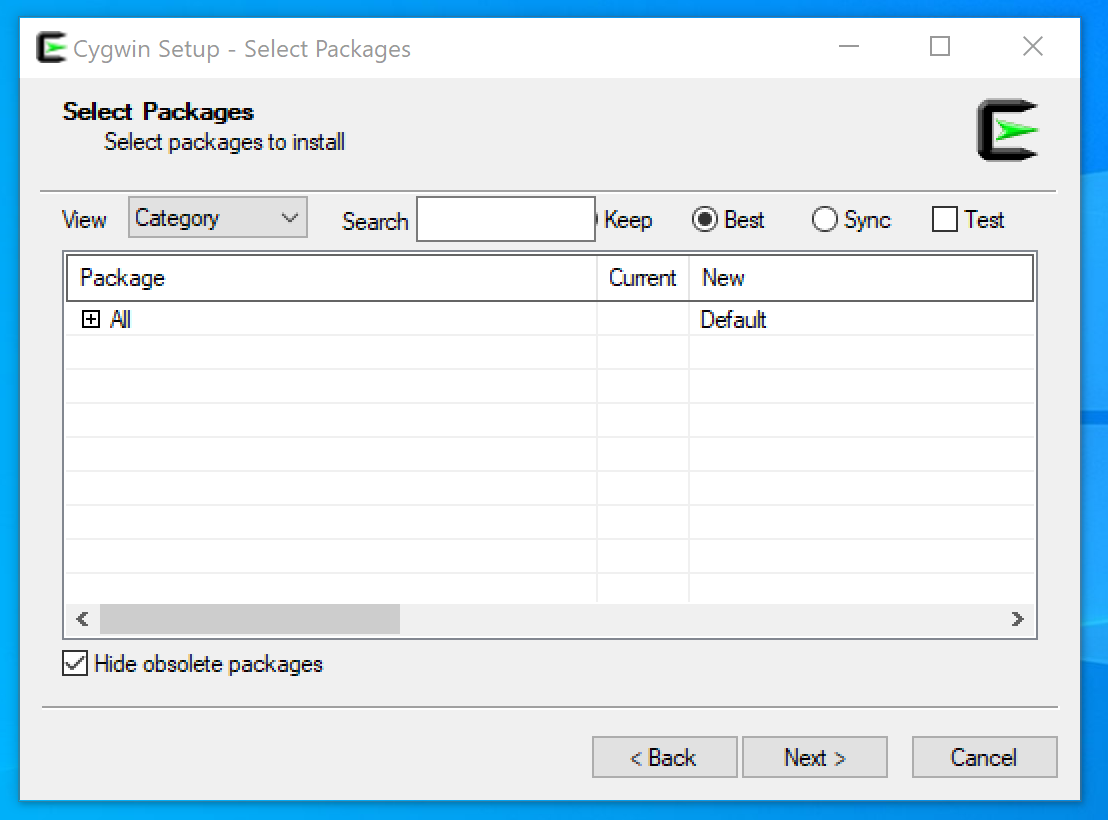
Cygwin will ask you where to install downloaded packages, whether a proxy is needed, and what download sites to use. Leave these options at their default unless you know what you are doing and why you'd need to change them. It will then start downloading. Once it has downloaded the list of available packages to install, it will ask which packages you want. Choose the default option "All":
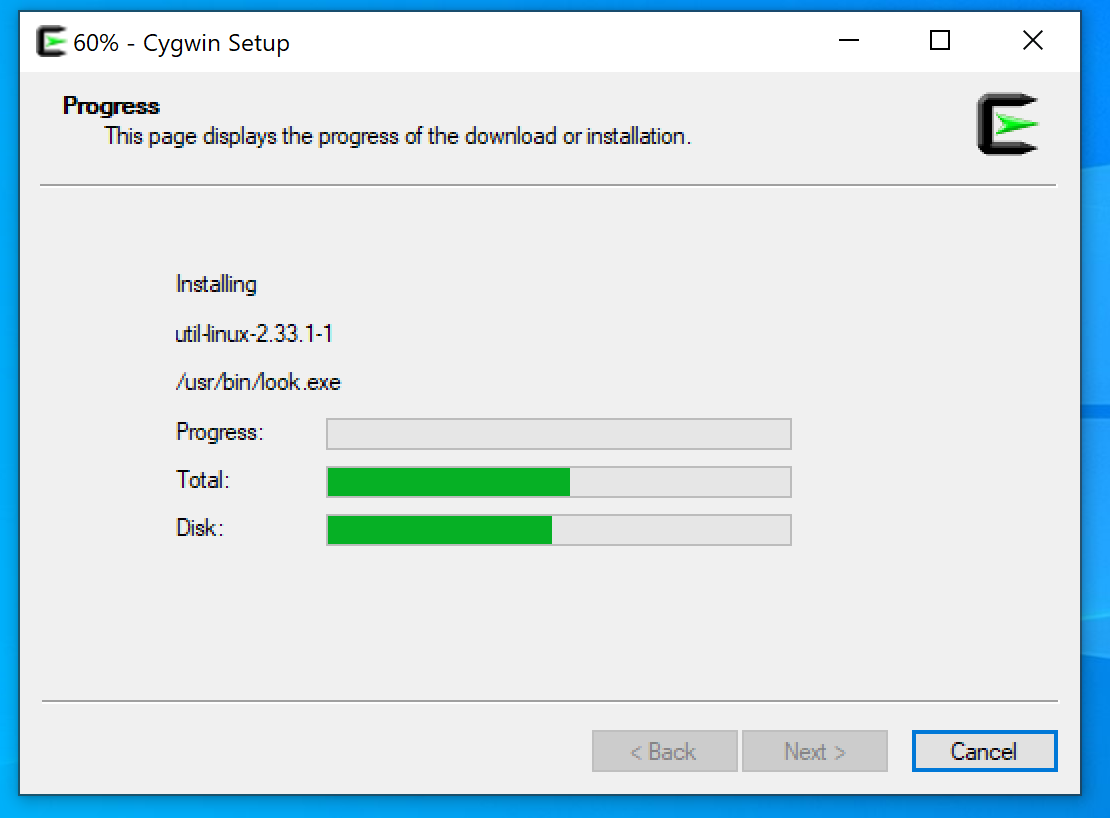
The installer will now start downloading and installing the programs:
Once Cygwin has finished installing, you will have a link to open Cygwin available on the desktop and start menu.
You can use this link to start using the "Bash" shell, or if you prefer you can open the "Command Prompt" as described in Opening the Shell and run the bash program:
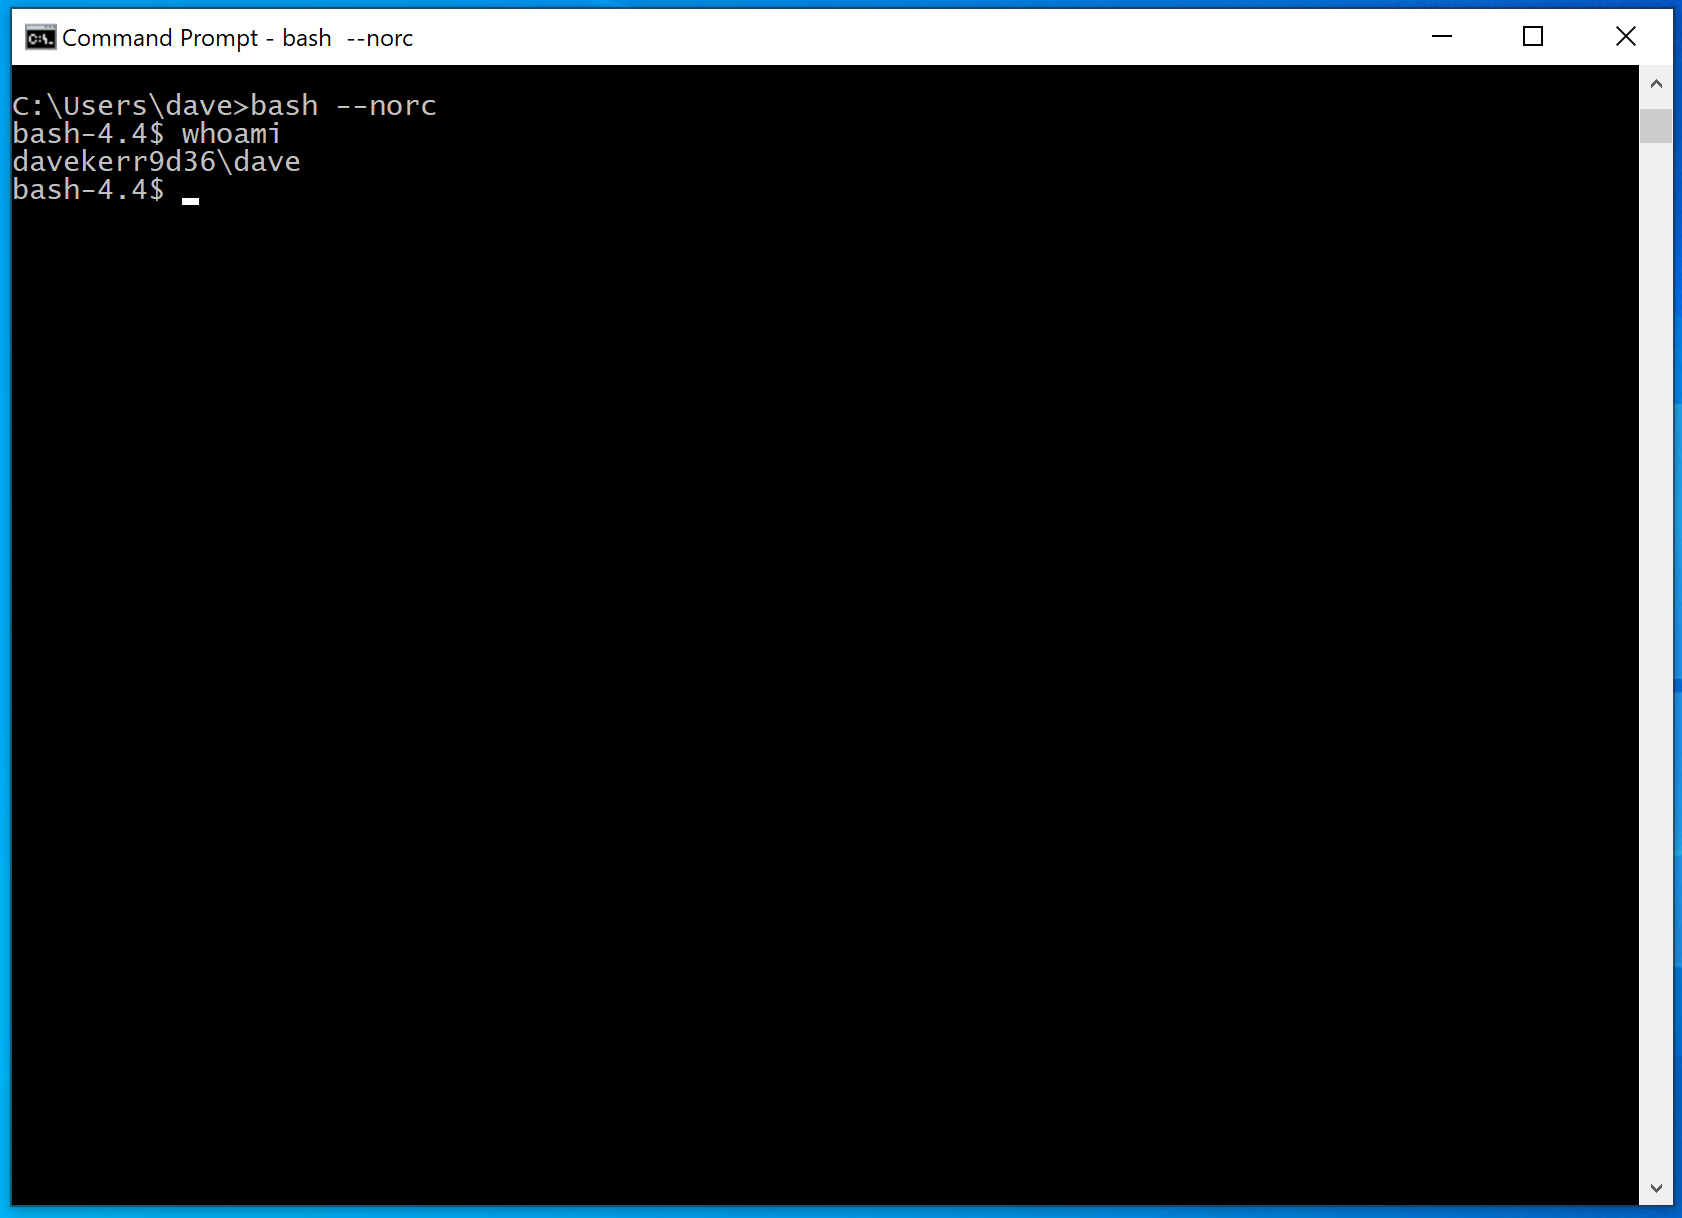
Note that you shouldn't use the --norc option. I have used it in the screenshot above just so that my Bash looks like it would after a clean install, without my own customisations added.
At this point you have a ready-to-go bash environment and can continue on to the Summary and Next Section.
Option 2: Use a Virtual Machine
We can run a virtual machine on Windows which will give us a complete Linux environment. This is an ideal way to create a safe sandbox for experimentation, without changing how the rest of the system is setup.
There are many ways to run a virtual machine on Windows. For this example we'll use the free 'Oracle VirtualBox' tool. VirtualBox will run a virtual machine, and on that virtual machine we will install the popular Ubuntu distribution of Linux.
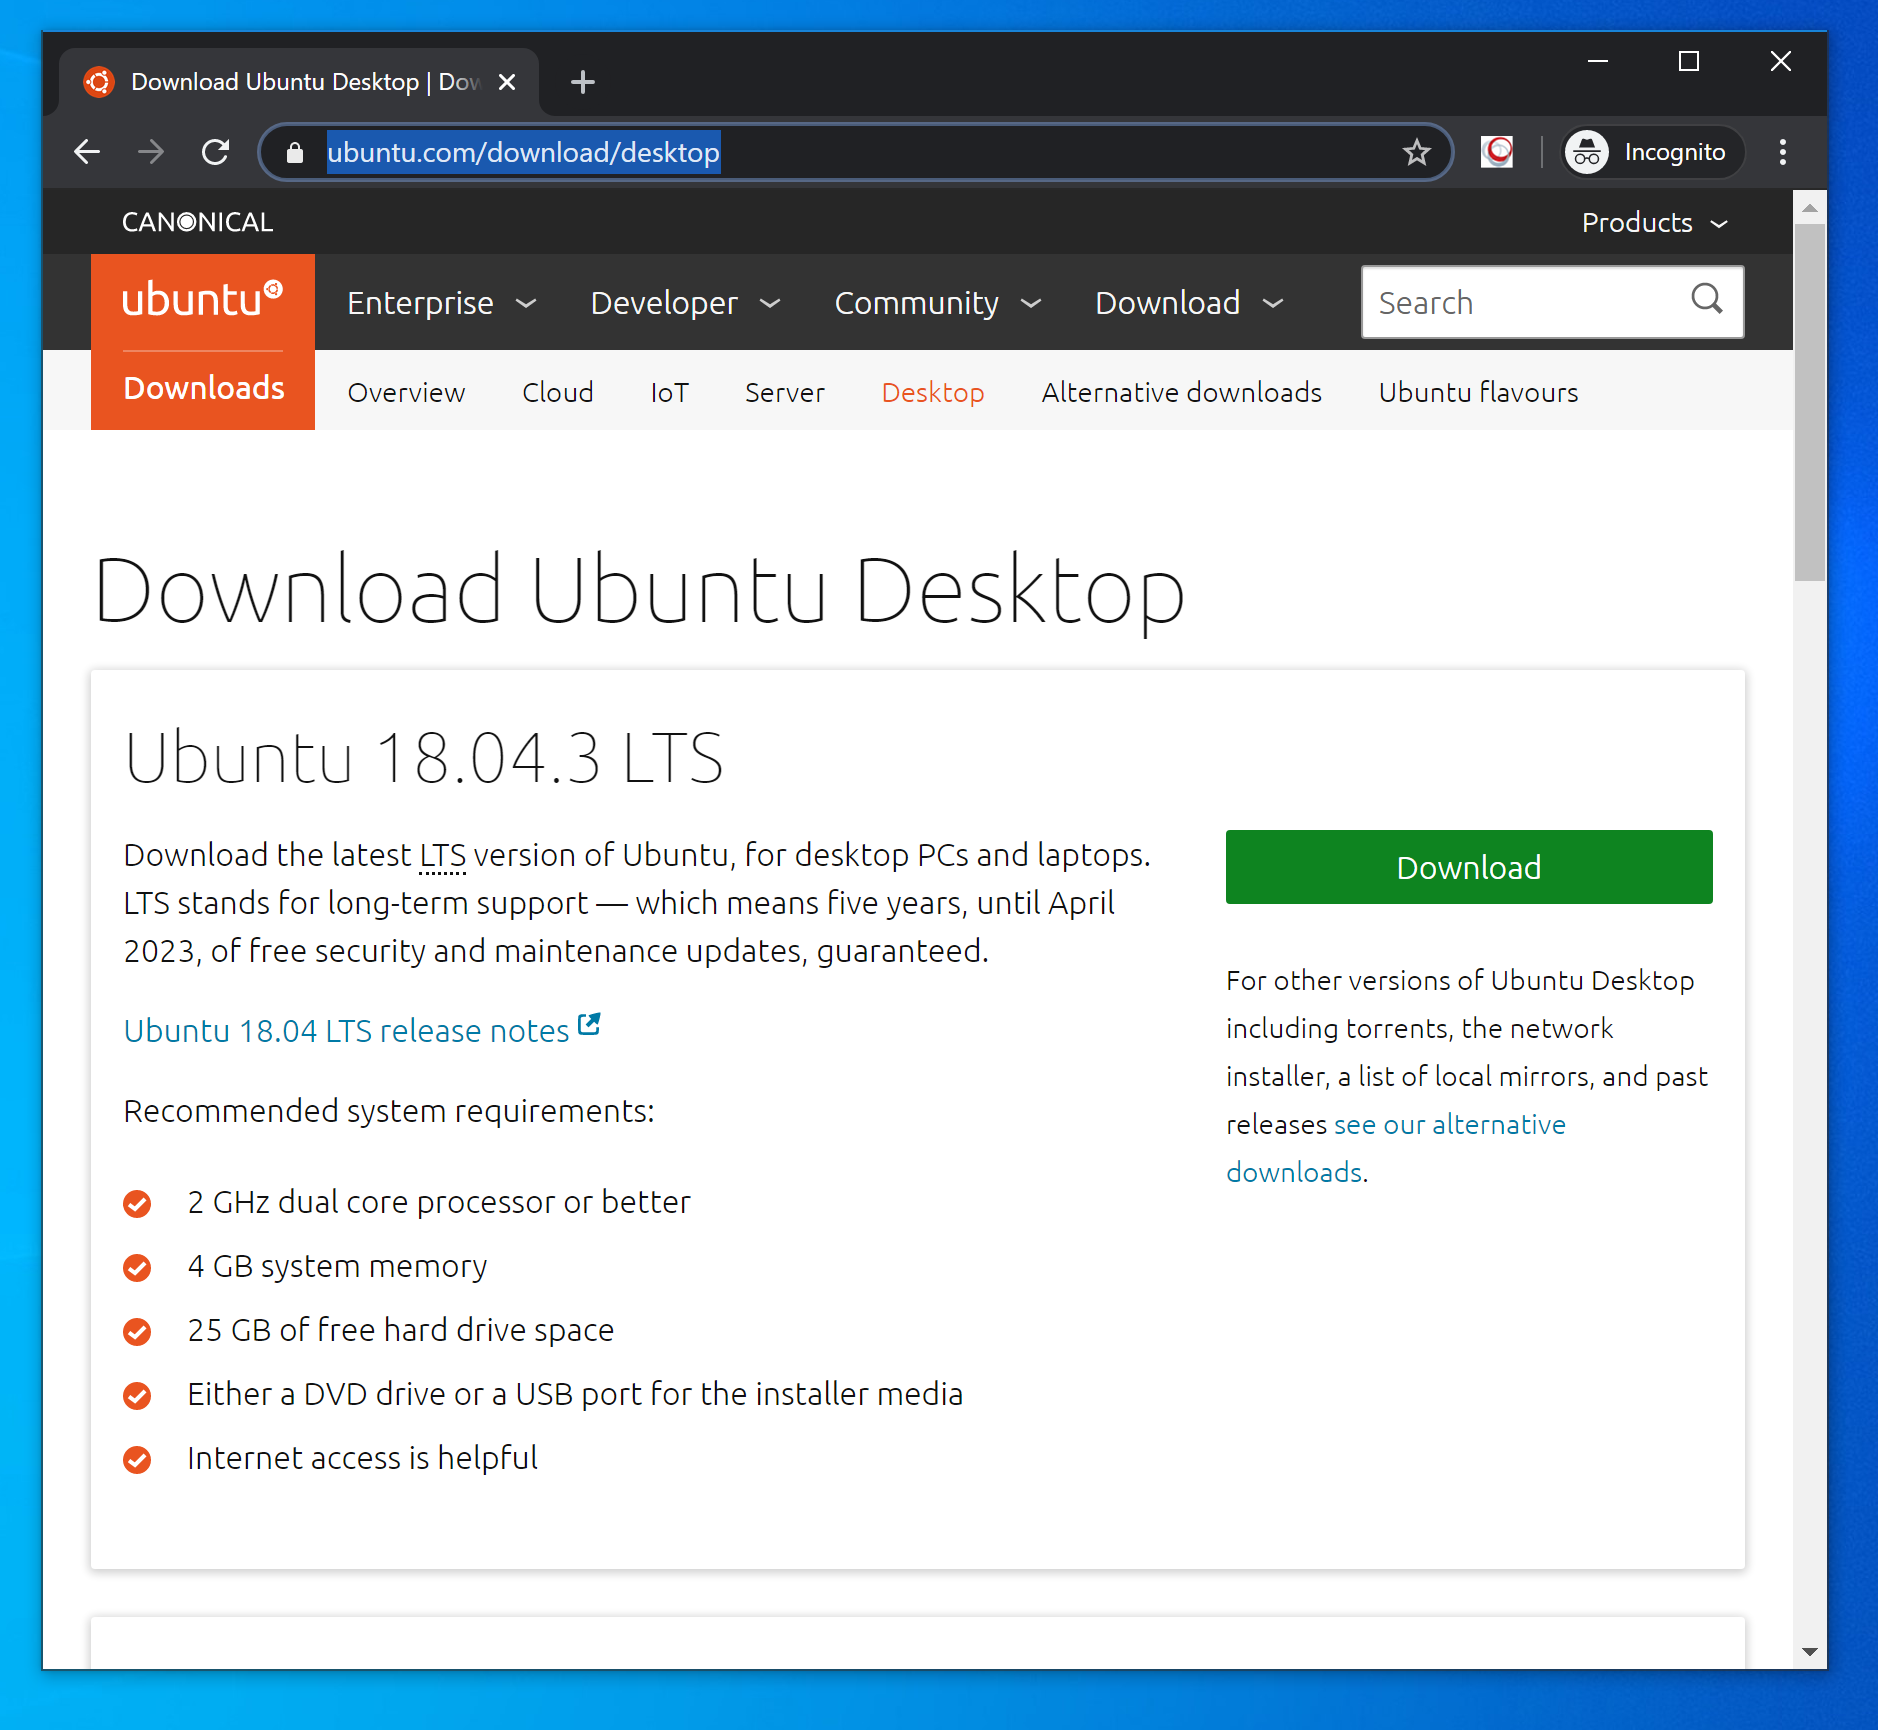
First, start downloading Ubuntu, which might take some time as the download is quite large. You will want to install the latest Desktop Edition (which at the time of writing is version 18):
While the Ubuntu software downloads, we can install VirtualBox. Go to the VirtualBox Website and download the VirtualBox installer. You will need the installer for 'Windows Hosts'.
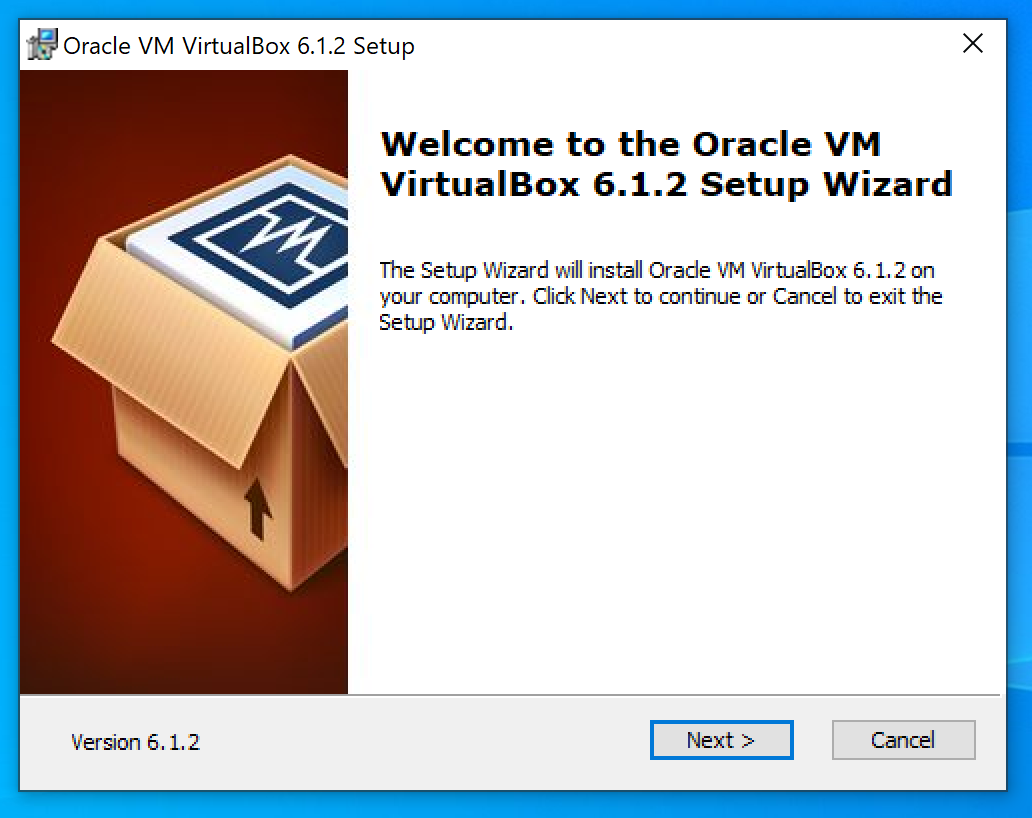
Once the installer has downloaded, run it to start the installation:
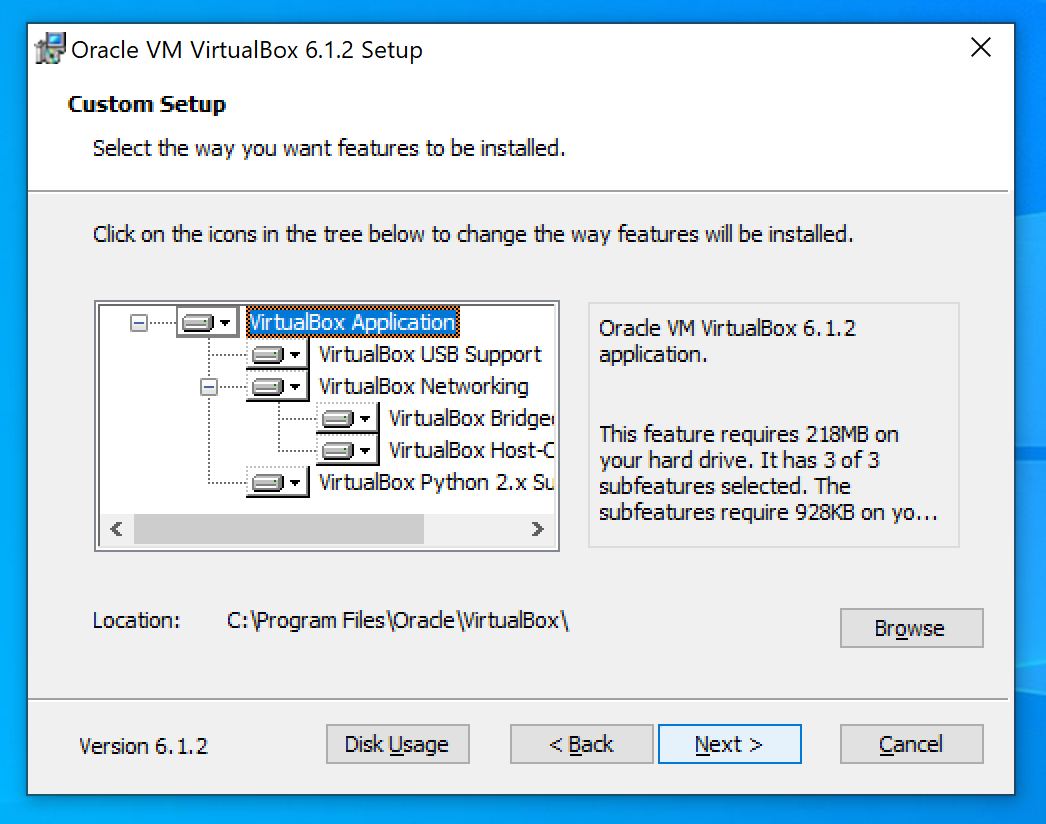
Next you will be asked to configure the installation options. The defaults will be fine for most users:
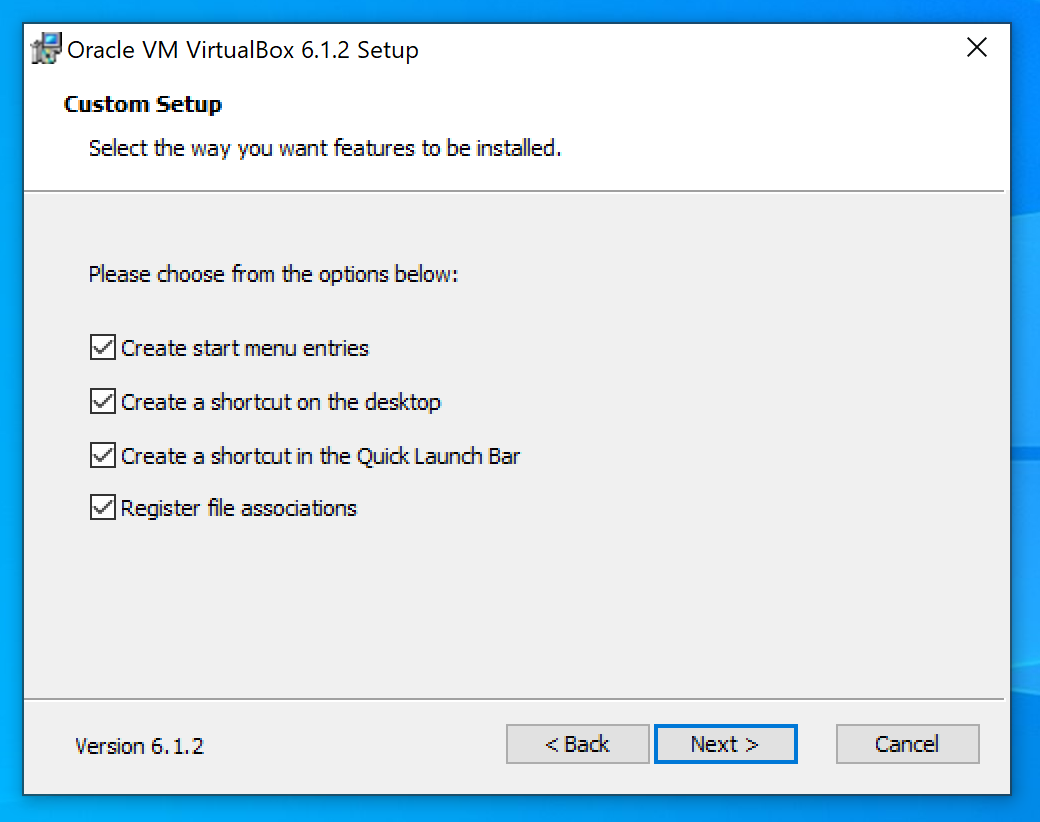
Then the installation will start:
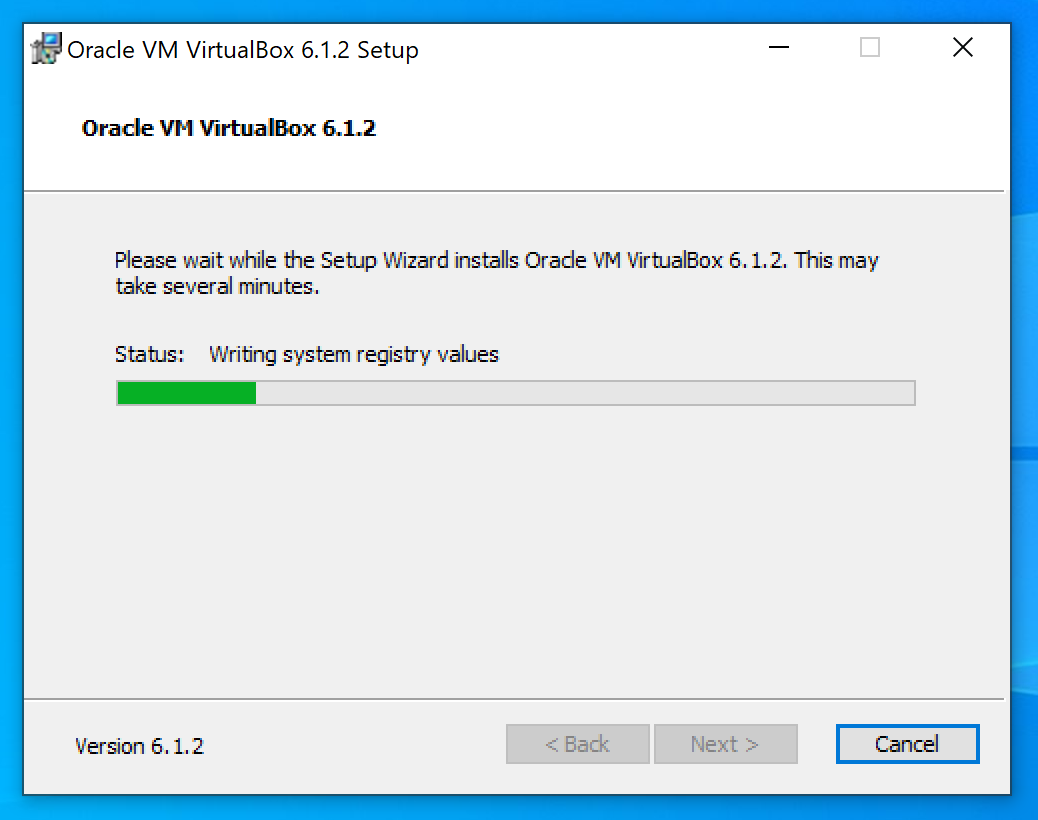
Once the installation is complete and the Ubuntu installer has downloaded we can move onto the next step.
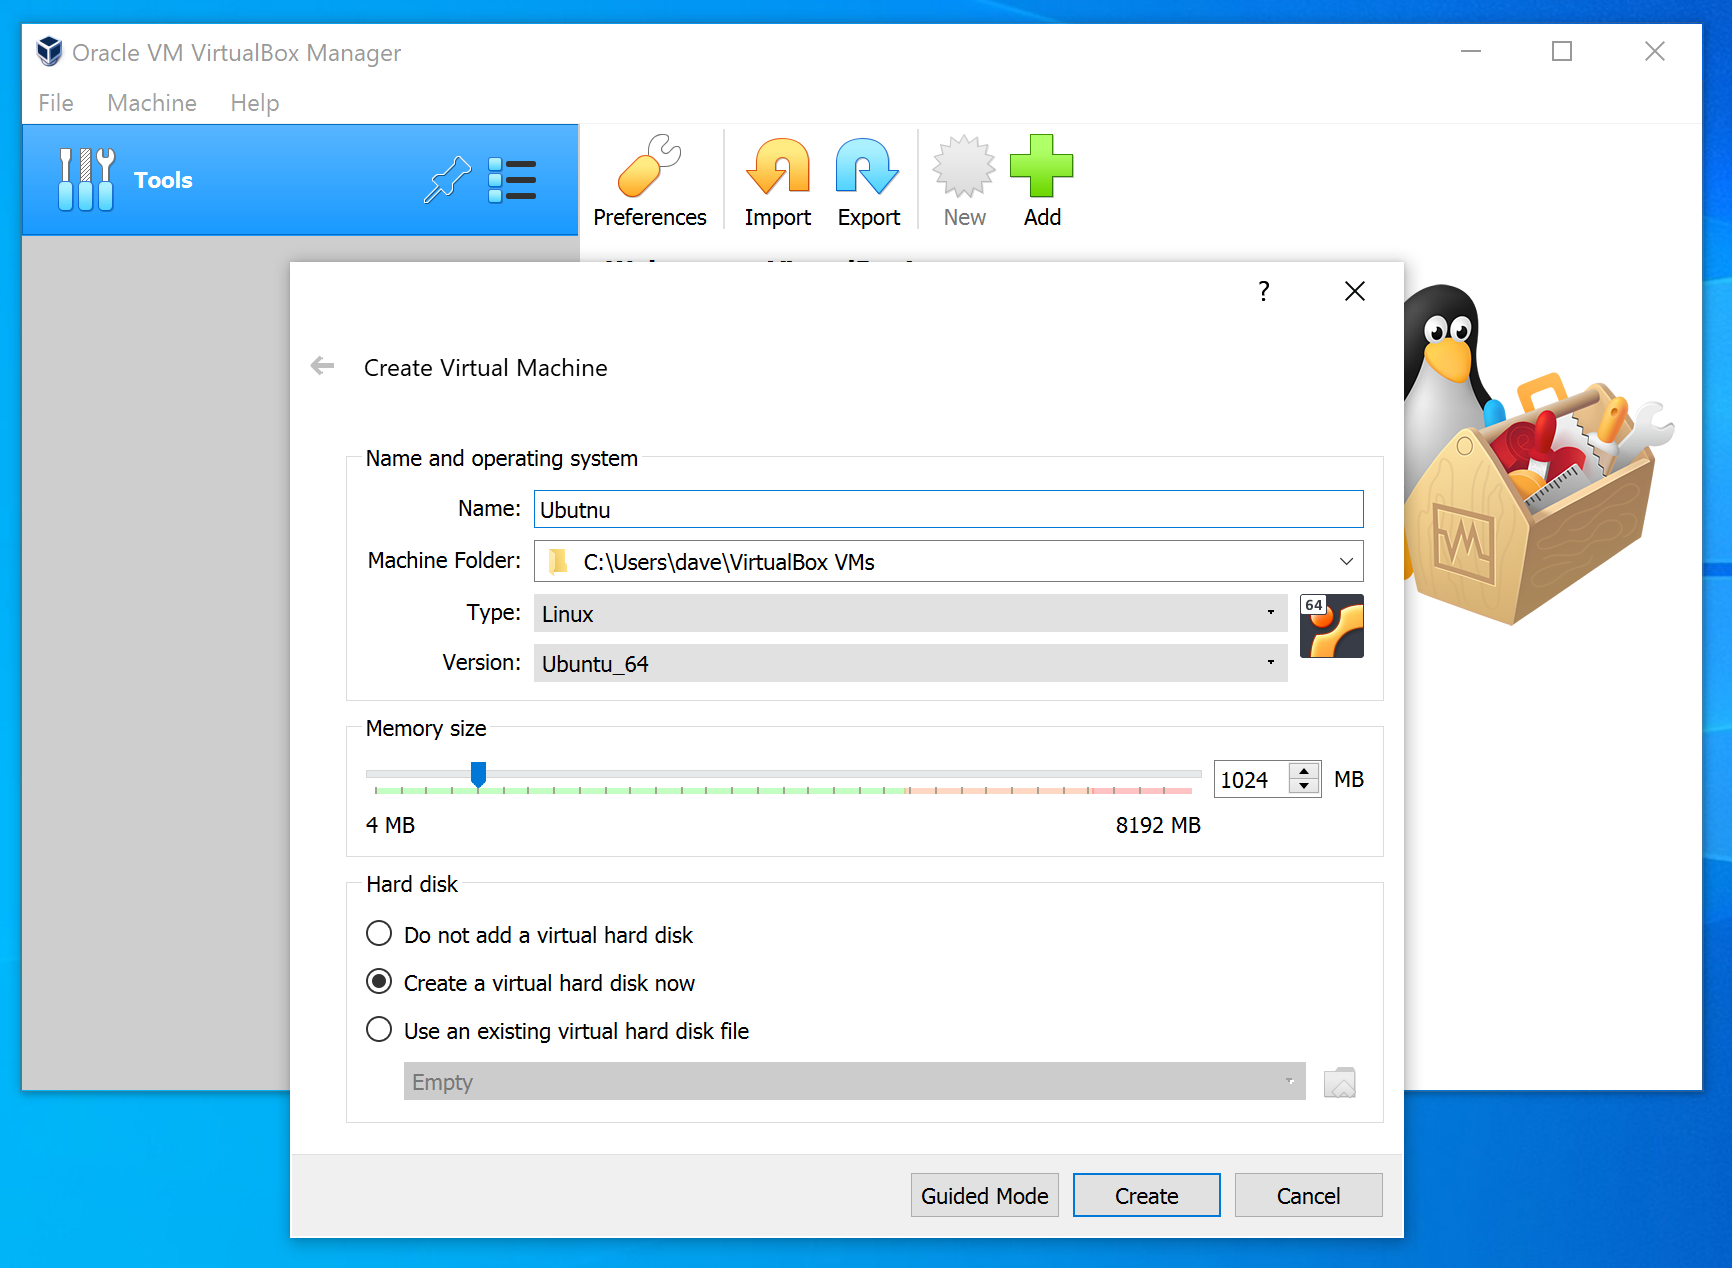
Open VirtualBox and choose 'New' to create a new Virtual Machine. Ensure "Expert Mode" is selected. Provide a name for the machine and choose "Linux" as the type and "Ubuntu_64" as the version type. Everything else can be left as the default, unless you want to tweak the machine settings:
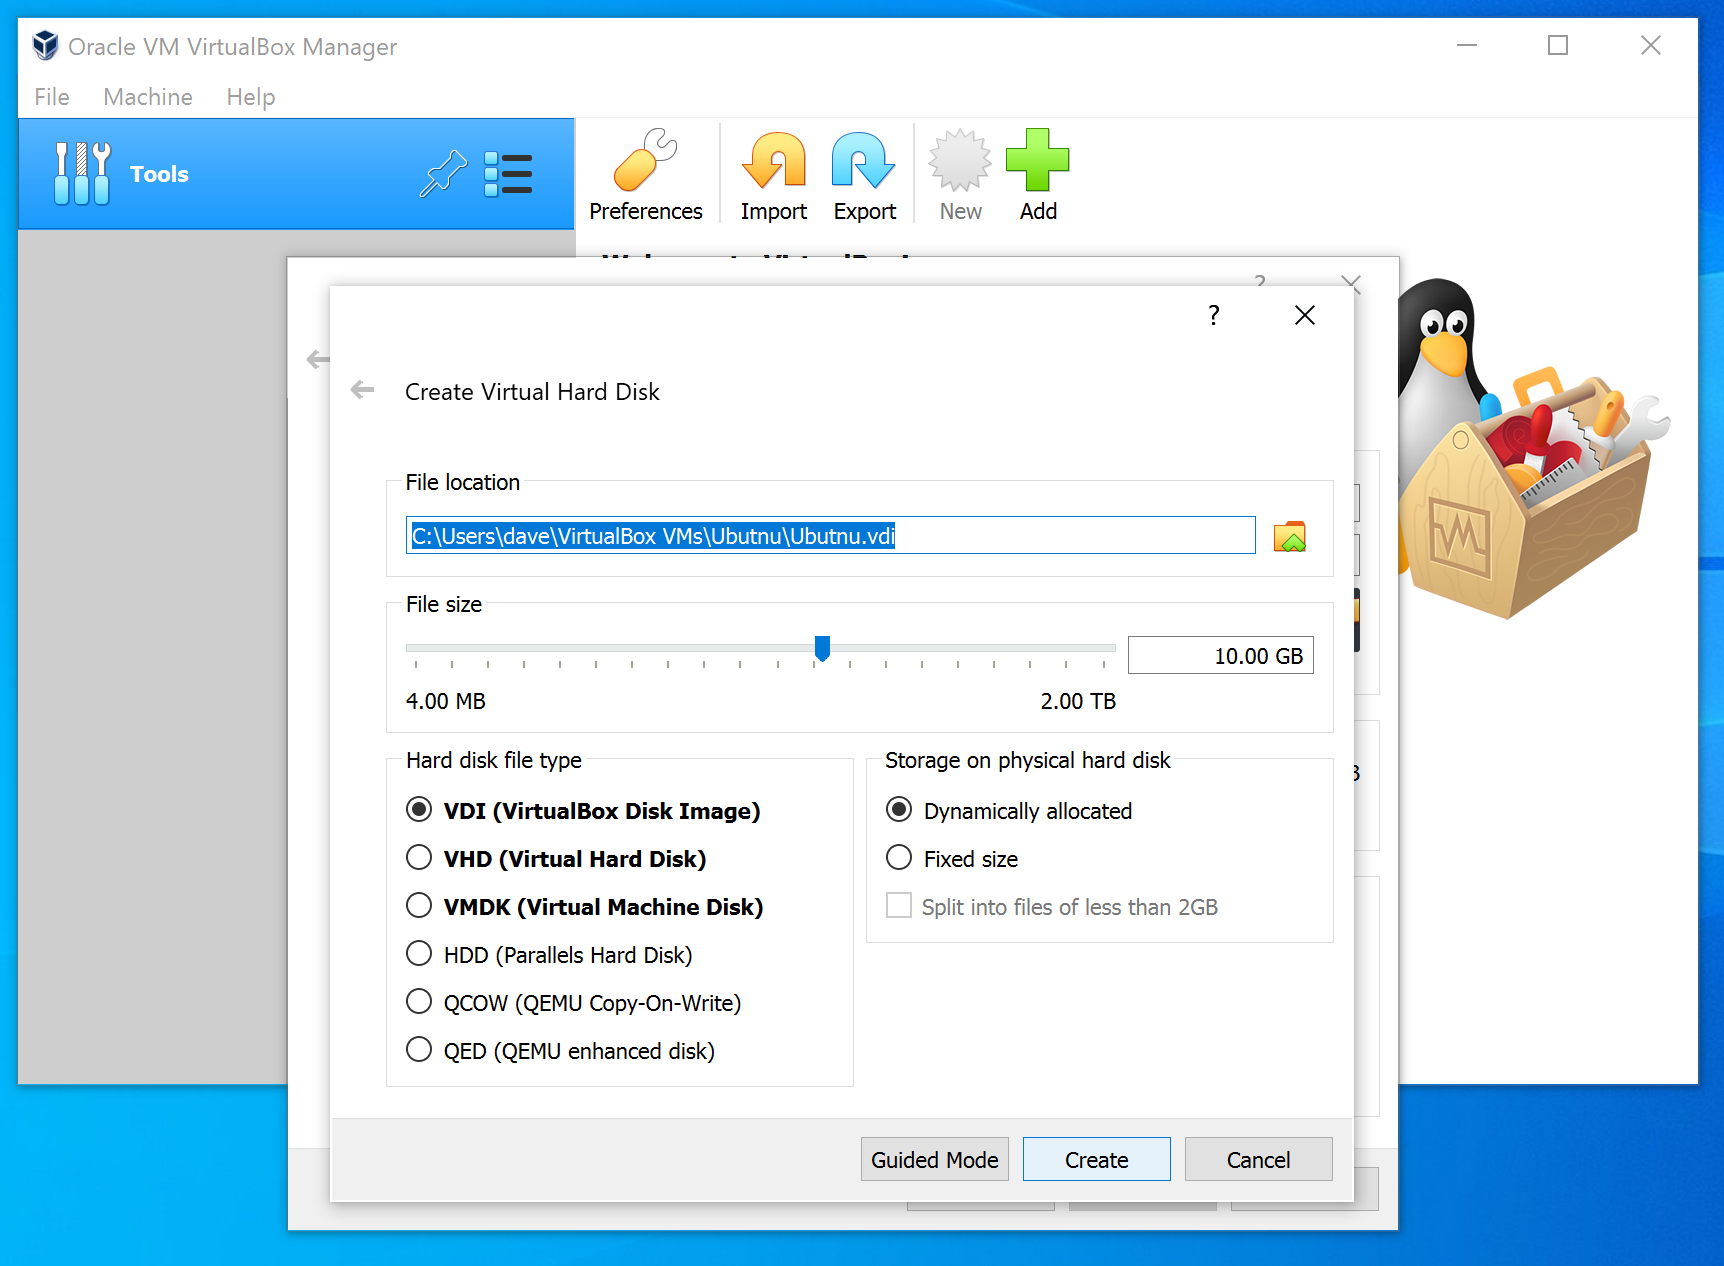
You will be asked to setup a virtual hard disk. I would recommend the default options for most users:
Once the machine has been created it will be shown in the main VirtualBox window. Select the machine and choose "Start":
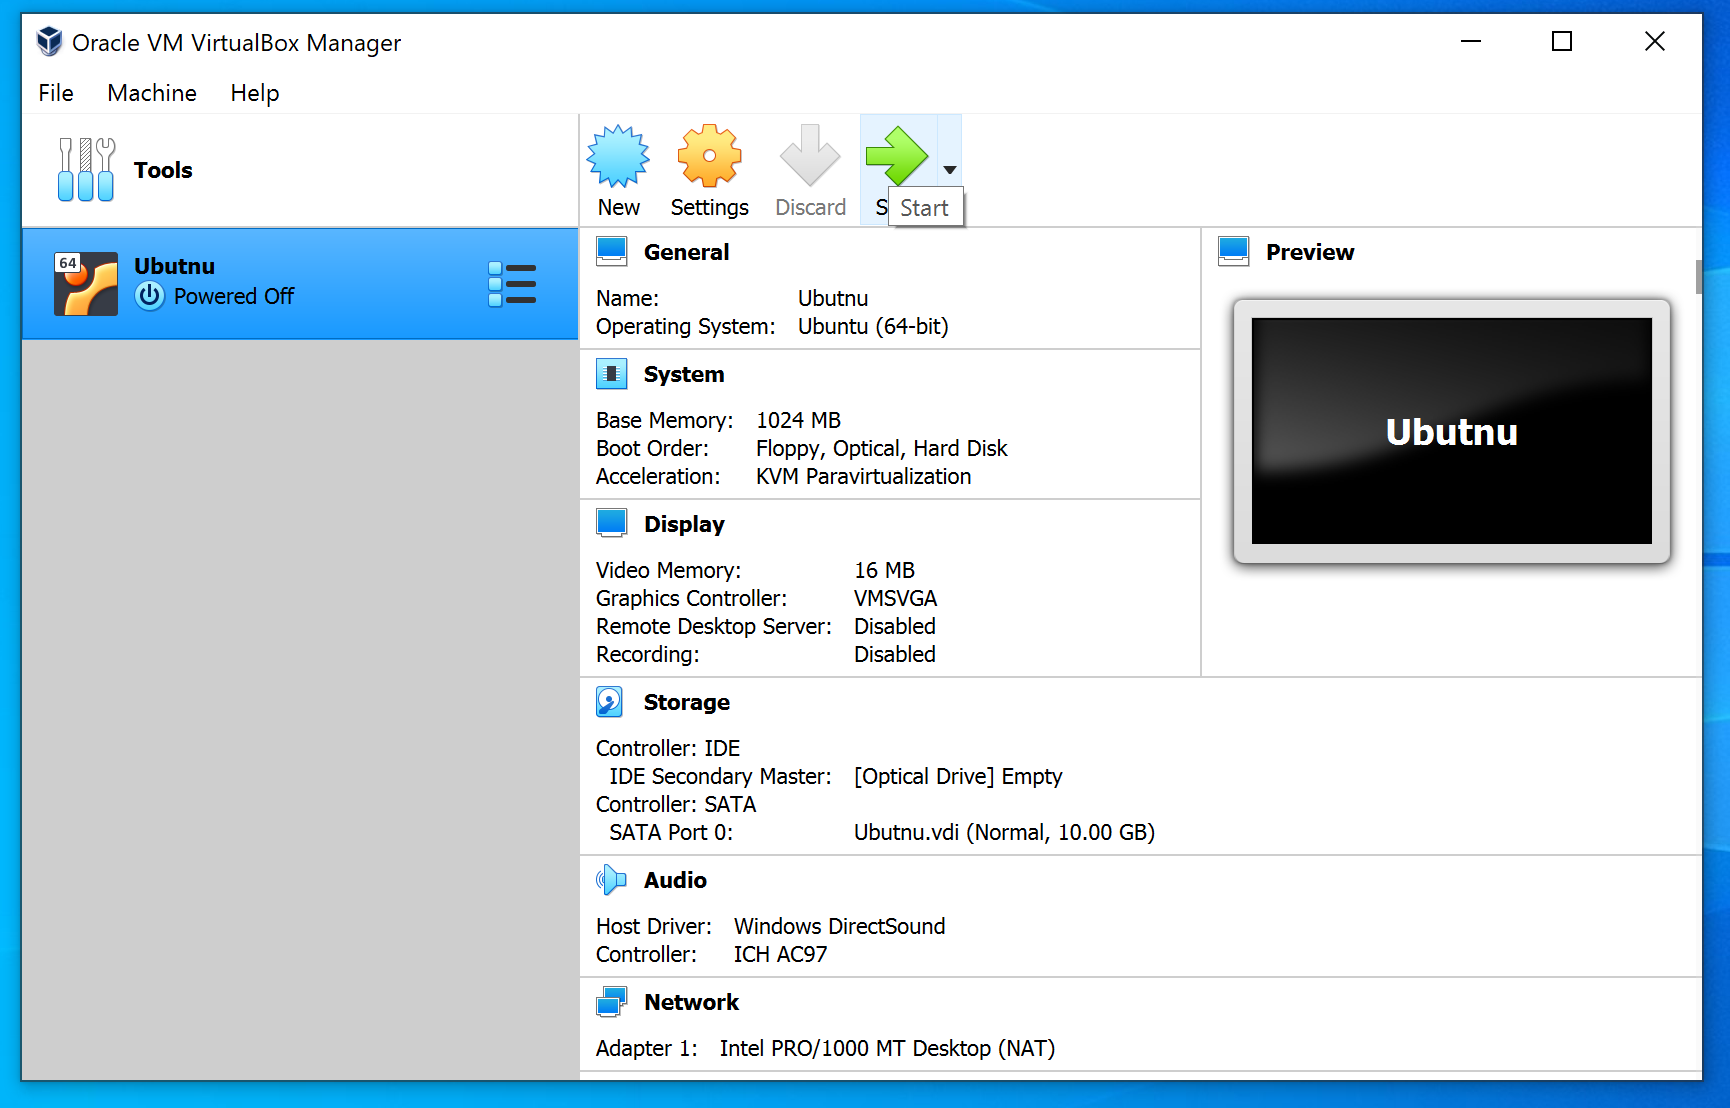
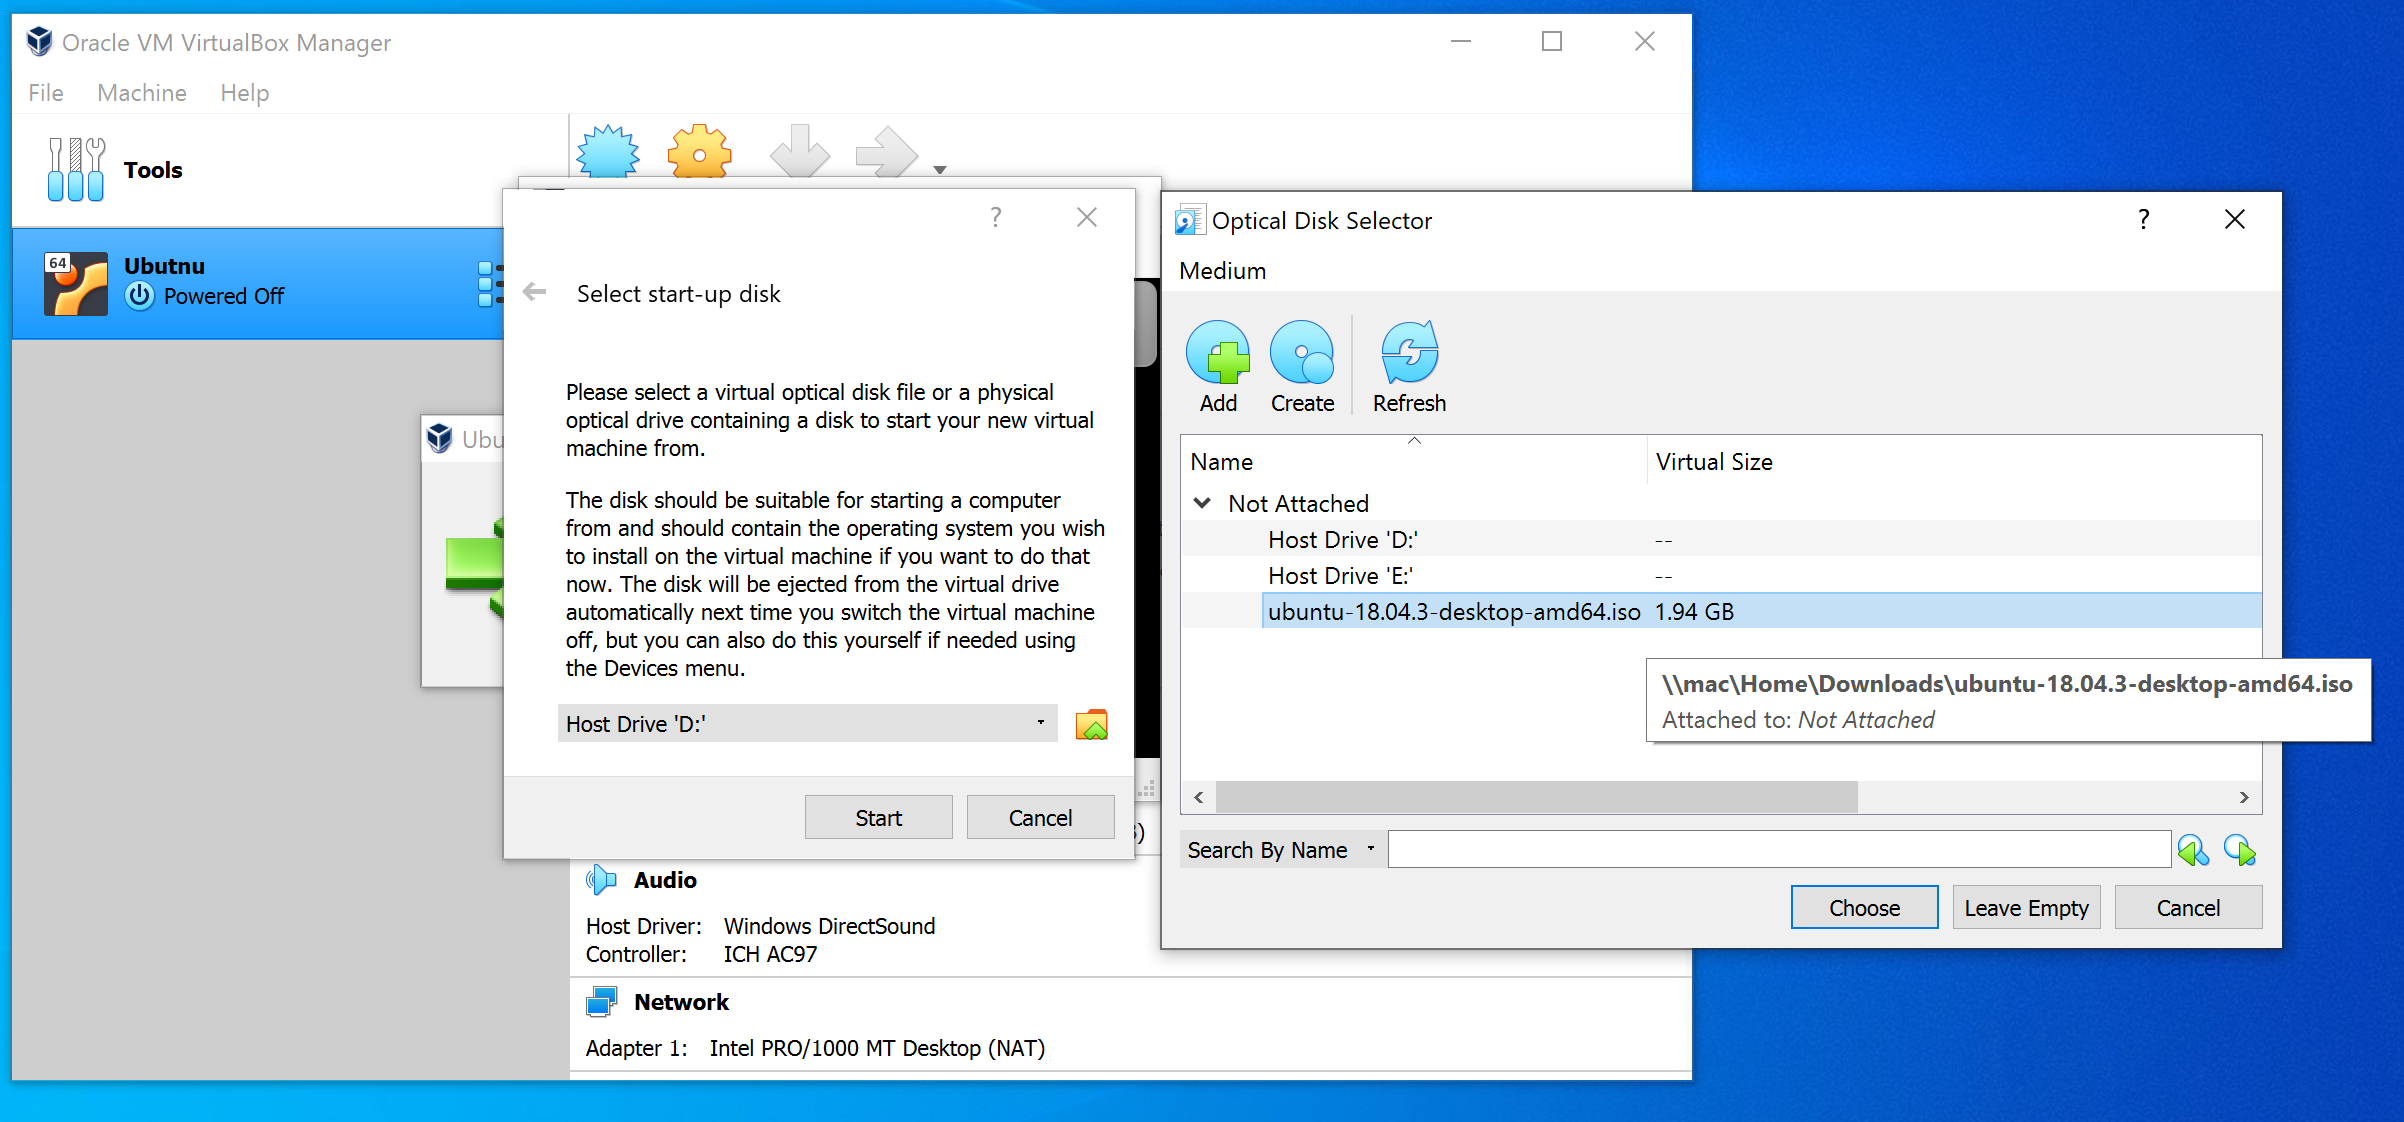
When the machine starts up it will ask you for a "Startup Disk". This is the disk which will be used to setup the operating system. Press the "browse" icon, then choose "open" and select the Ubuntu file which you downloaded, which should end in .iso:
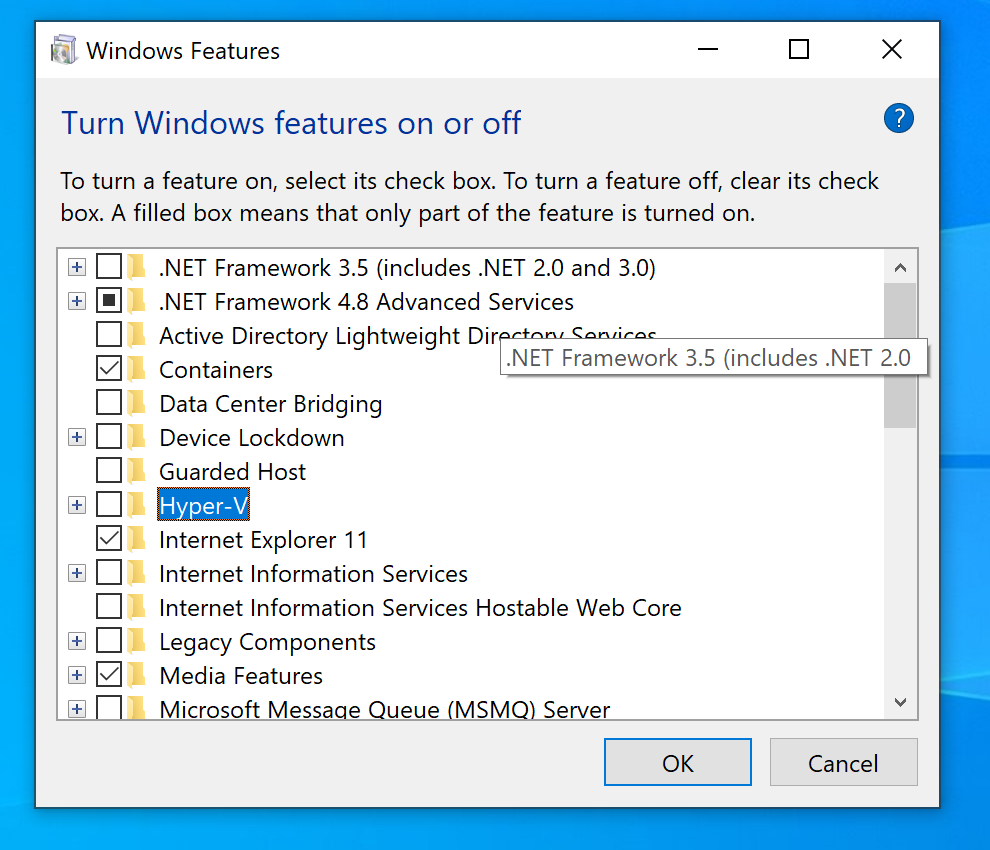
If this step fails, you may need to disable "Hyper-V" and "Windows Sandbox" by going to "Add or Remove Windows features":
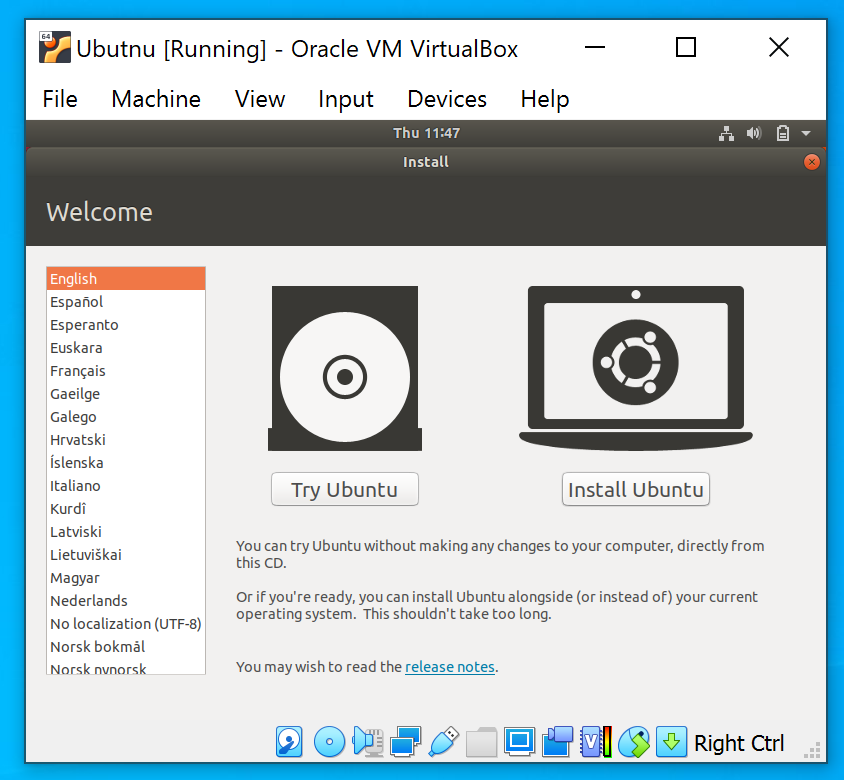
After a short while you will see the Ubuntu installer start up. Choose the "Install Ubuntu" option:
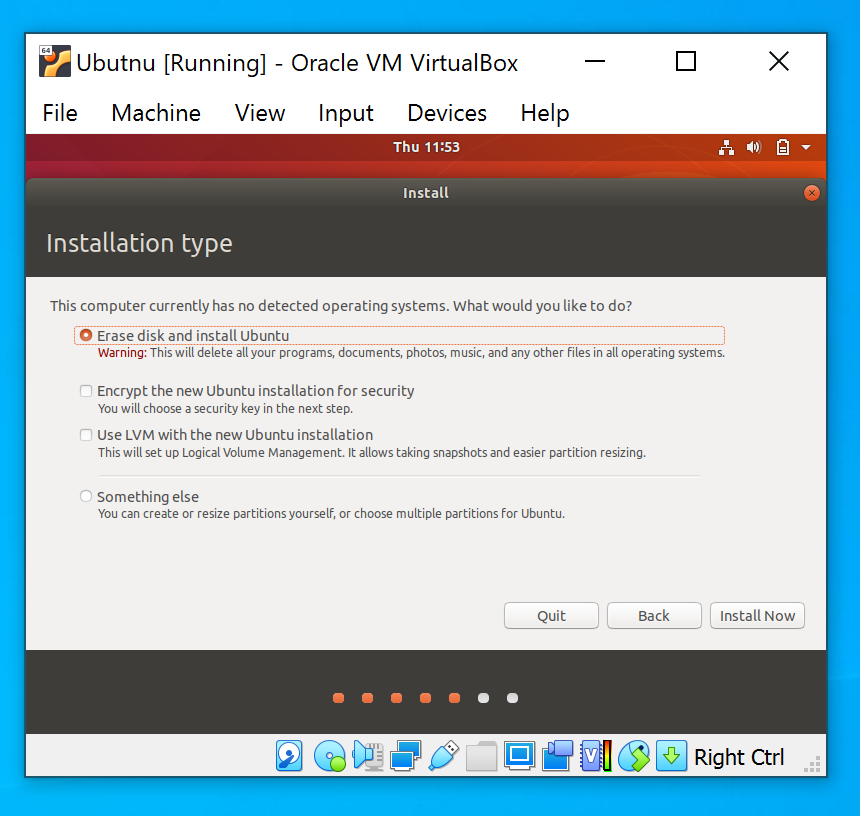
You can specify language settings, what components are installed and more. These options can be left at the default. On the final page, choose the "Erase disk and install Ubuntu" option:
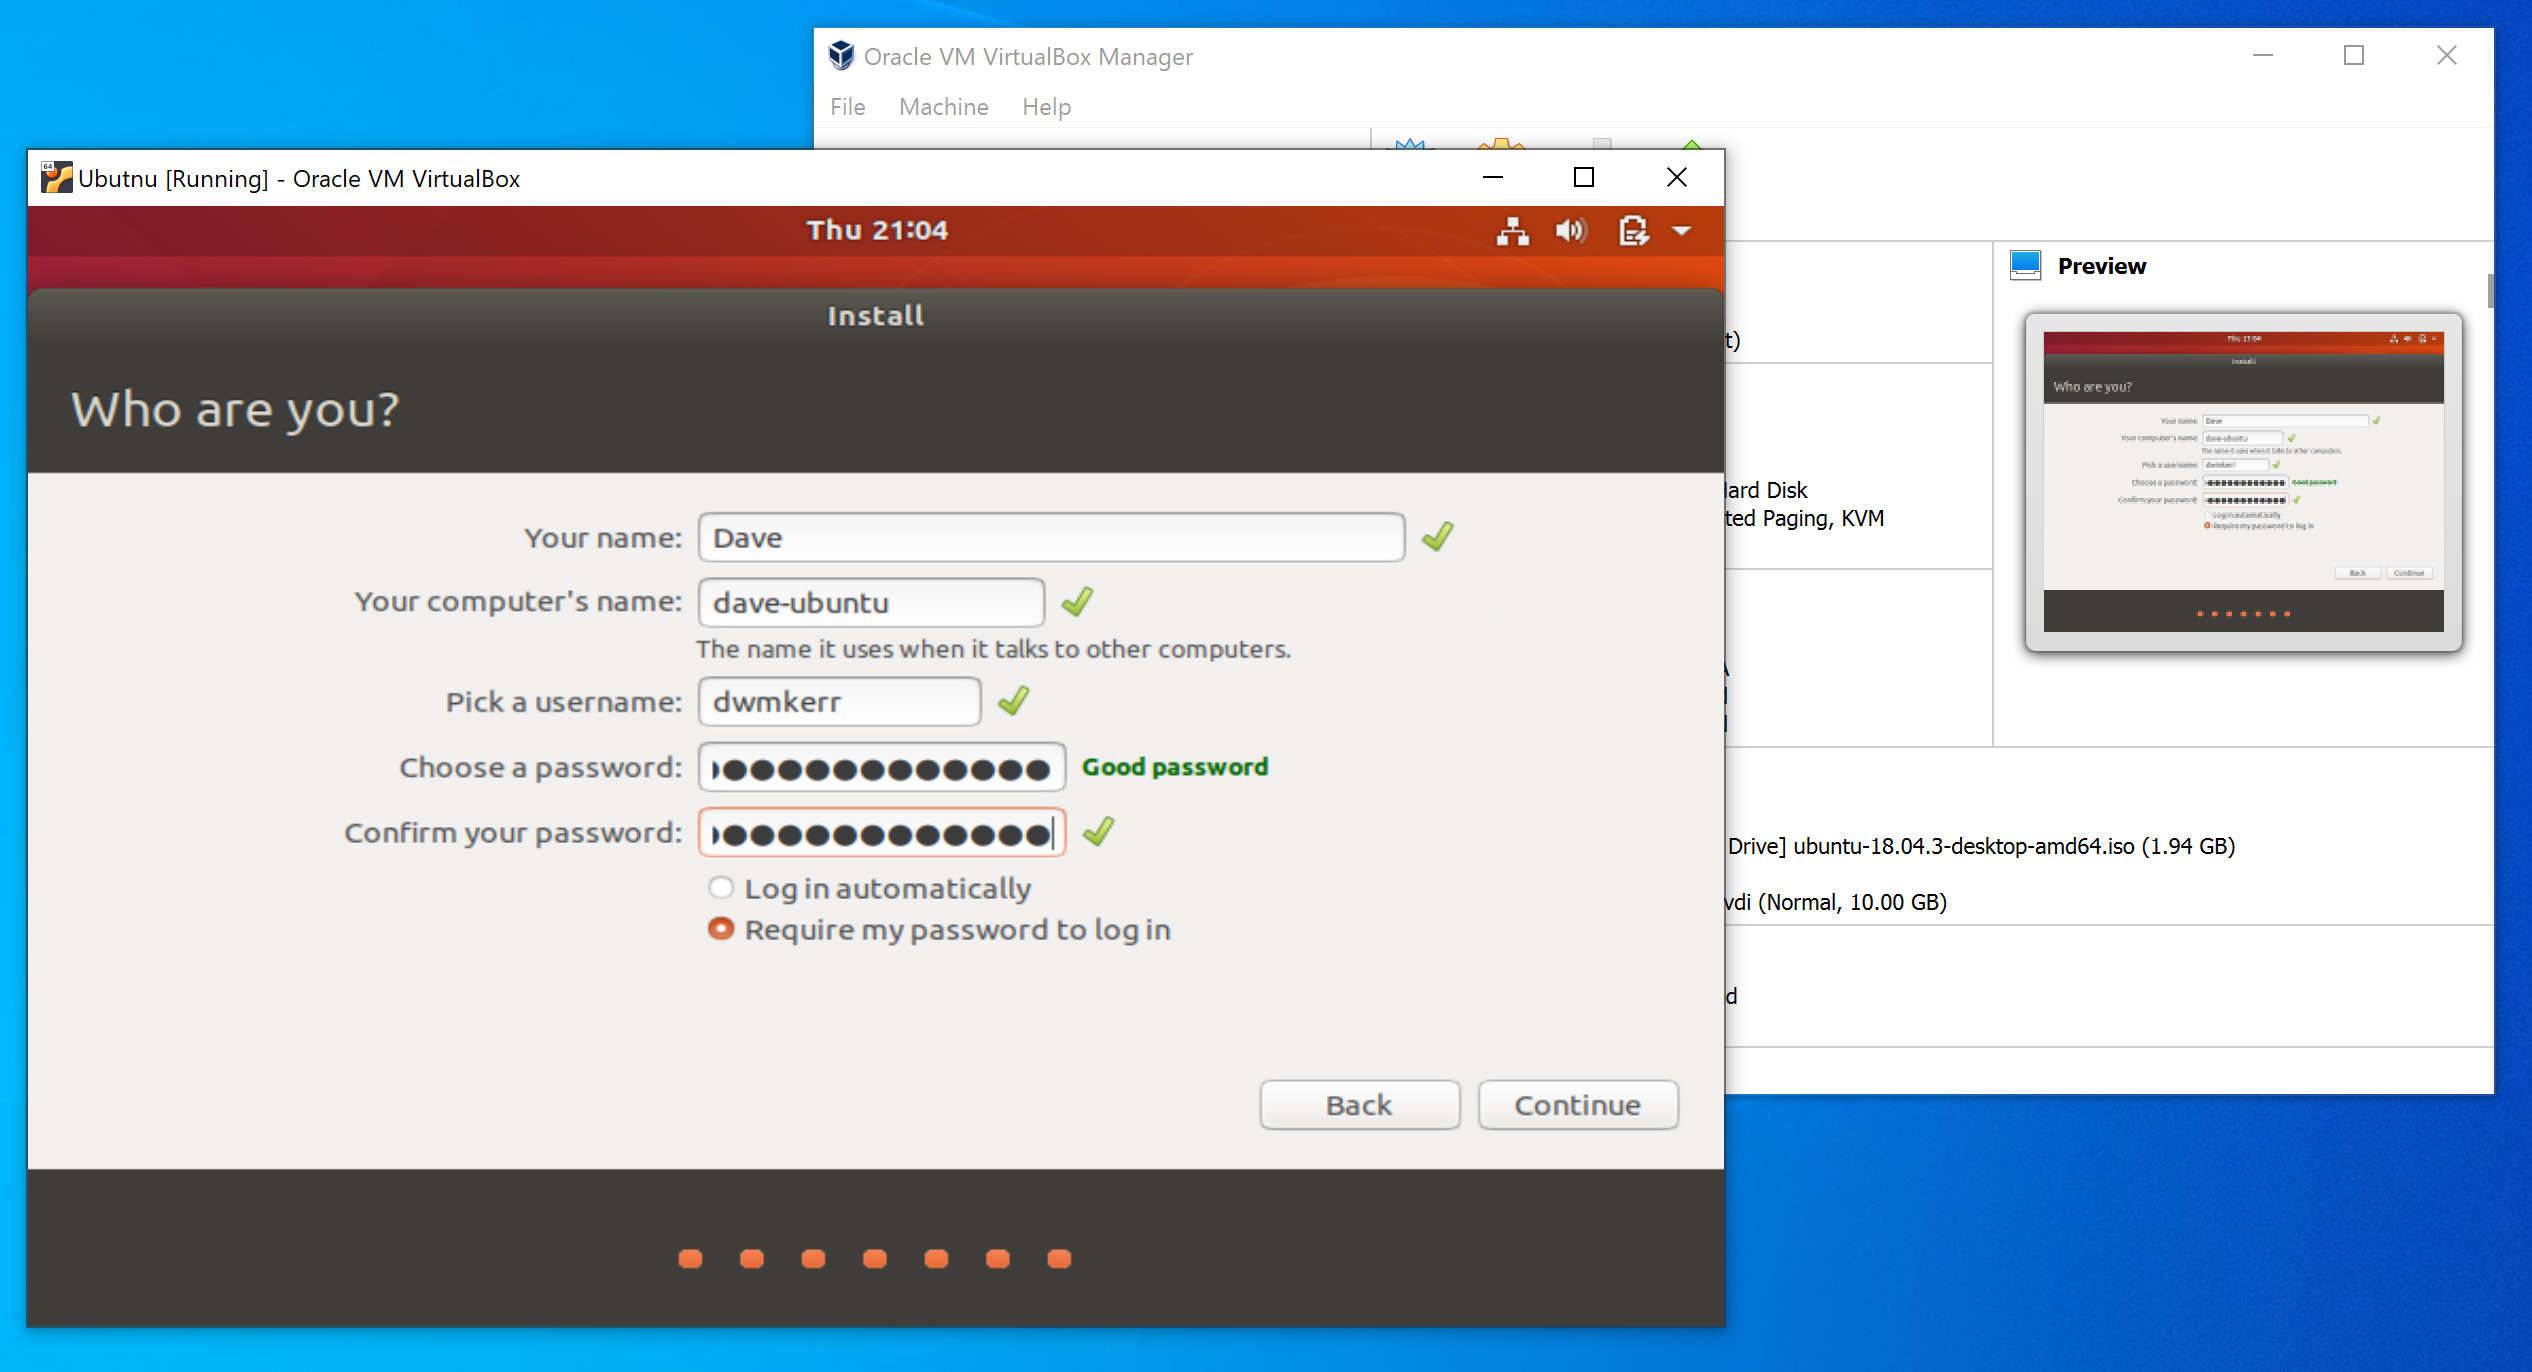
The final step will be to choose a name for the computer, and a username and password to log in with. You can use any values you like here, just don't forget them!
After this the installation will proceed. It might take a little while. After the installation is complete, you will need to restart. If you get an error saying "Please remove installation medium" just power off the machine and restart it. After restarting you can log into the machine with the credentials you specified earlier.
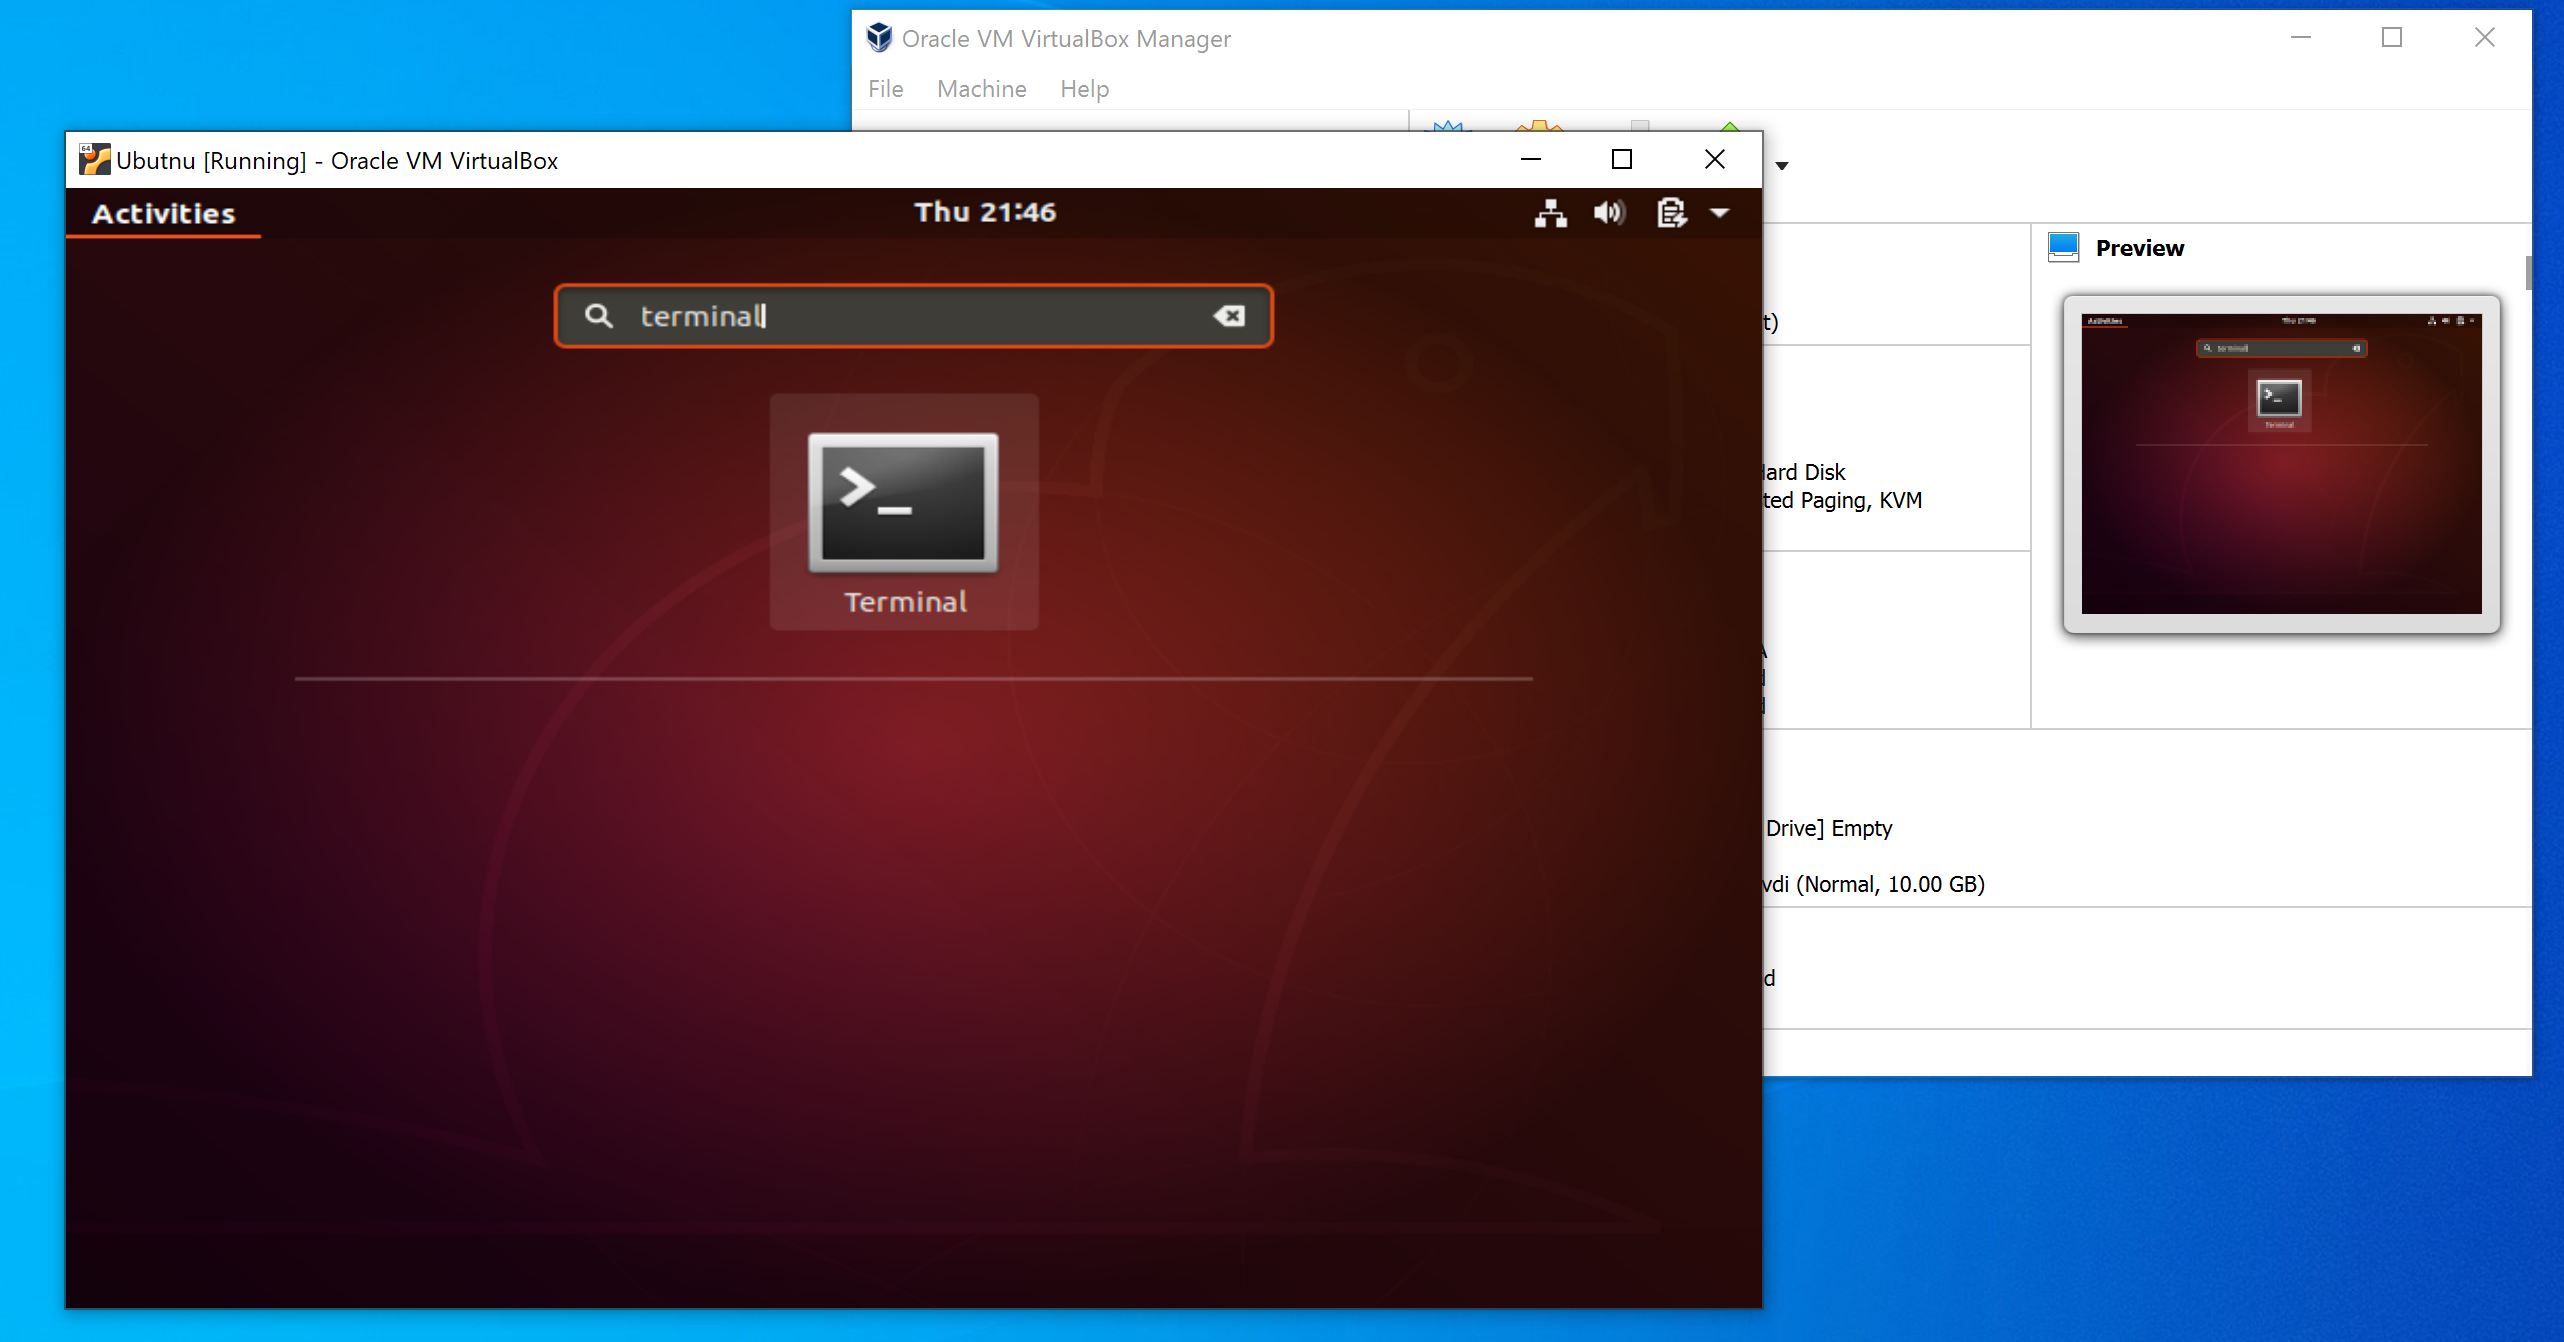
When you have logged in, press the applications icon on the bottom-left of the screen and search for the "Terminal" application:
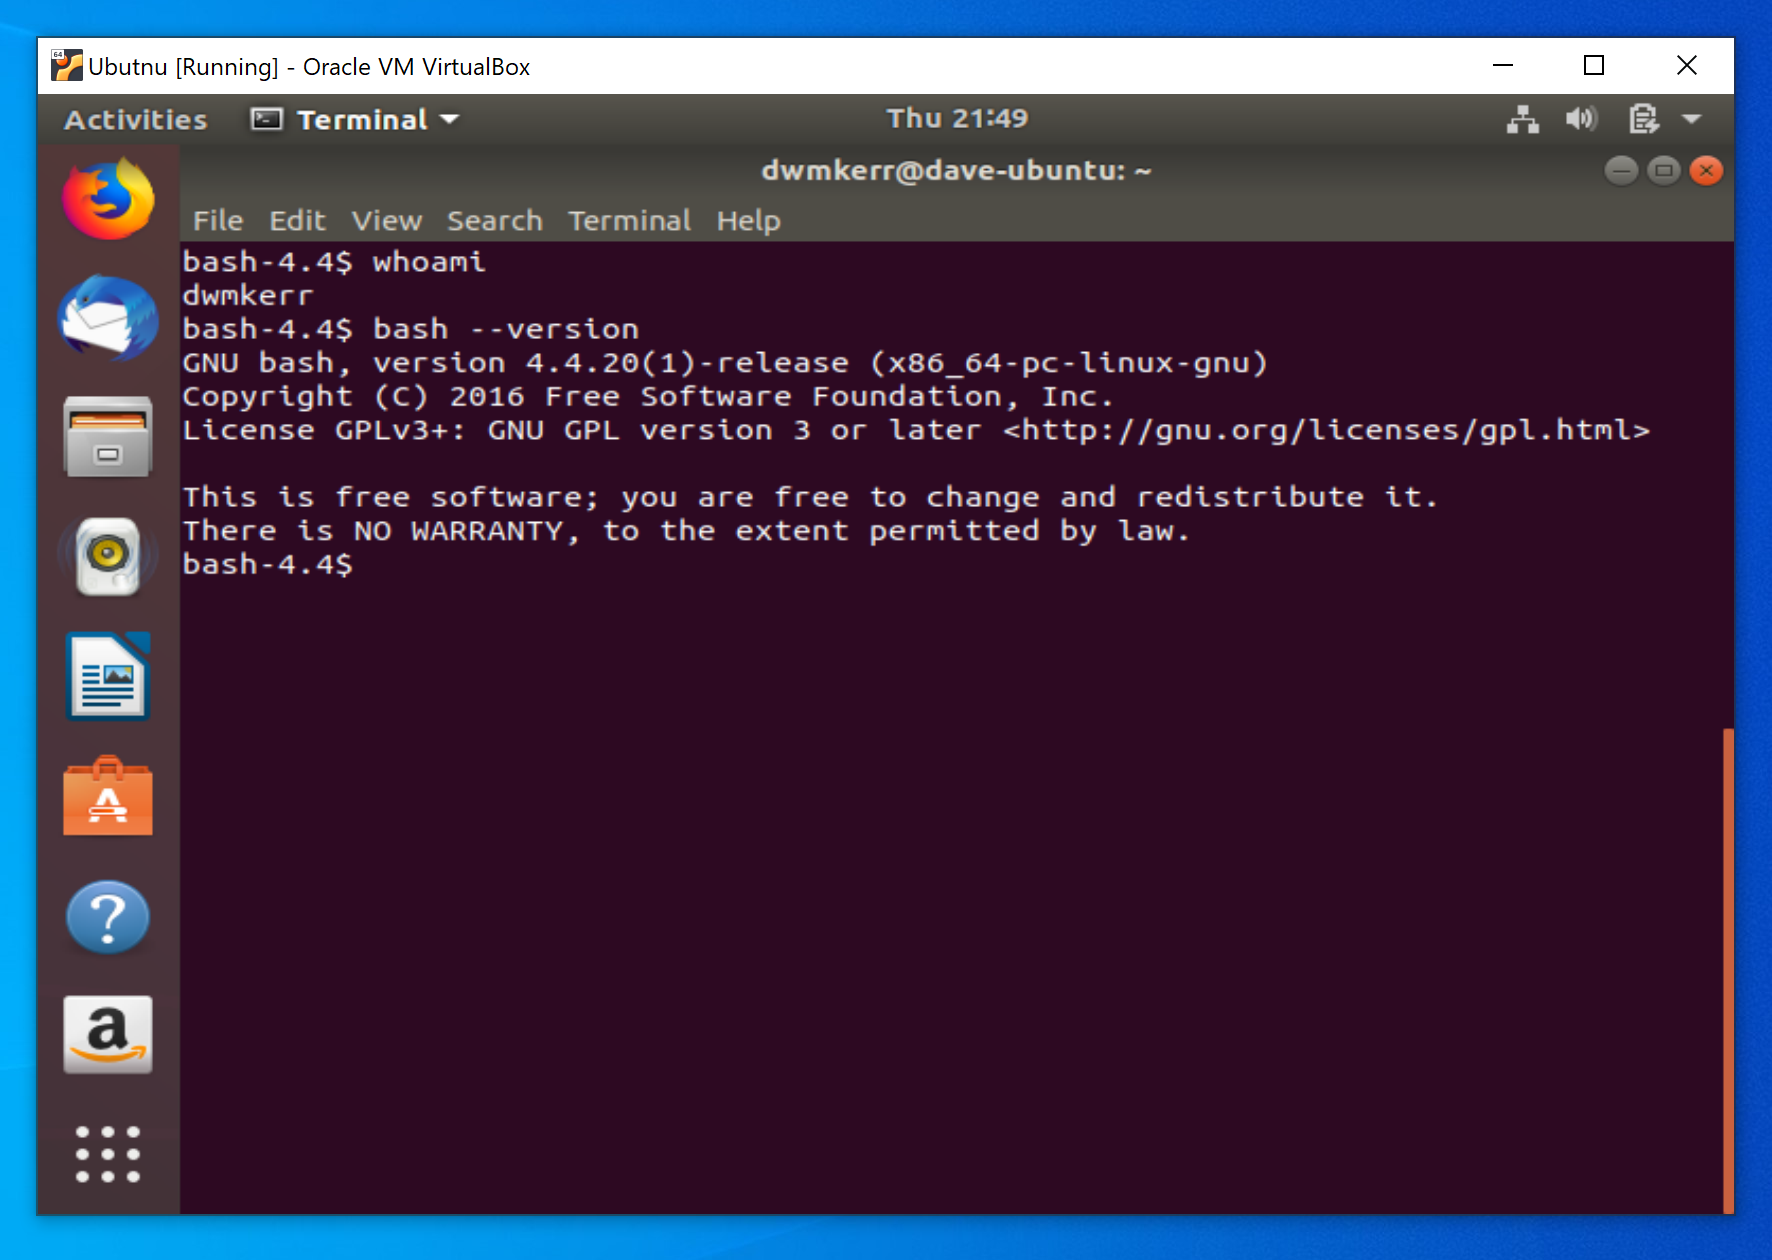
You are now running the "Bash" shell in the terminal. You can run the whoami command to show the current user, or bash --version to see the version of Bash which is installed:
That's it! You now have a virtual machine running Ubuntu and Bash which you can use to learn about the shell.
Option 3: Setup the Windows Subsystem for Linux
The Windows Subsystem for Linux is a relatively new set of features for Microsoft Windows. It allows users to install a Linux distribution on their Windows machine. This is a great way for us to be able to use the "Bash" shell without having to set up a virtual machine.
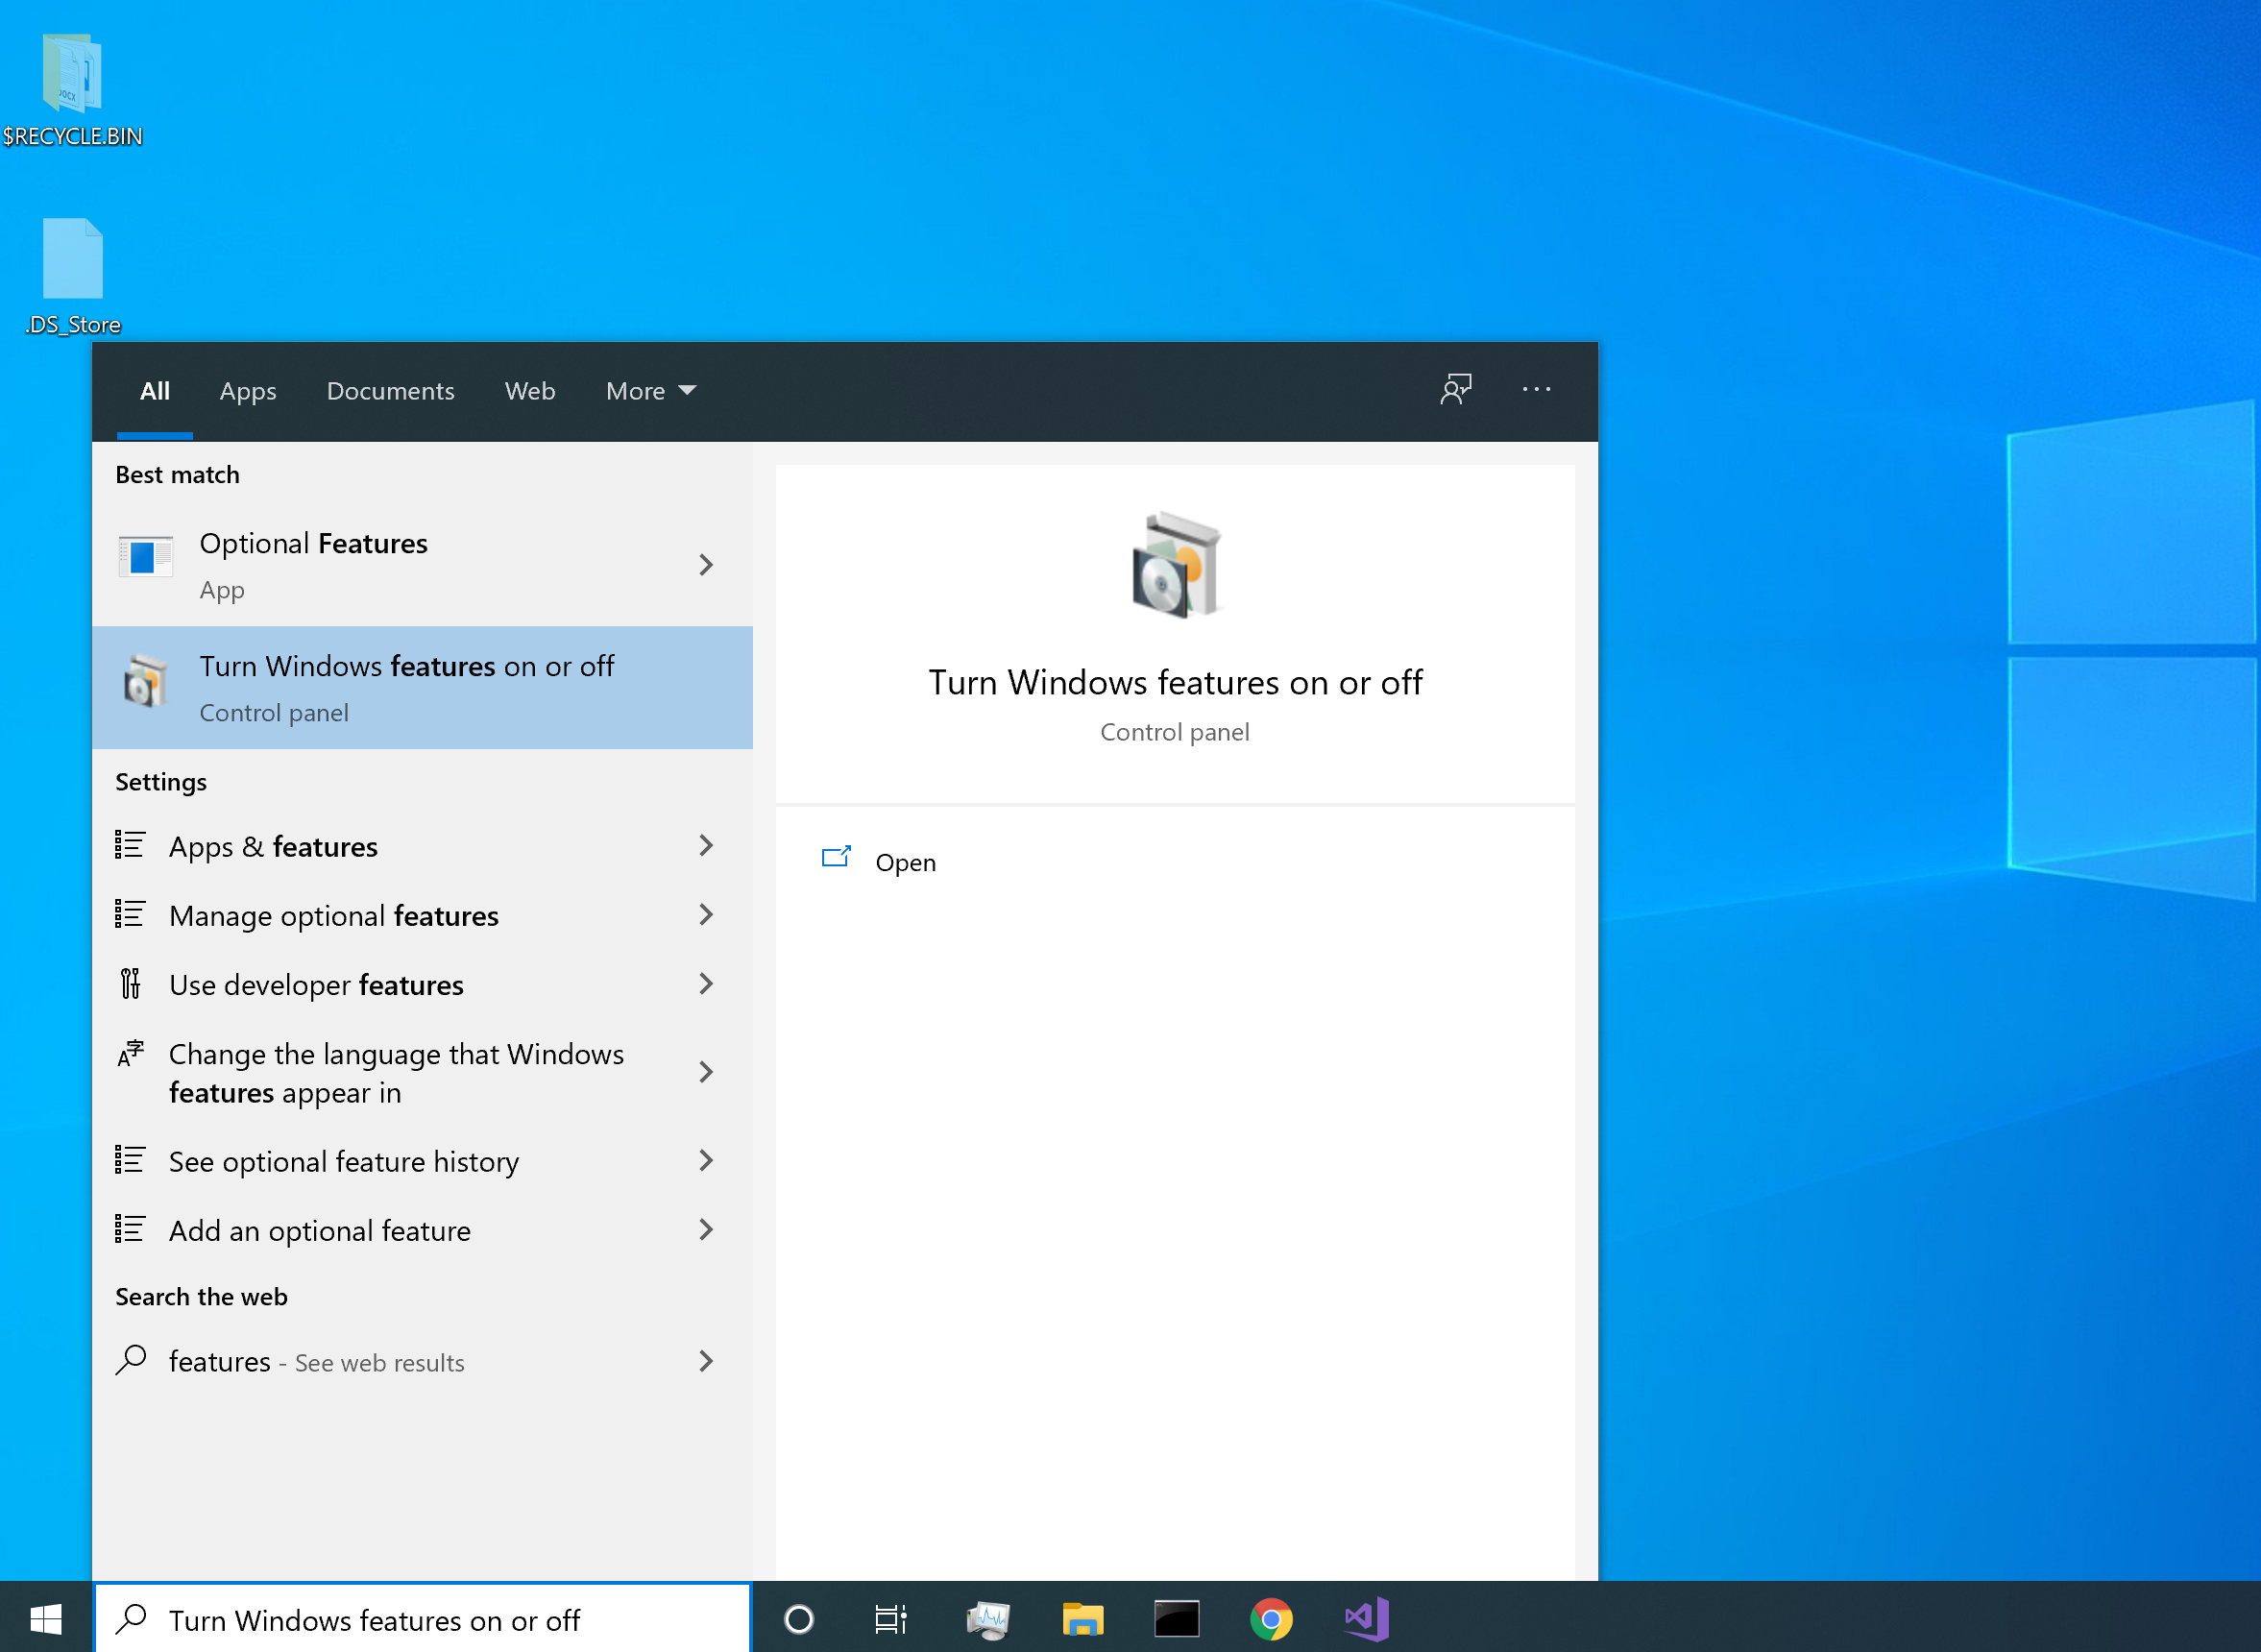
First, open up the "Turn Windows Features on or off" option from the control panel:
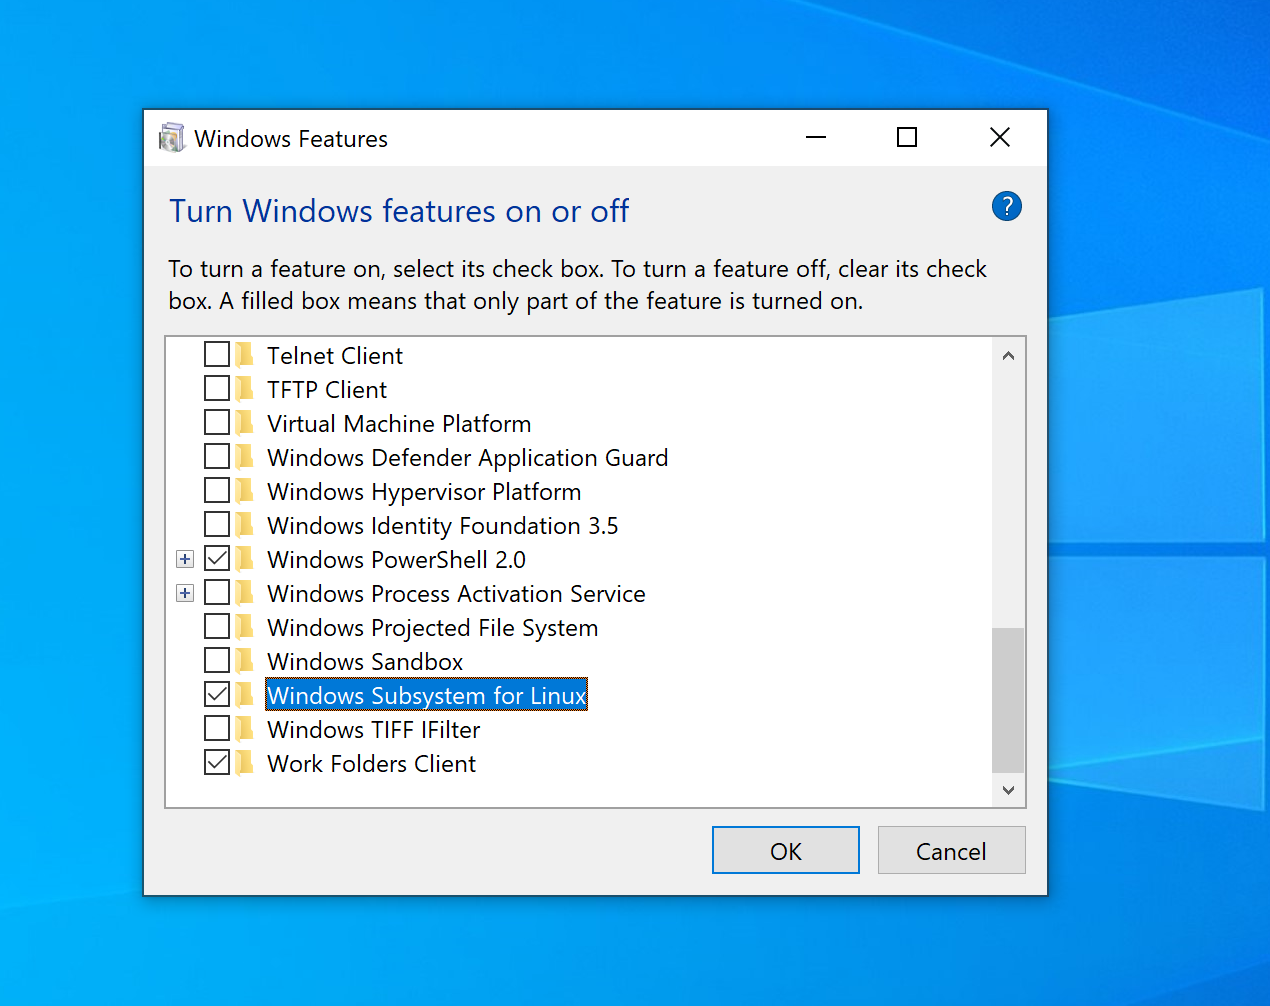
Then enable the "Windows Subsystem for Linux" feature:
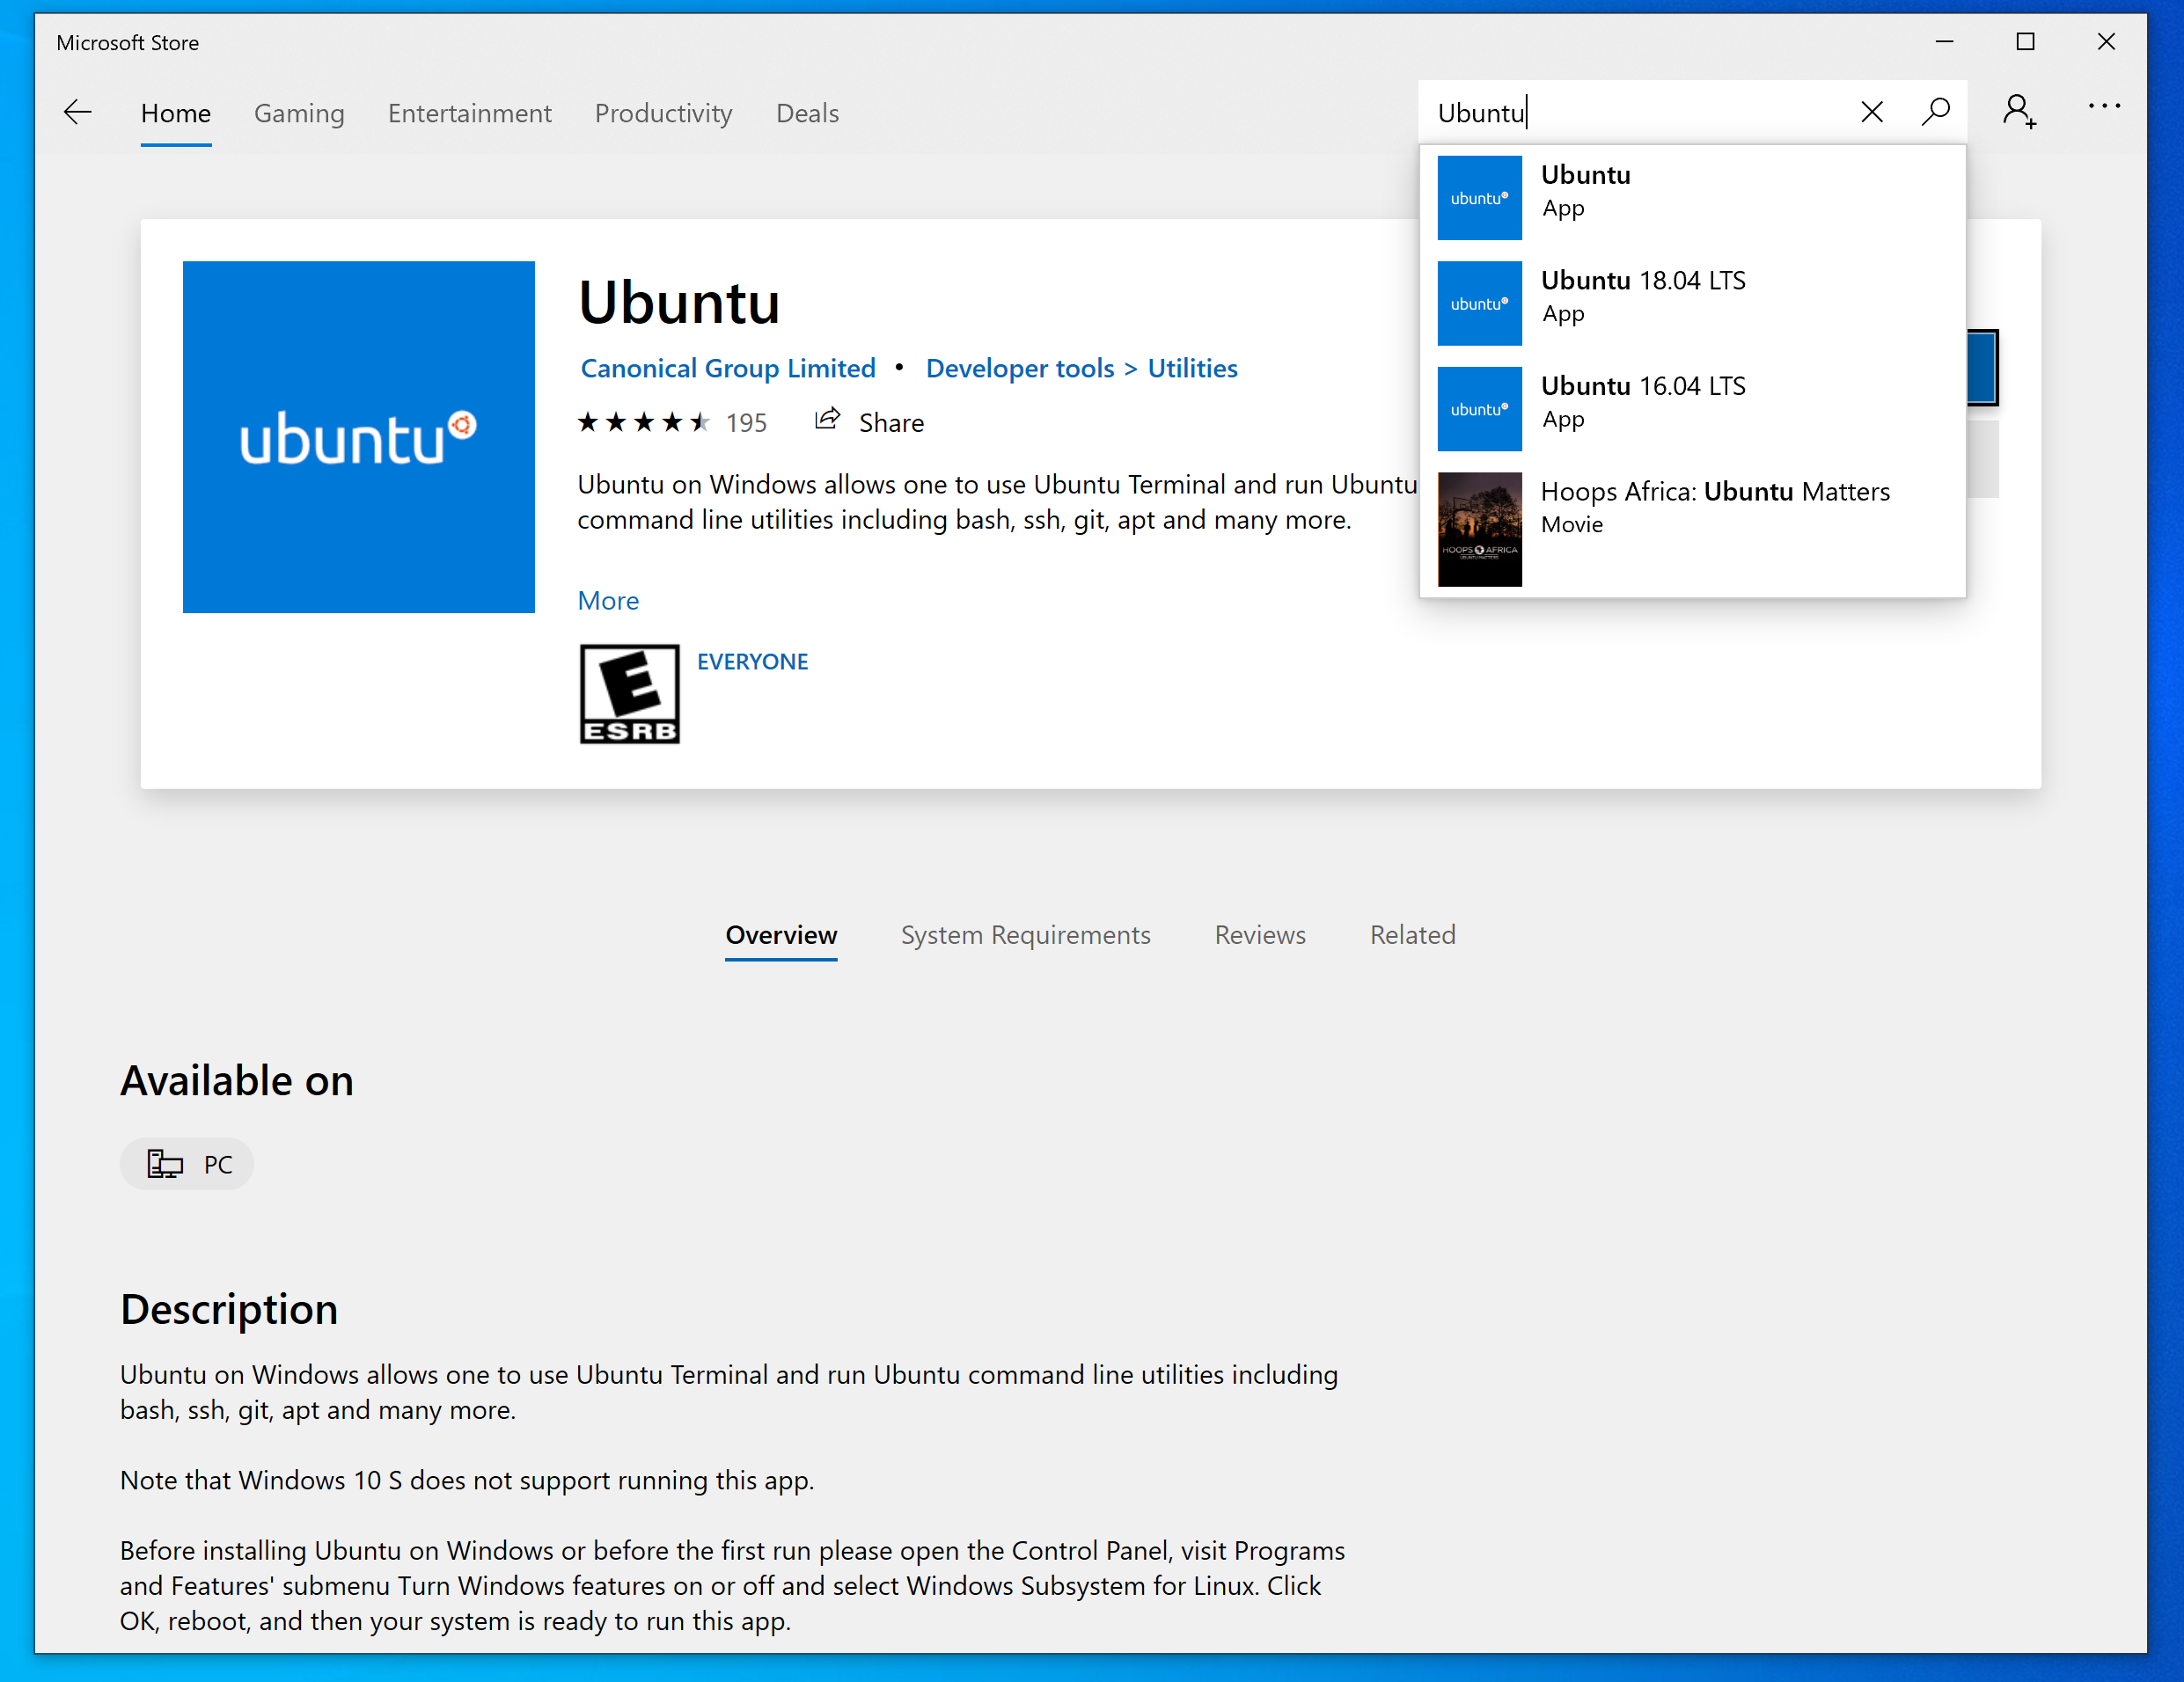
After your computer has restarted, open up the Windows App Store and search for "Ubuntu":
Once Ubuntu has installed, open up the app. It will then initialise (which can take a little while):
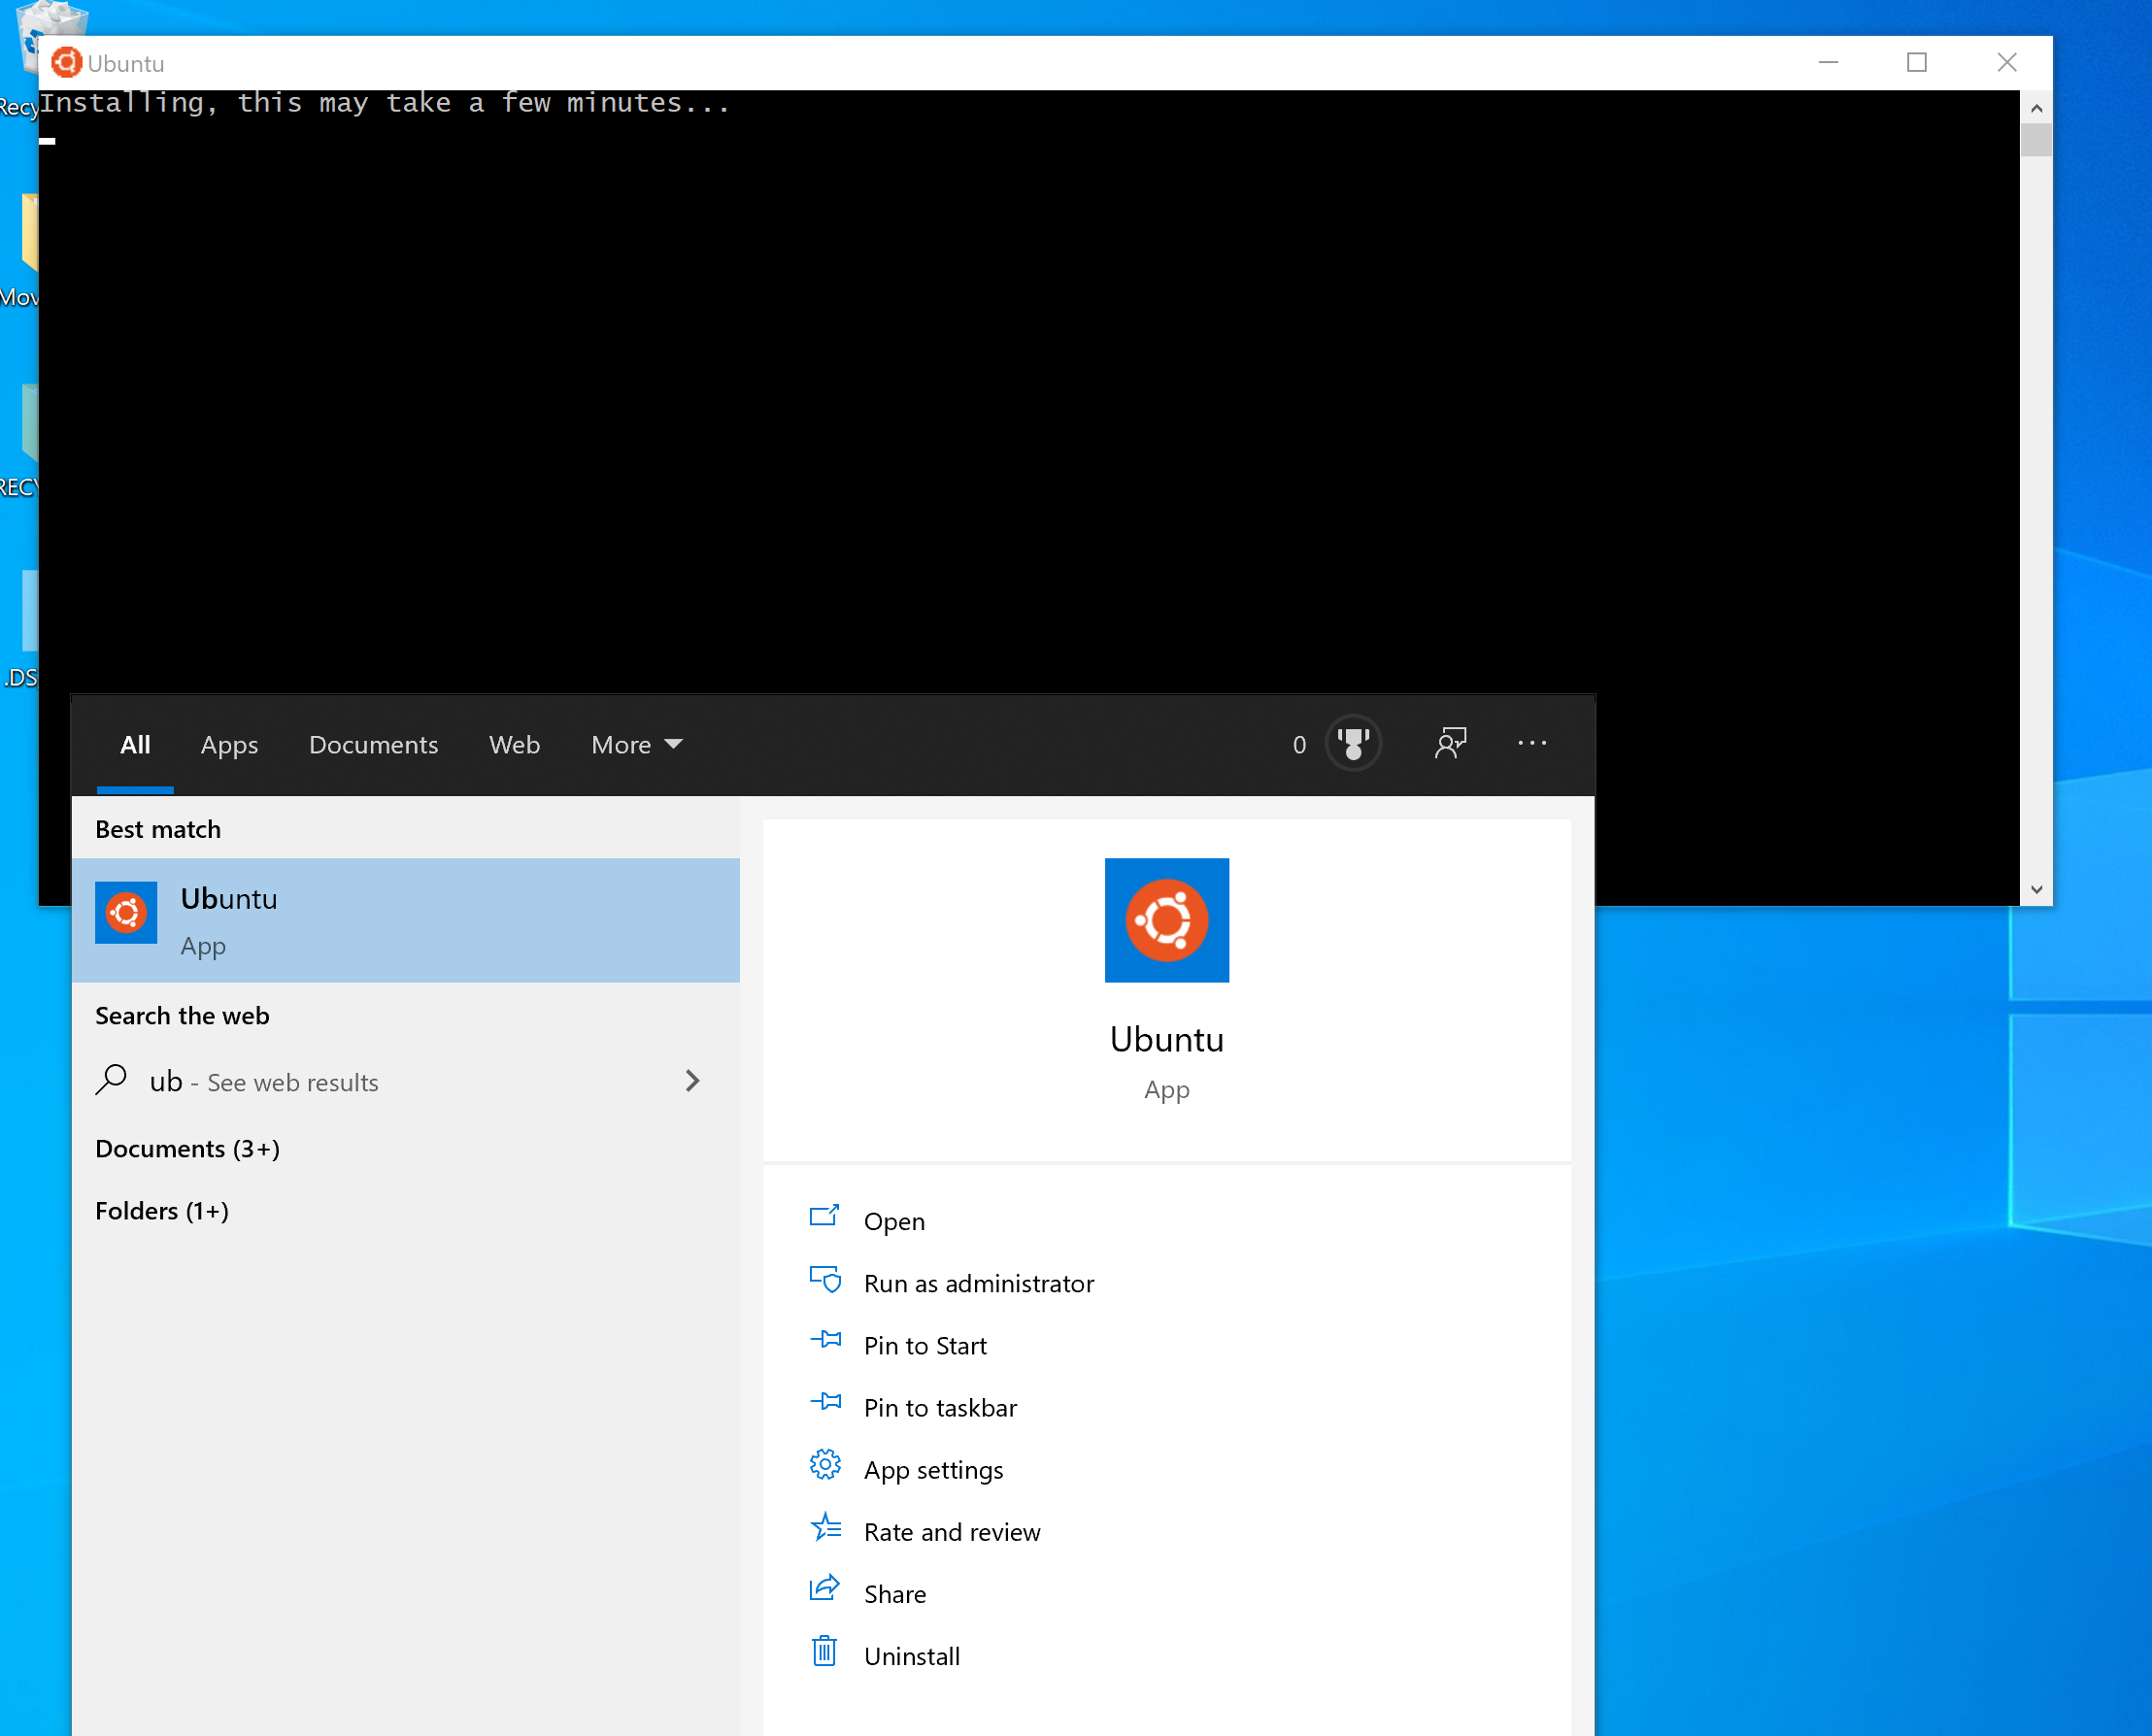
Choose a username and password to complete the setup:
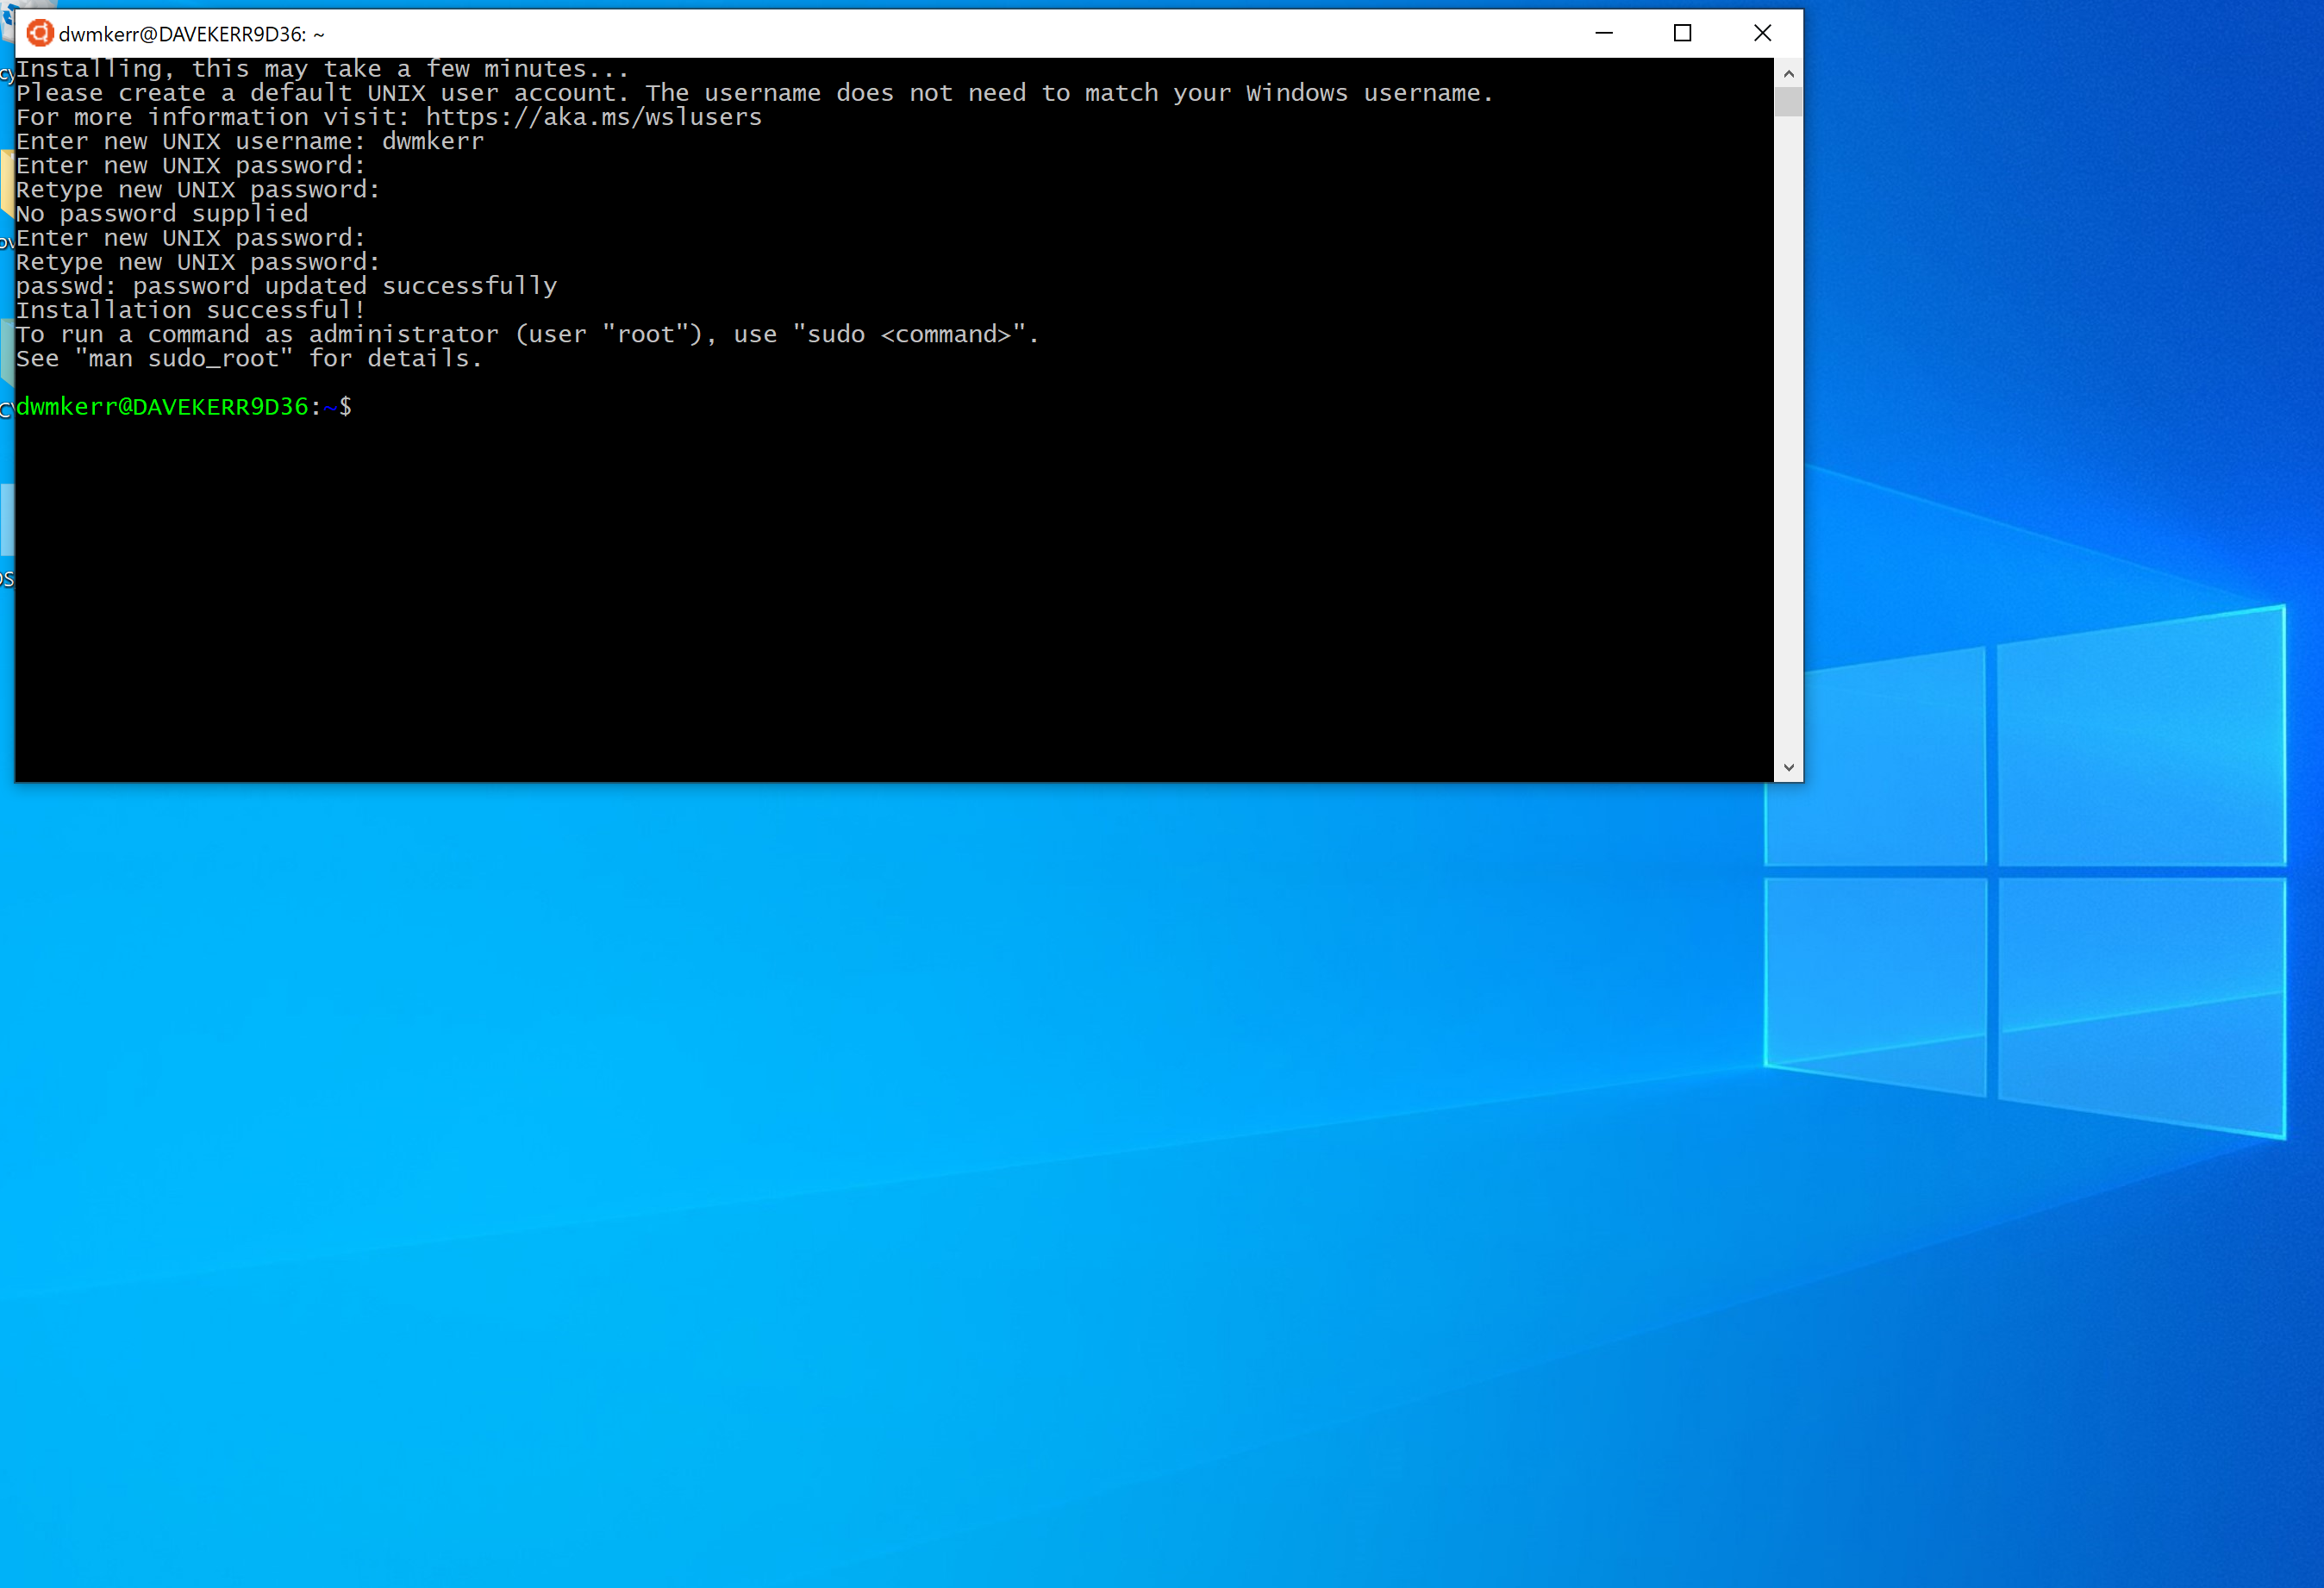
And that's it! You can now open the Ubuntu app at any time to use Ubuntu on Windows, interfacing using the Bash shell.
MacOS
If you are running a Mac, then you can probably run the standard Terminal program and follow the material in this book without making any changes. However, the version of Bash which comes installed by default on MacOS is version 3, which is a little out of date. I would strongly suggest that you upgrade the default installation. On MacOS Catalina, the default shell has changed to Z Shell - this should work fine for all of the examples in this book, but you might want to switch it to Bash to be on the safe side (you can always change back later).
To install the right software, we'll use a tool called Homebrew. Homebrew is a 'package manager', a tool used to install software on your computer, from the shell. It's kind of like the App Store but for shell users!
First, follow the instructions online to install Homebrew:
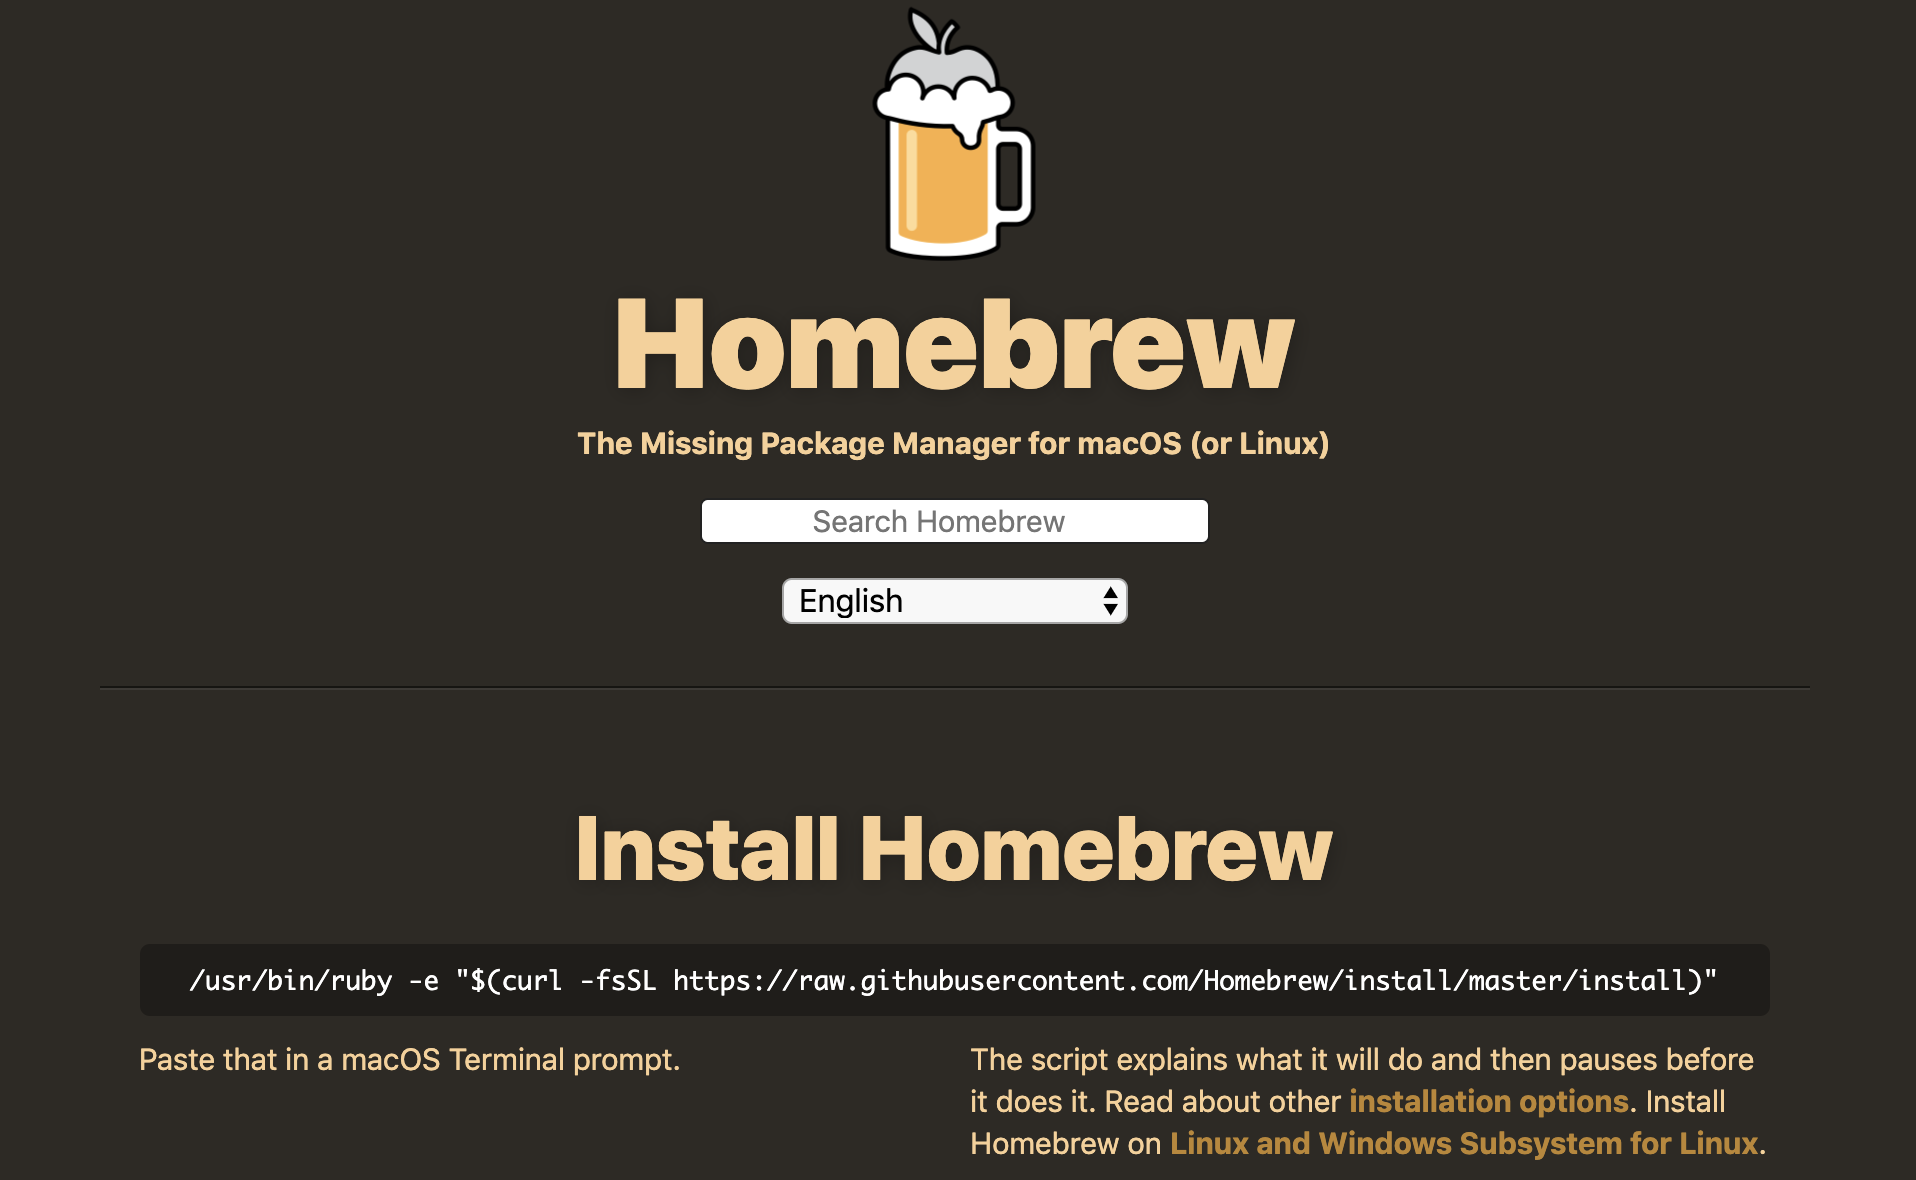
In most cases, this will require opening the Terminal program and running a snippet which looks like this:
/usr/bin/ruby -e "$(curl -fsSL https://raw.githubusercontent.com/Homebrew/install/master/install)"
However, this might have changed since the time of writing so do check the website to see what the latest instructions are. You don't actually need to know what is going on with this command (but by the time you've worked through a bit more of this book it will make sense!), but in a nutshell it runs a basic installation script, using the Ruby programming language (which comes pre-installed on MacOS).
Once this has installed, install Bash by running the following command in the shell:
brew install bash
This uses the brew command, which we have just installed, to install the bash program.
Finally, update the Terminal preferences to use the version of Bash you have just installed, rather than the default, by setting the shell location to /usr/local/bin/bash:
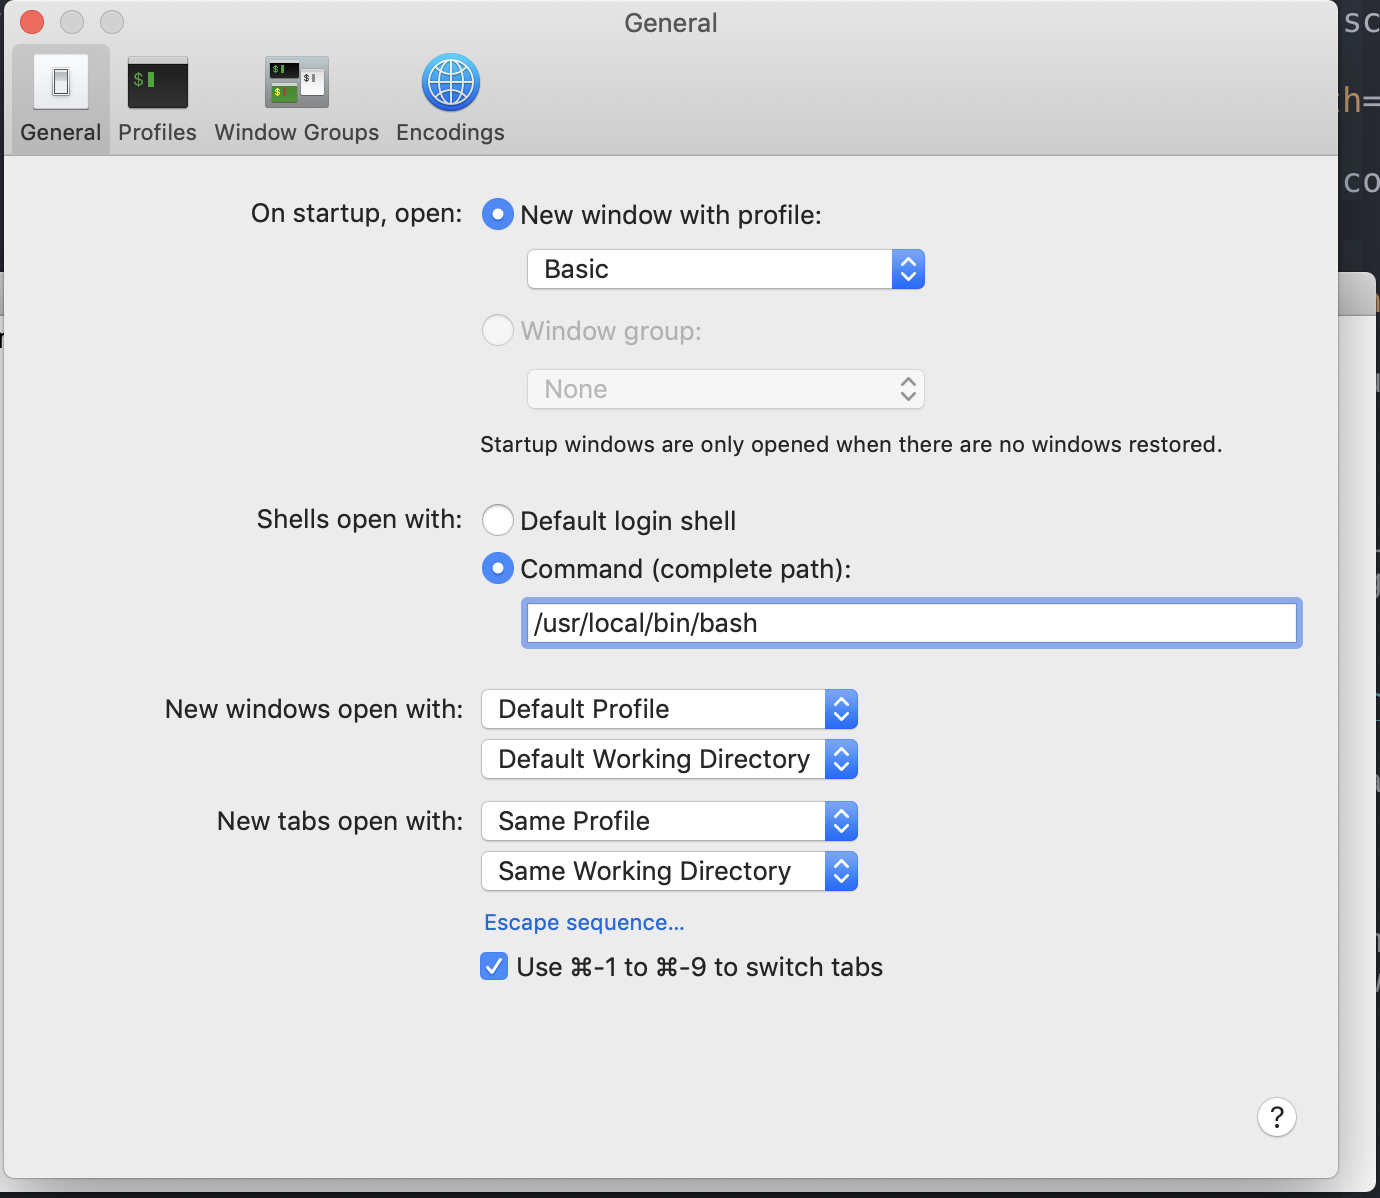
Again, why we make these changes is not essential to know for now, we'll go into more details in a later section. Once you've made this change, whenever you open a new terminal window, it will run the latest version of Bash, which you can confirm by running echo $BASH_VERSION:
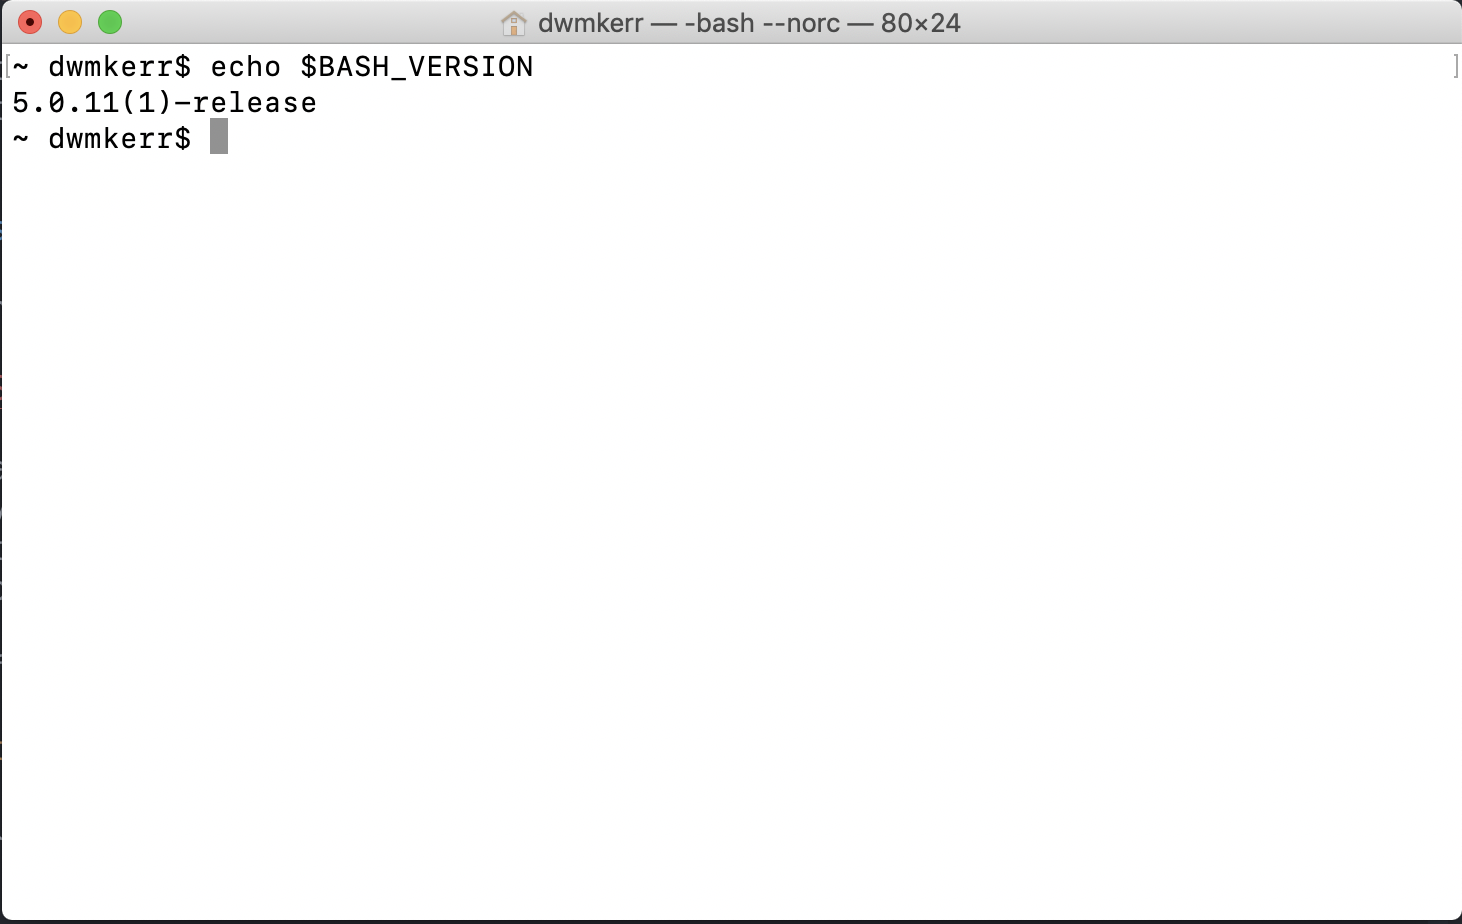
There is actually a more sophisticated way to change what shell is used in a system, which is the special chsh command (short for "change shell"). We'll see this in a later section. We'll also see what echo is in more detail shortly.
Linux
As before, if you are running Linux I will assume you are able to open a terminal and setup the appropriate shell. You can follow along with the content in this book with any recent Bash-like shell.
That's It!
Later on we'll see a little more about the differences between different shell programs, what the difference between a shell and a terminal is and more. But for now, you are ready to go and move onto the Summary.
A Quick Demo of the Shell
If you have never used the shell before, then this is where we'll start. We're not going to go into lots of detail, there's plenty of that later on in book. Instead we'll do a quick crash course on the basics. If you have not used the shell before this'll give you a chance to see how it works.
Start by opening your shell. This is covered in Opening the Shell. Your shell should be Bash - if this doesn't sound familiar, then make sure you have followed the instructions in Configuring the Shell.
You should see your terminal program running your shell. You can see what the version is of your shell by running:
bash --version
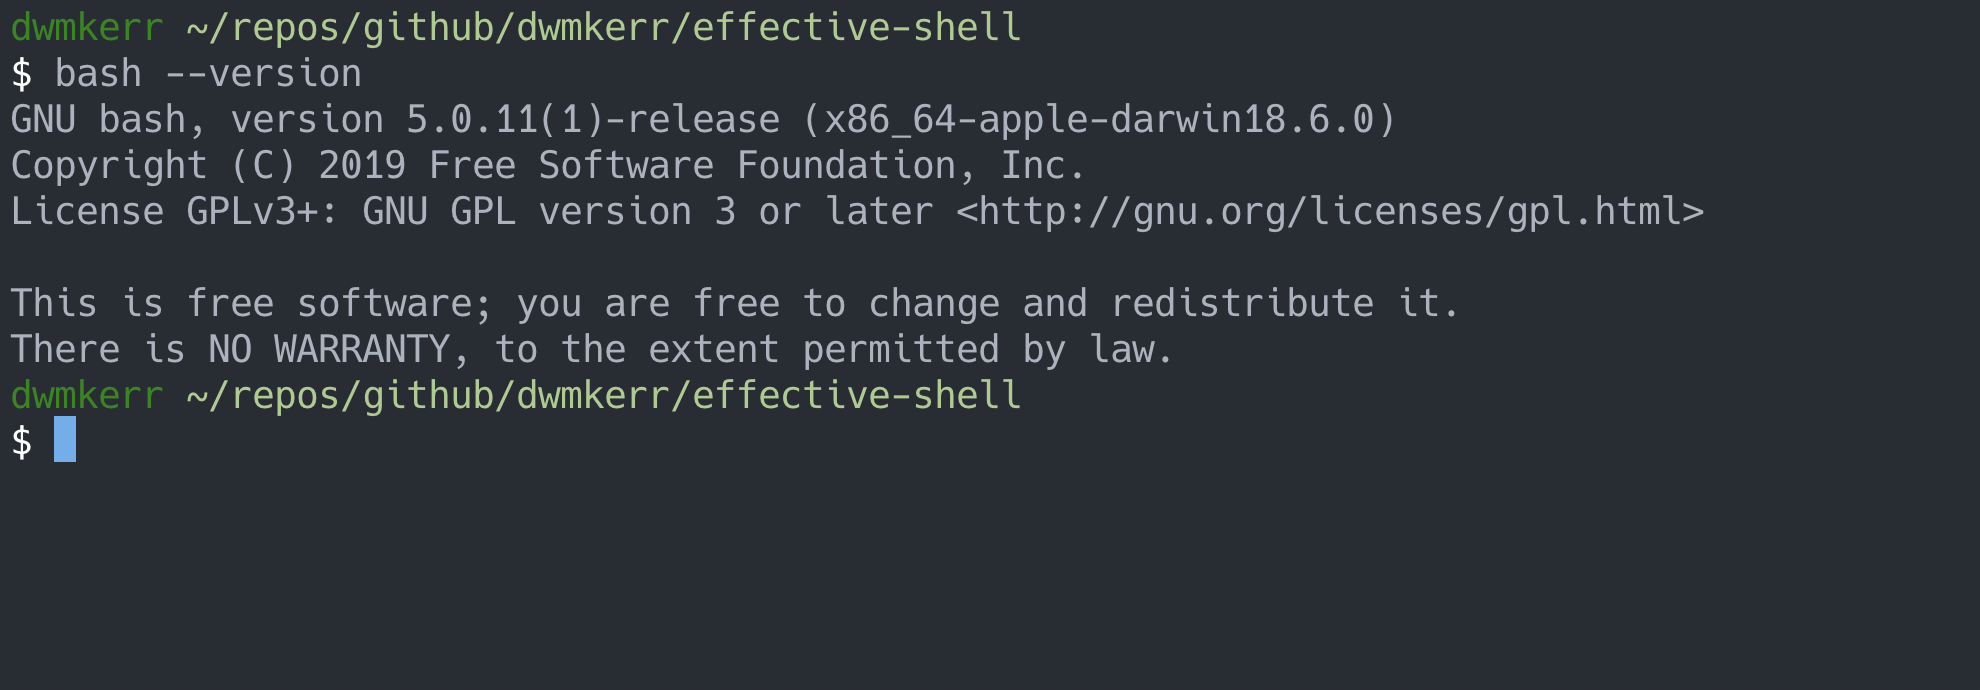
Let's quickly dissect this. We have run the bash command. A command can be a program on your computer, or it can be something built into the shell. We'll look at this in a lot more detail later, but for now it's important to understand that a lot of what you will be doing is running commands.
The --version text is a parameter. Parameters affect how commands work. This is actually easier to see with an example.
Let's move to the home folder. On most computers your home folder is your personal space where things like documents, photos, music, downloads and so on are kept.
Let's switch to the home folder by running the following command:
cd ~
Once you've done that, run the pwd command:
pwd
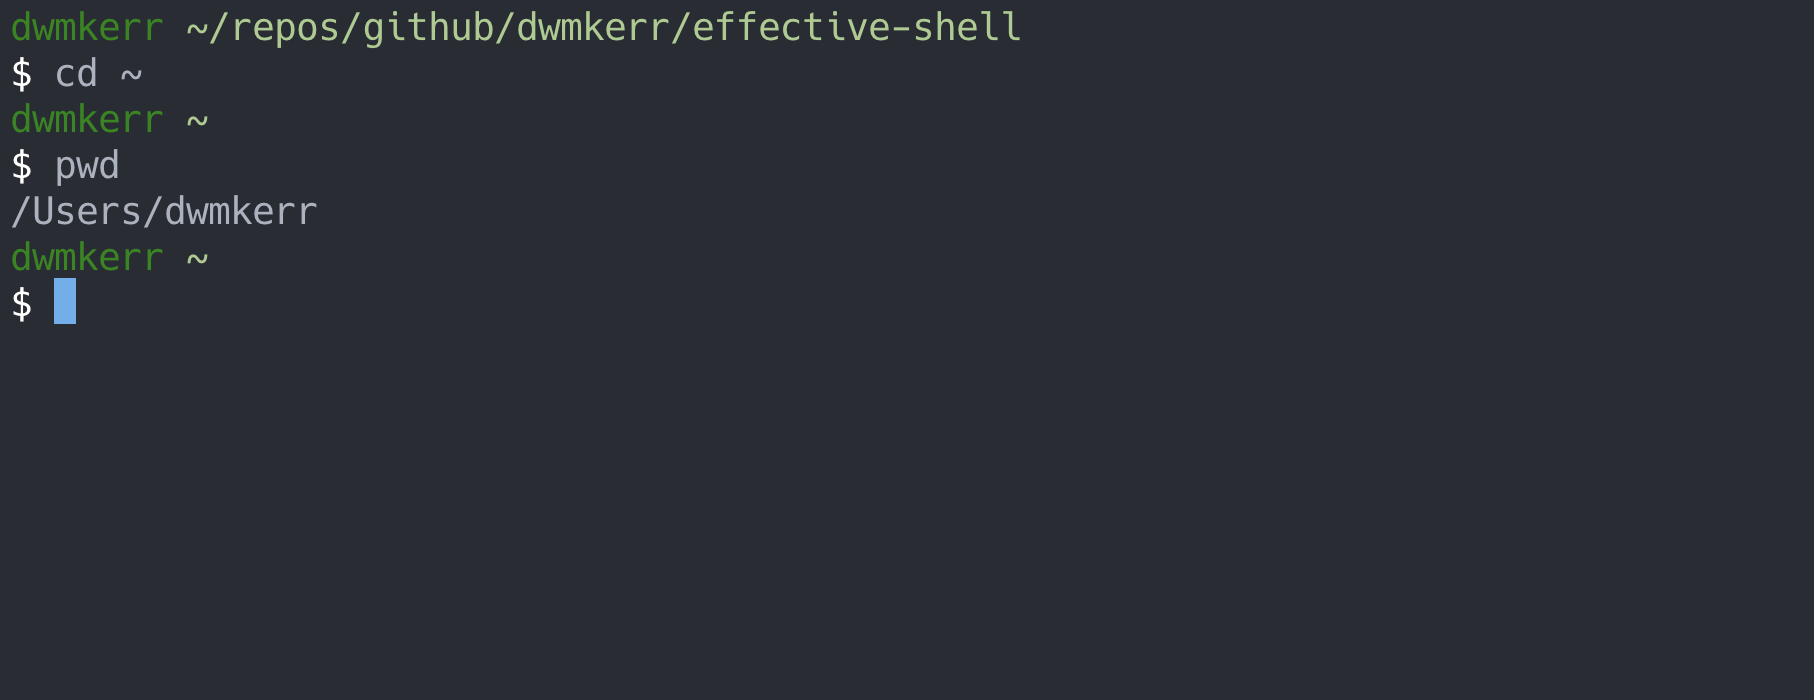
So what has happened here? The first command:
cd ~
Is used to change directory - that's what cd stands for. The parameter we passed to cd was just the 'tilde' character (~). This character has a special meaning in the shell - it means "the current user's home directory".
Finally, we ran the pwd command. This command is short for print working directory. It writes out to the screen where you currently are. On my Mac, my home directory is located at /Users/dwmkerr, which is what the command has shown me.
Let's take another look at a command. Run the following in your shell:
ls
The ls command is short for list directory contents - it shows you everything that is in the current directory. On my computer you can see things like the 'Downloads', 'Music' and 'Pictures' folders, which are set up by default on a Mac, as well as some of my own folders.

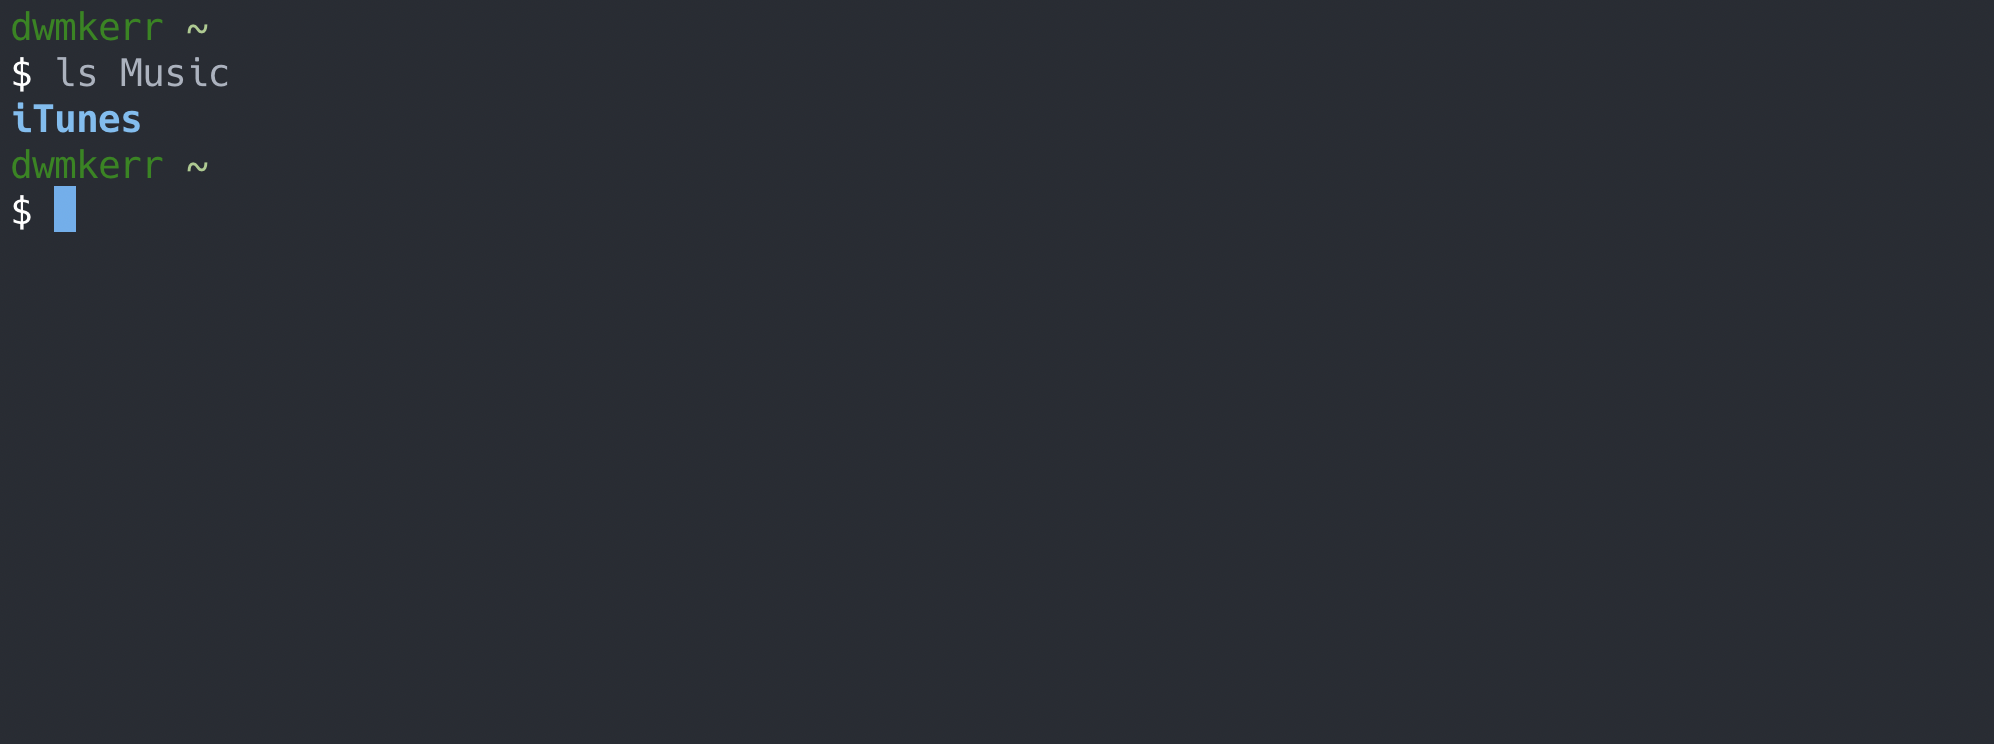
We can pass different parameters to ls. The main parameter is the location of the folder we'd like to list the contents of. So if we wanted to see what was in the Music folder, we'd just run:
ls Music
Not much to see here:
Many commands actually allow us to pass multiple parameters. For example, we could list the contents of my Movies and my personal applications:
ls Movies Applications

There's not much in either. You might wonder why Applications is so empty - that's because we're looking at the applications only installed for the current user, because we are in the user's home directory. To see the applications for everyone we'd need to use the folder where applications are kept for all users.
We can do this by running ls /Applications:
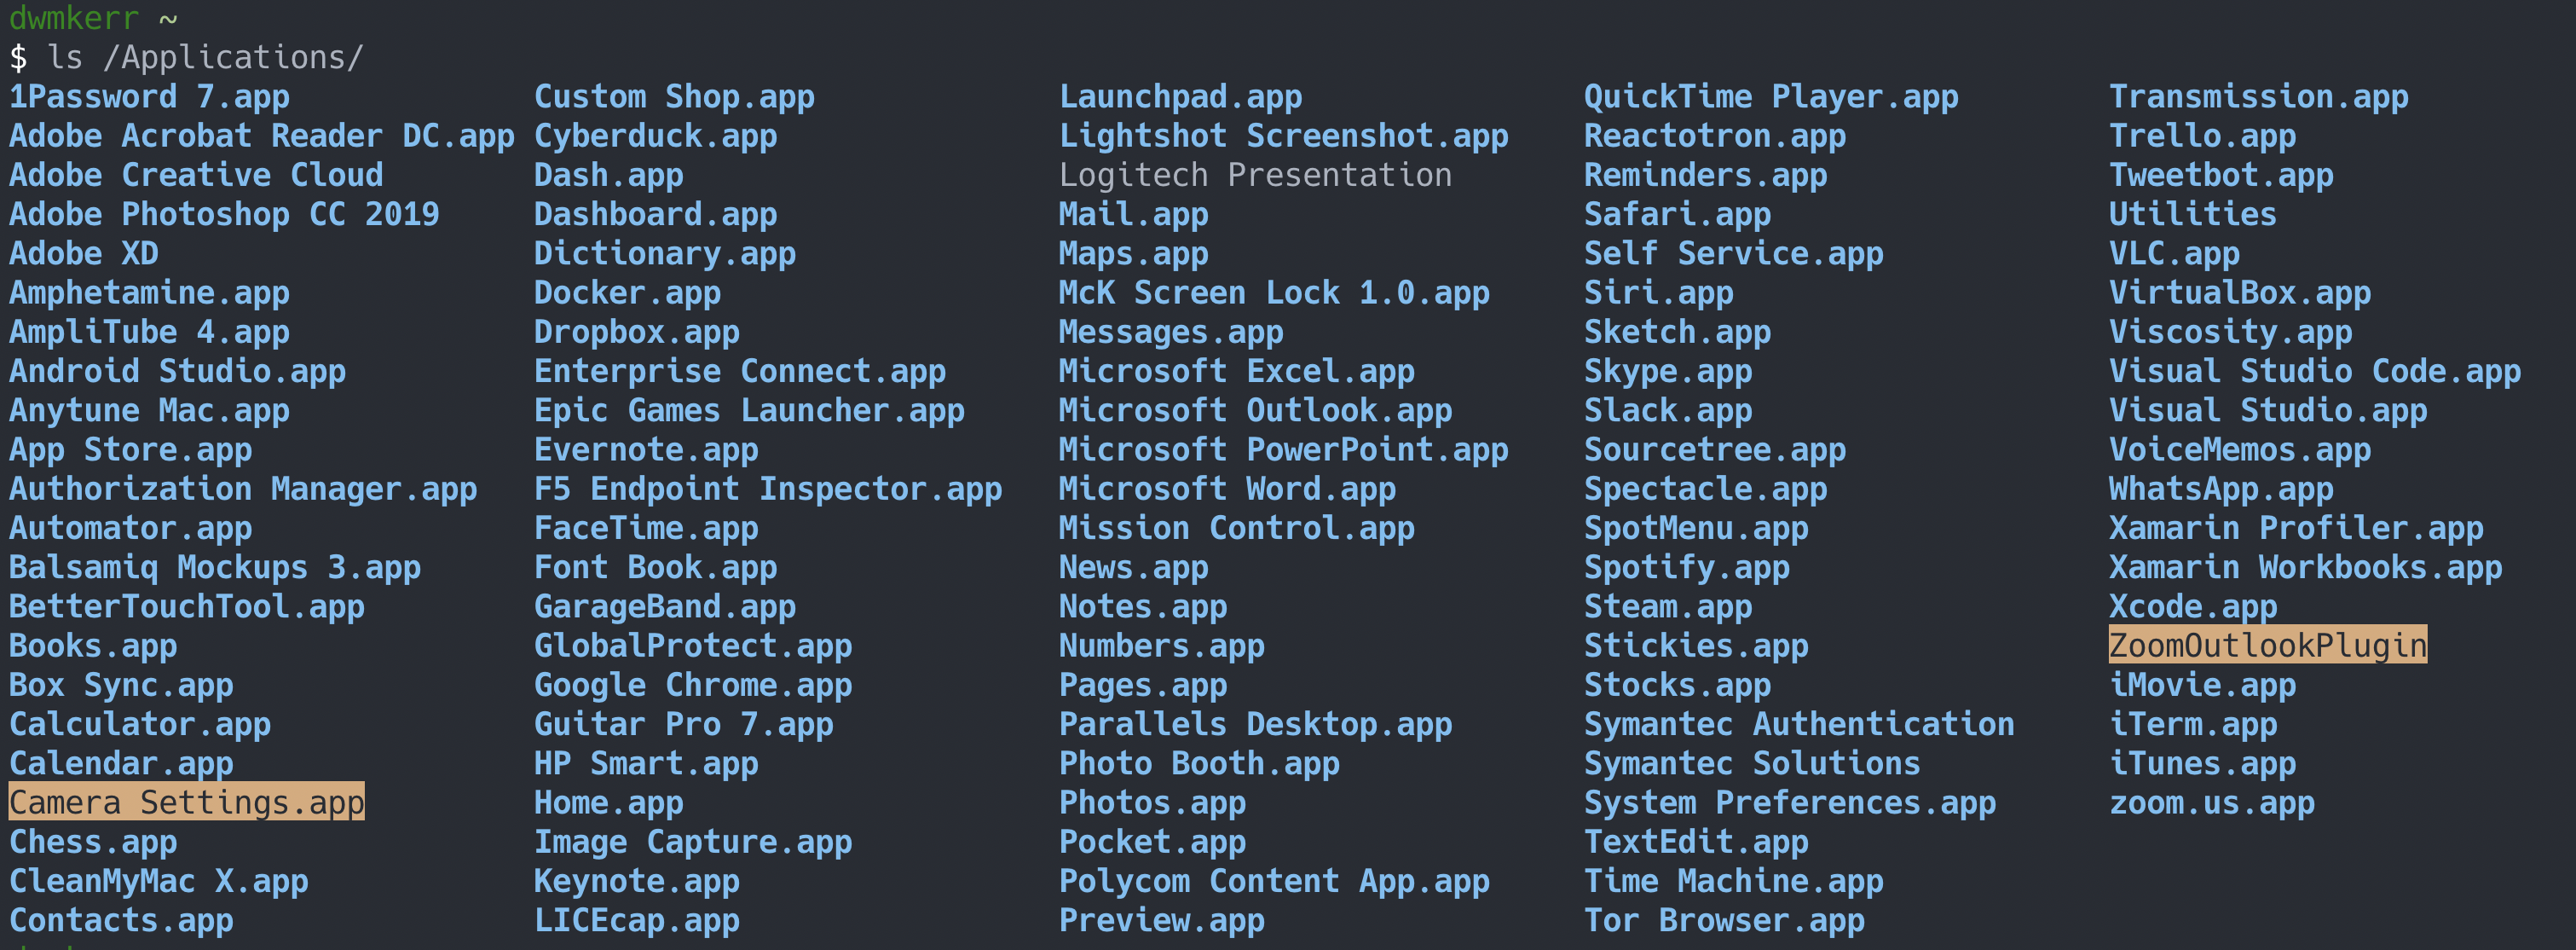
The trick here is that we start with a leading forward slash - this means the Applications folder in the root of the computer, not the one in my current folder.
On Windows, applications are kept in different places, but we can see some of the installed applications by running ls "c:\program files\":
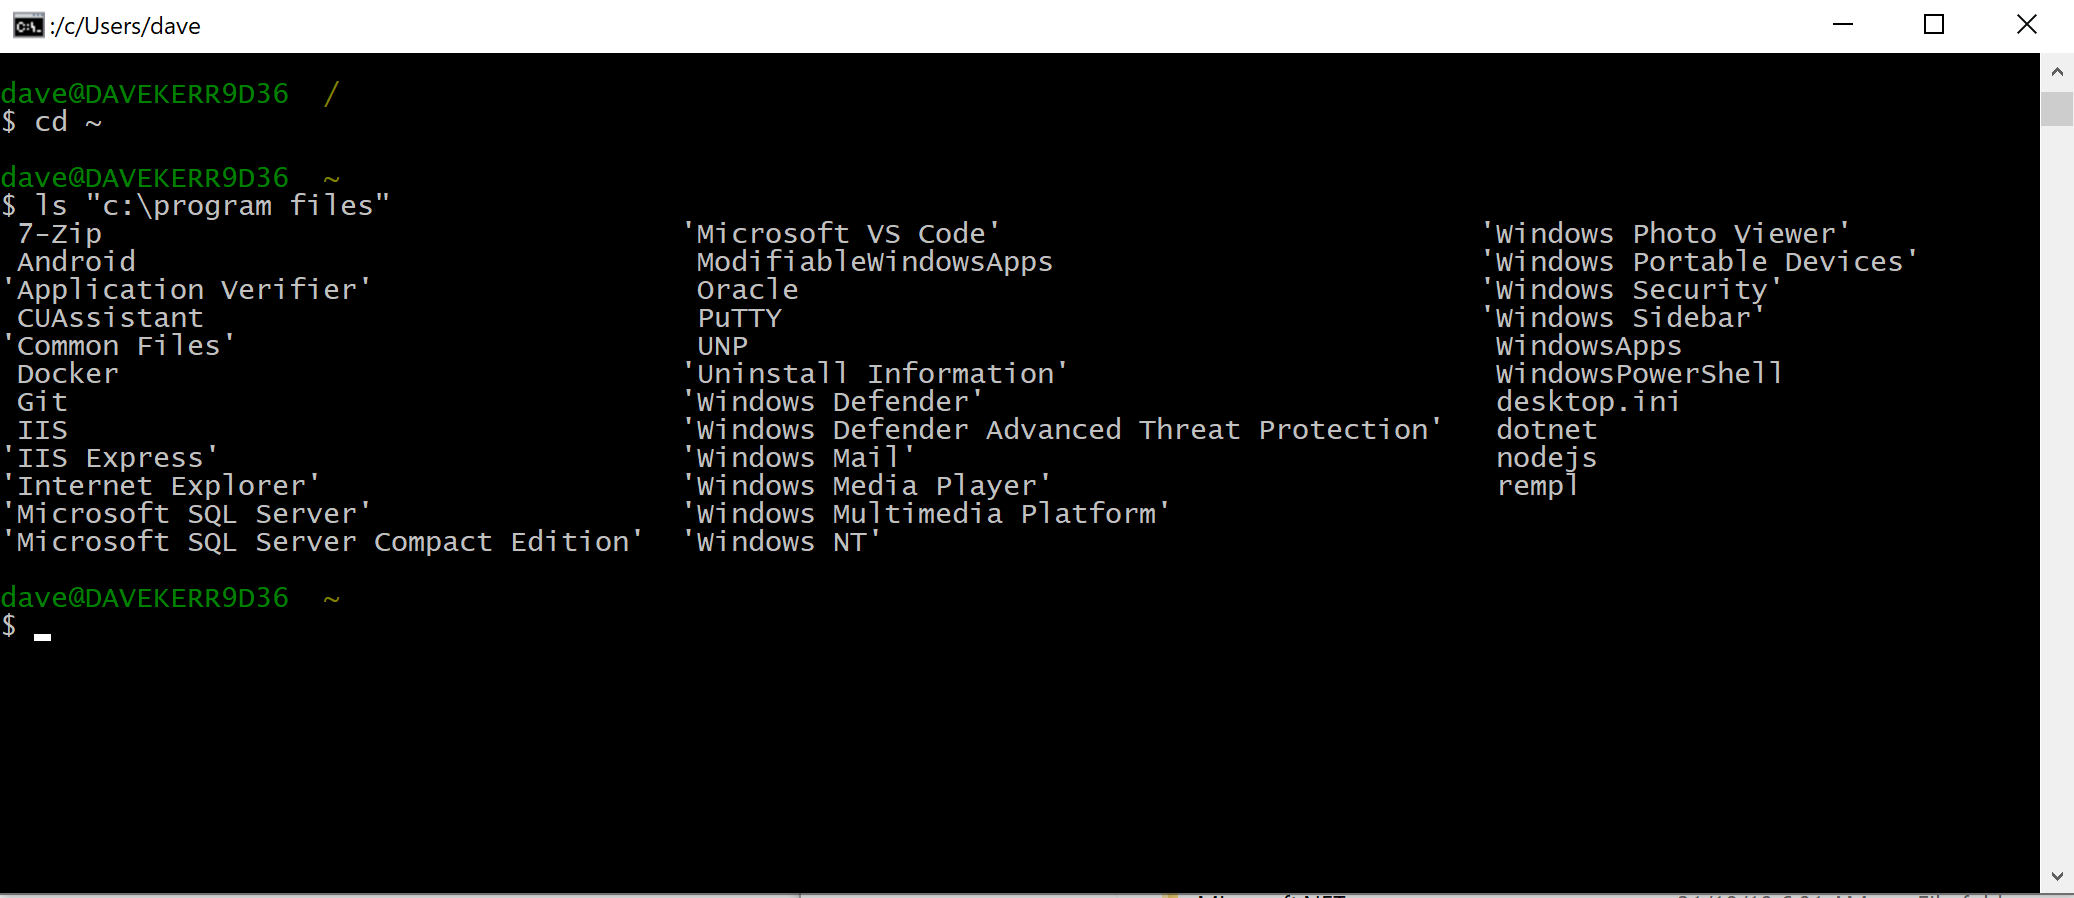
Why do we have the extra quotation marks here? If we ran the command without the quotation marks, the shell would think we were giving it two parameters. It would think we wanted to see the contents of the c:\program and files folders - and they don't exist!
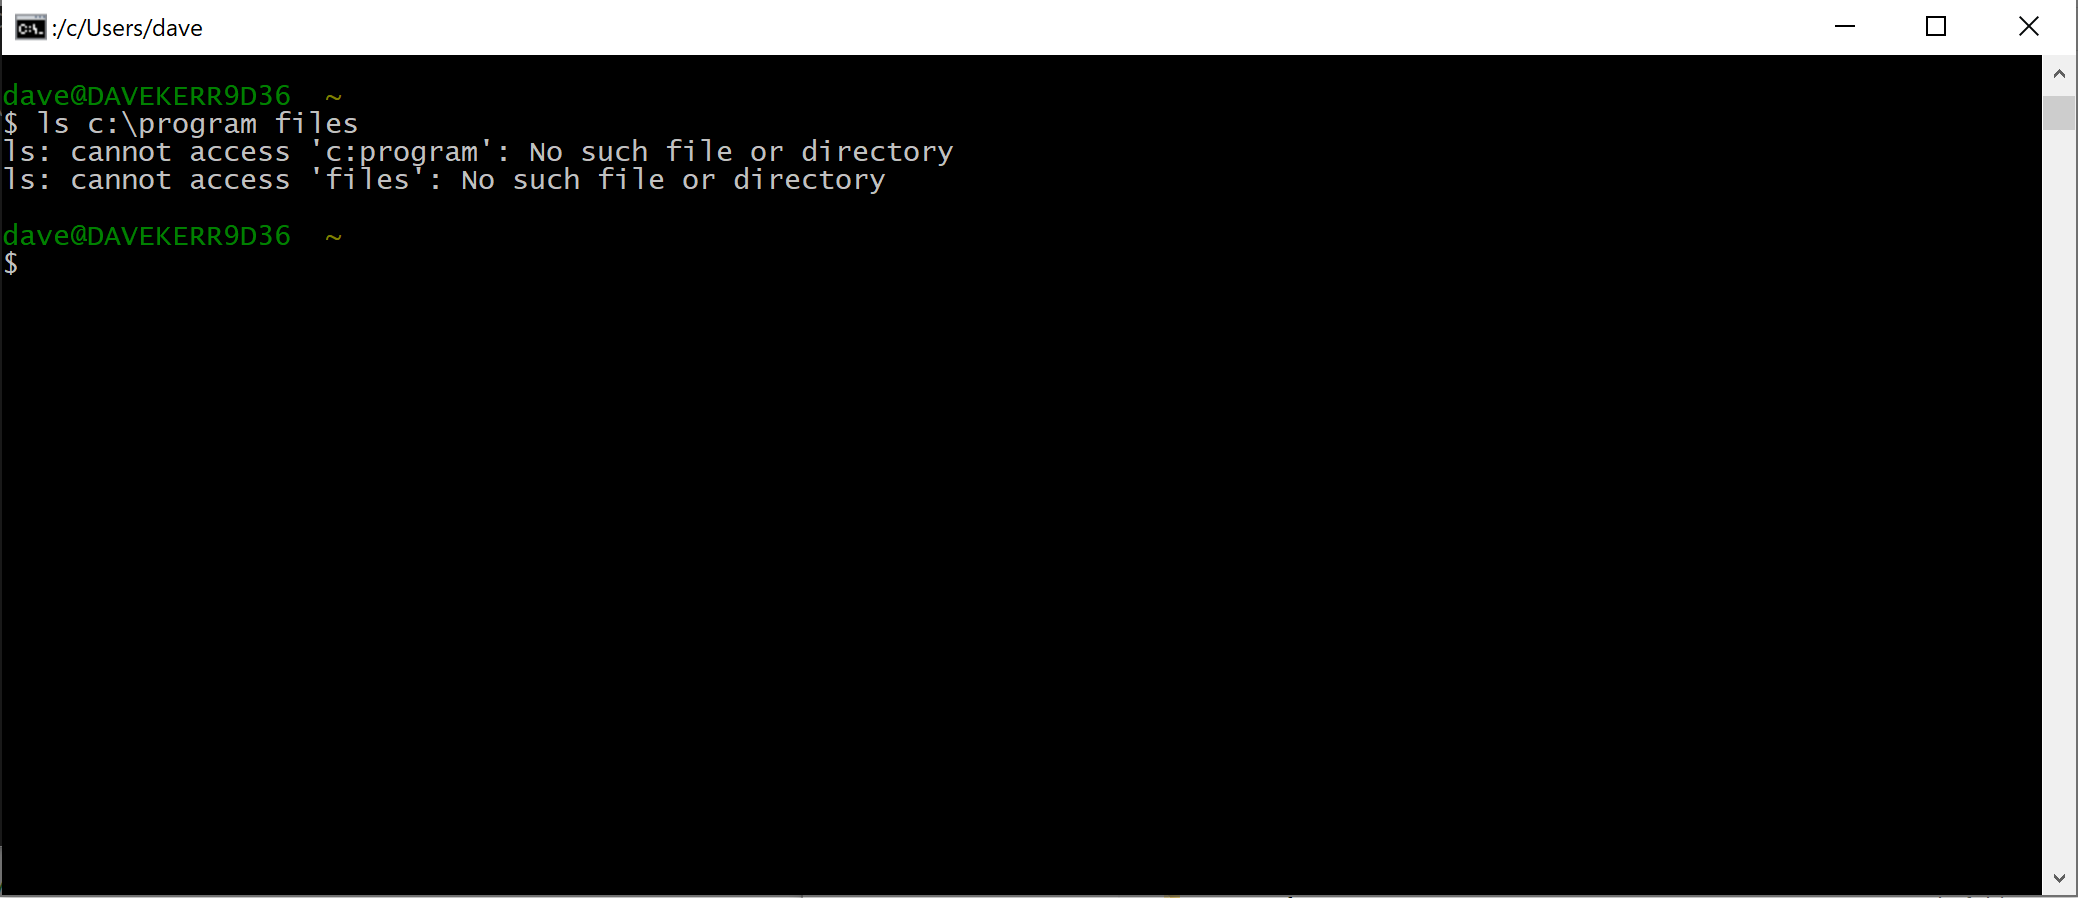
The error above shows what happens when we miss the quotation marks.
Now we can take a look at how a flag would work. A flag is a parameter which changes how a command works. Flags normally start with a hyphen. Let's say we wanted to know the size of the files in the folder. We do this by using the -lh pass the parameter, which is short for long list, human readable:
ls -lh Downloads/*.jpg
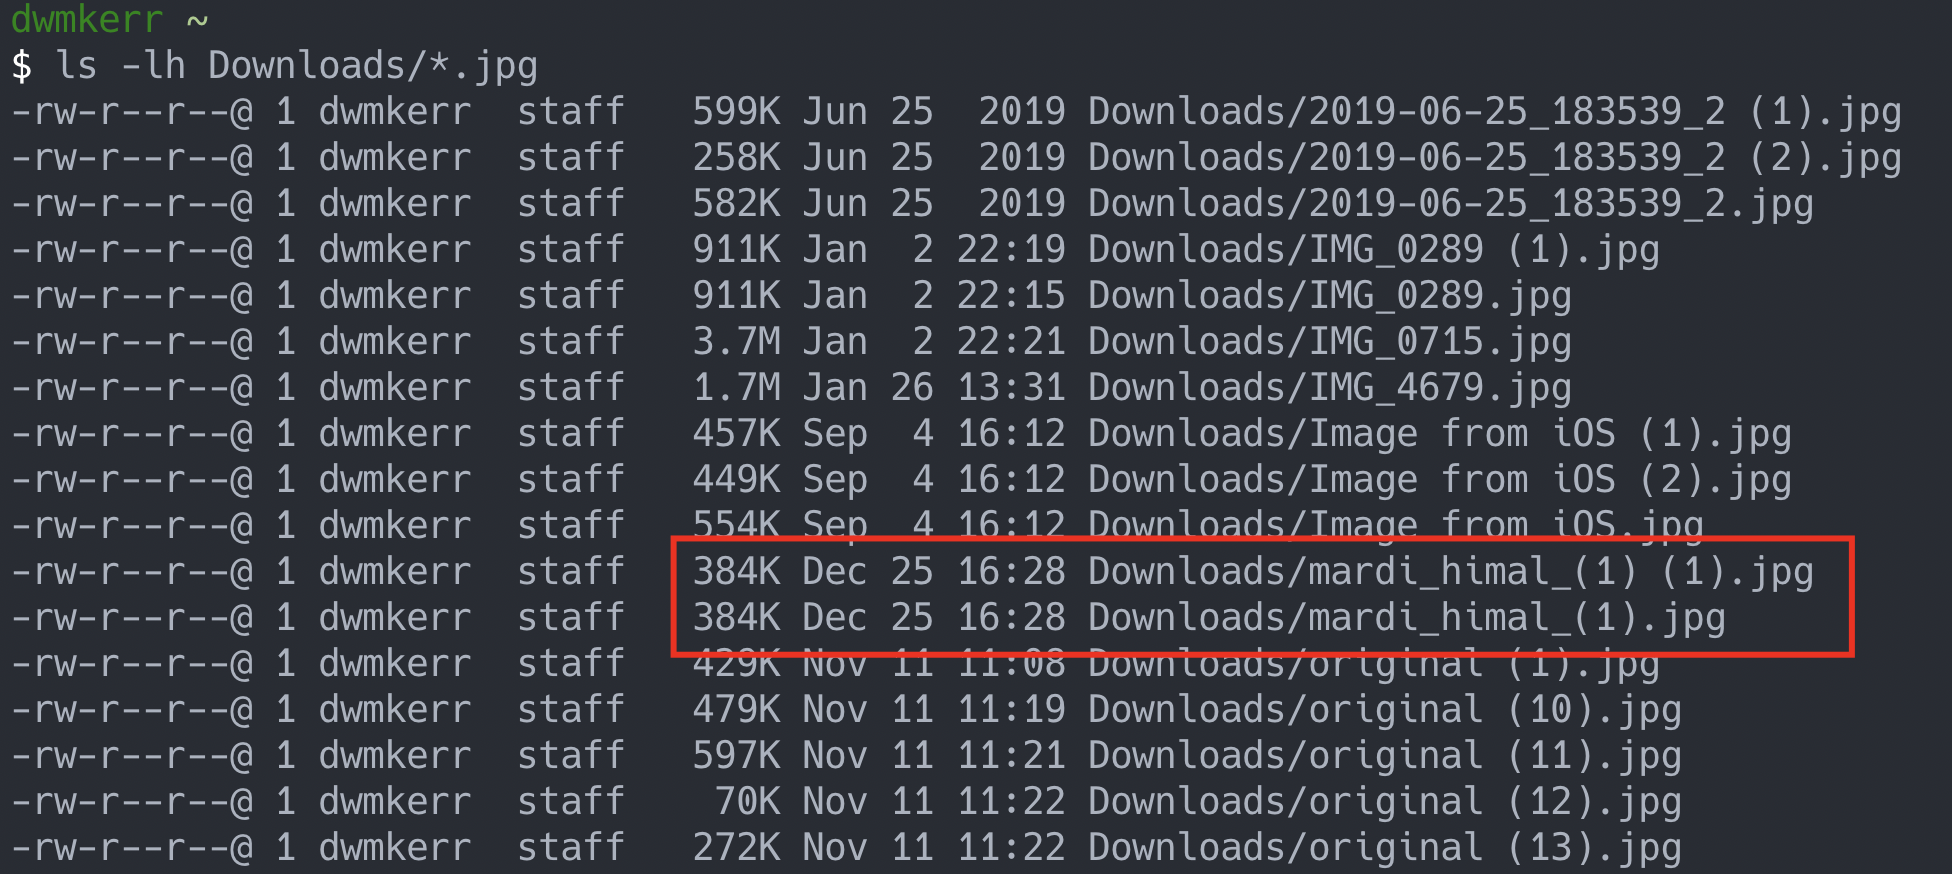
Now I can see all of the jpg files (jpg files are images) in my Downloads folder. I can see it looks like I've got two pictures of "Mardi Himal" (a mountain in the Himalayas) which are both 384 Kilobytes in size, as well as some other images. Blow by blow, this is what we've got:
ls- List the contents of a folder-lh- This is the long list in human-readable sizes parameter, which means we see how big the files are in a friendly format (like911Kfor Kilobytes, rather than showing something like911012which would be the number of bytes - and harder to read!)Downloads/*.jpg- Show the contents of theDownloadsfolder, including any files which end with.jpg- the*is a wildcard which means that we don't mind what the filename is
The -lh parameter is shorthand. Many commands offer longhand parameters (such as --version) as well as shorthand (such as -v as an alternative for --version). Longhand is easier to read, shorthand is faster to type.
Don't worry - in the next section we'll see how to look up the available parameters for a command. You don't need to remember all of these details, only understand which part is the command and which parts are the parameters. This is just an introduction for now!
Now let's look at one more command.
The Echo Command
The 'echo' command is used to write out a message in the shell. Here's an example of how it works:
echo "Hello Shell!"
This command writes out the text Hello Shell!:

Why would we do this? One of the most common reasons would be to see what the shell thinks a certain value is. For example, try this command:
echo "My home directory is at: $HOME"
You'll see something like this:

The $HOME part of the text is called a variable. We can recognise variables because they start with a dollar symbol. $HOME is a built-in variable which holds the location of the current user's home directory.
We're going to see all sorts of cool things we can do with echo as we continue in the book!
Move Around
One common thing we can do in a visual file explorer is move around. We can open folders, and go 'up' from the current folder. We often also see visually where we are in the folder structure with an 'address bar'.
A useful reference might be the picture below:
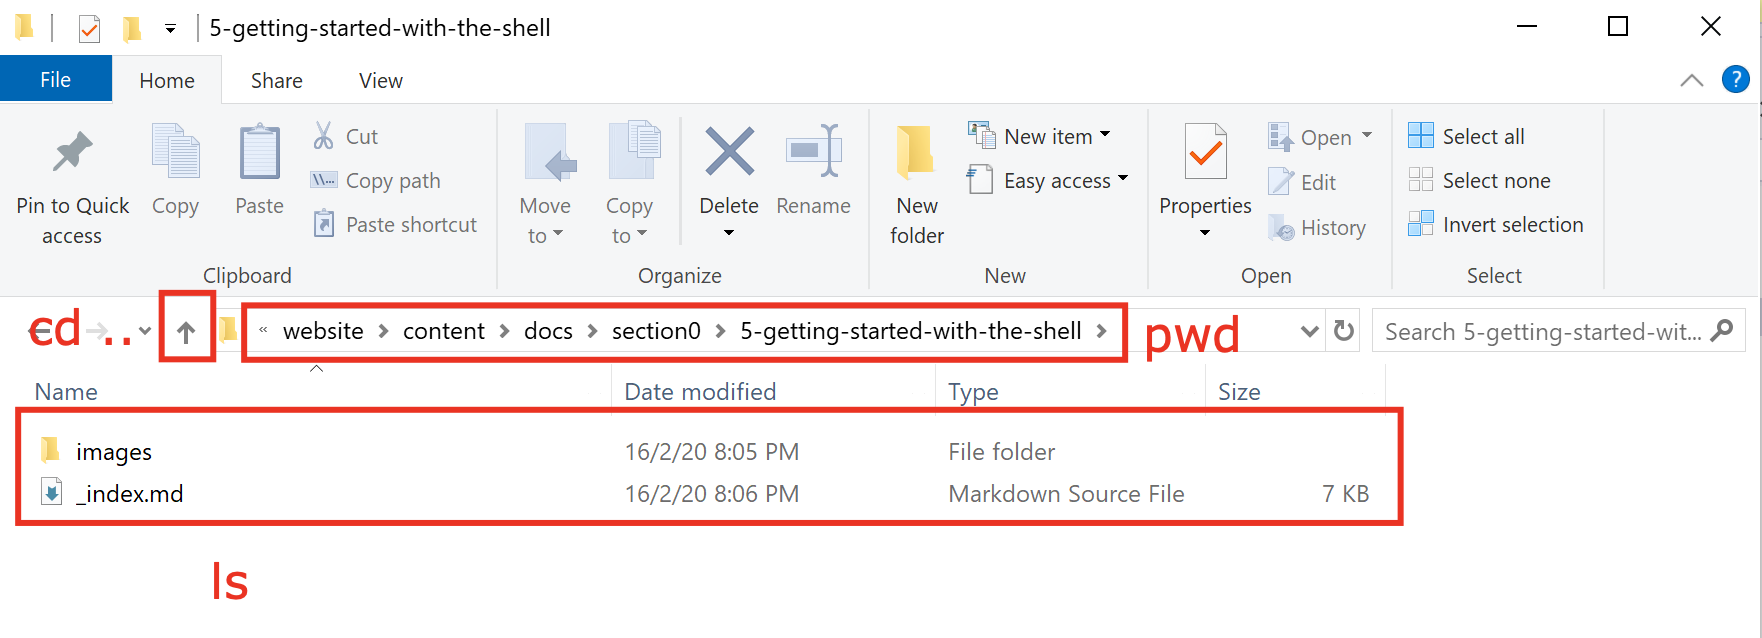
Here we map the shell commands to the visual interface's equivalents:
pwdshows the current working directory - where you currently are in the file systemlslists the files in the current directory (or any directory you tell it)cd ..changes the directory to another location - if you use the special..directory, you are telling it to change to the parent directory, i.e. 'go up' in the file system
As a final trick, lets see how we open a file or folder. Let's say I want to open one of the photos in my Downloads folder. Here's how I can do it:
cd ~/Downloads
open himalayas.jpg
We can see the result here:
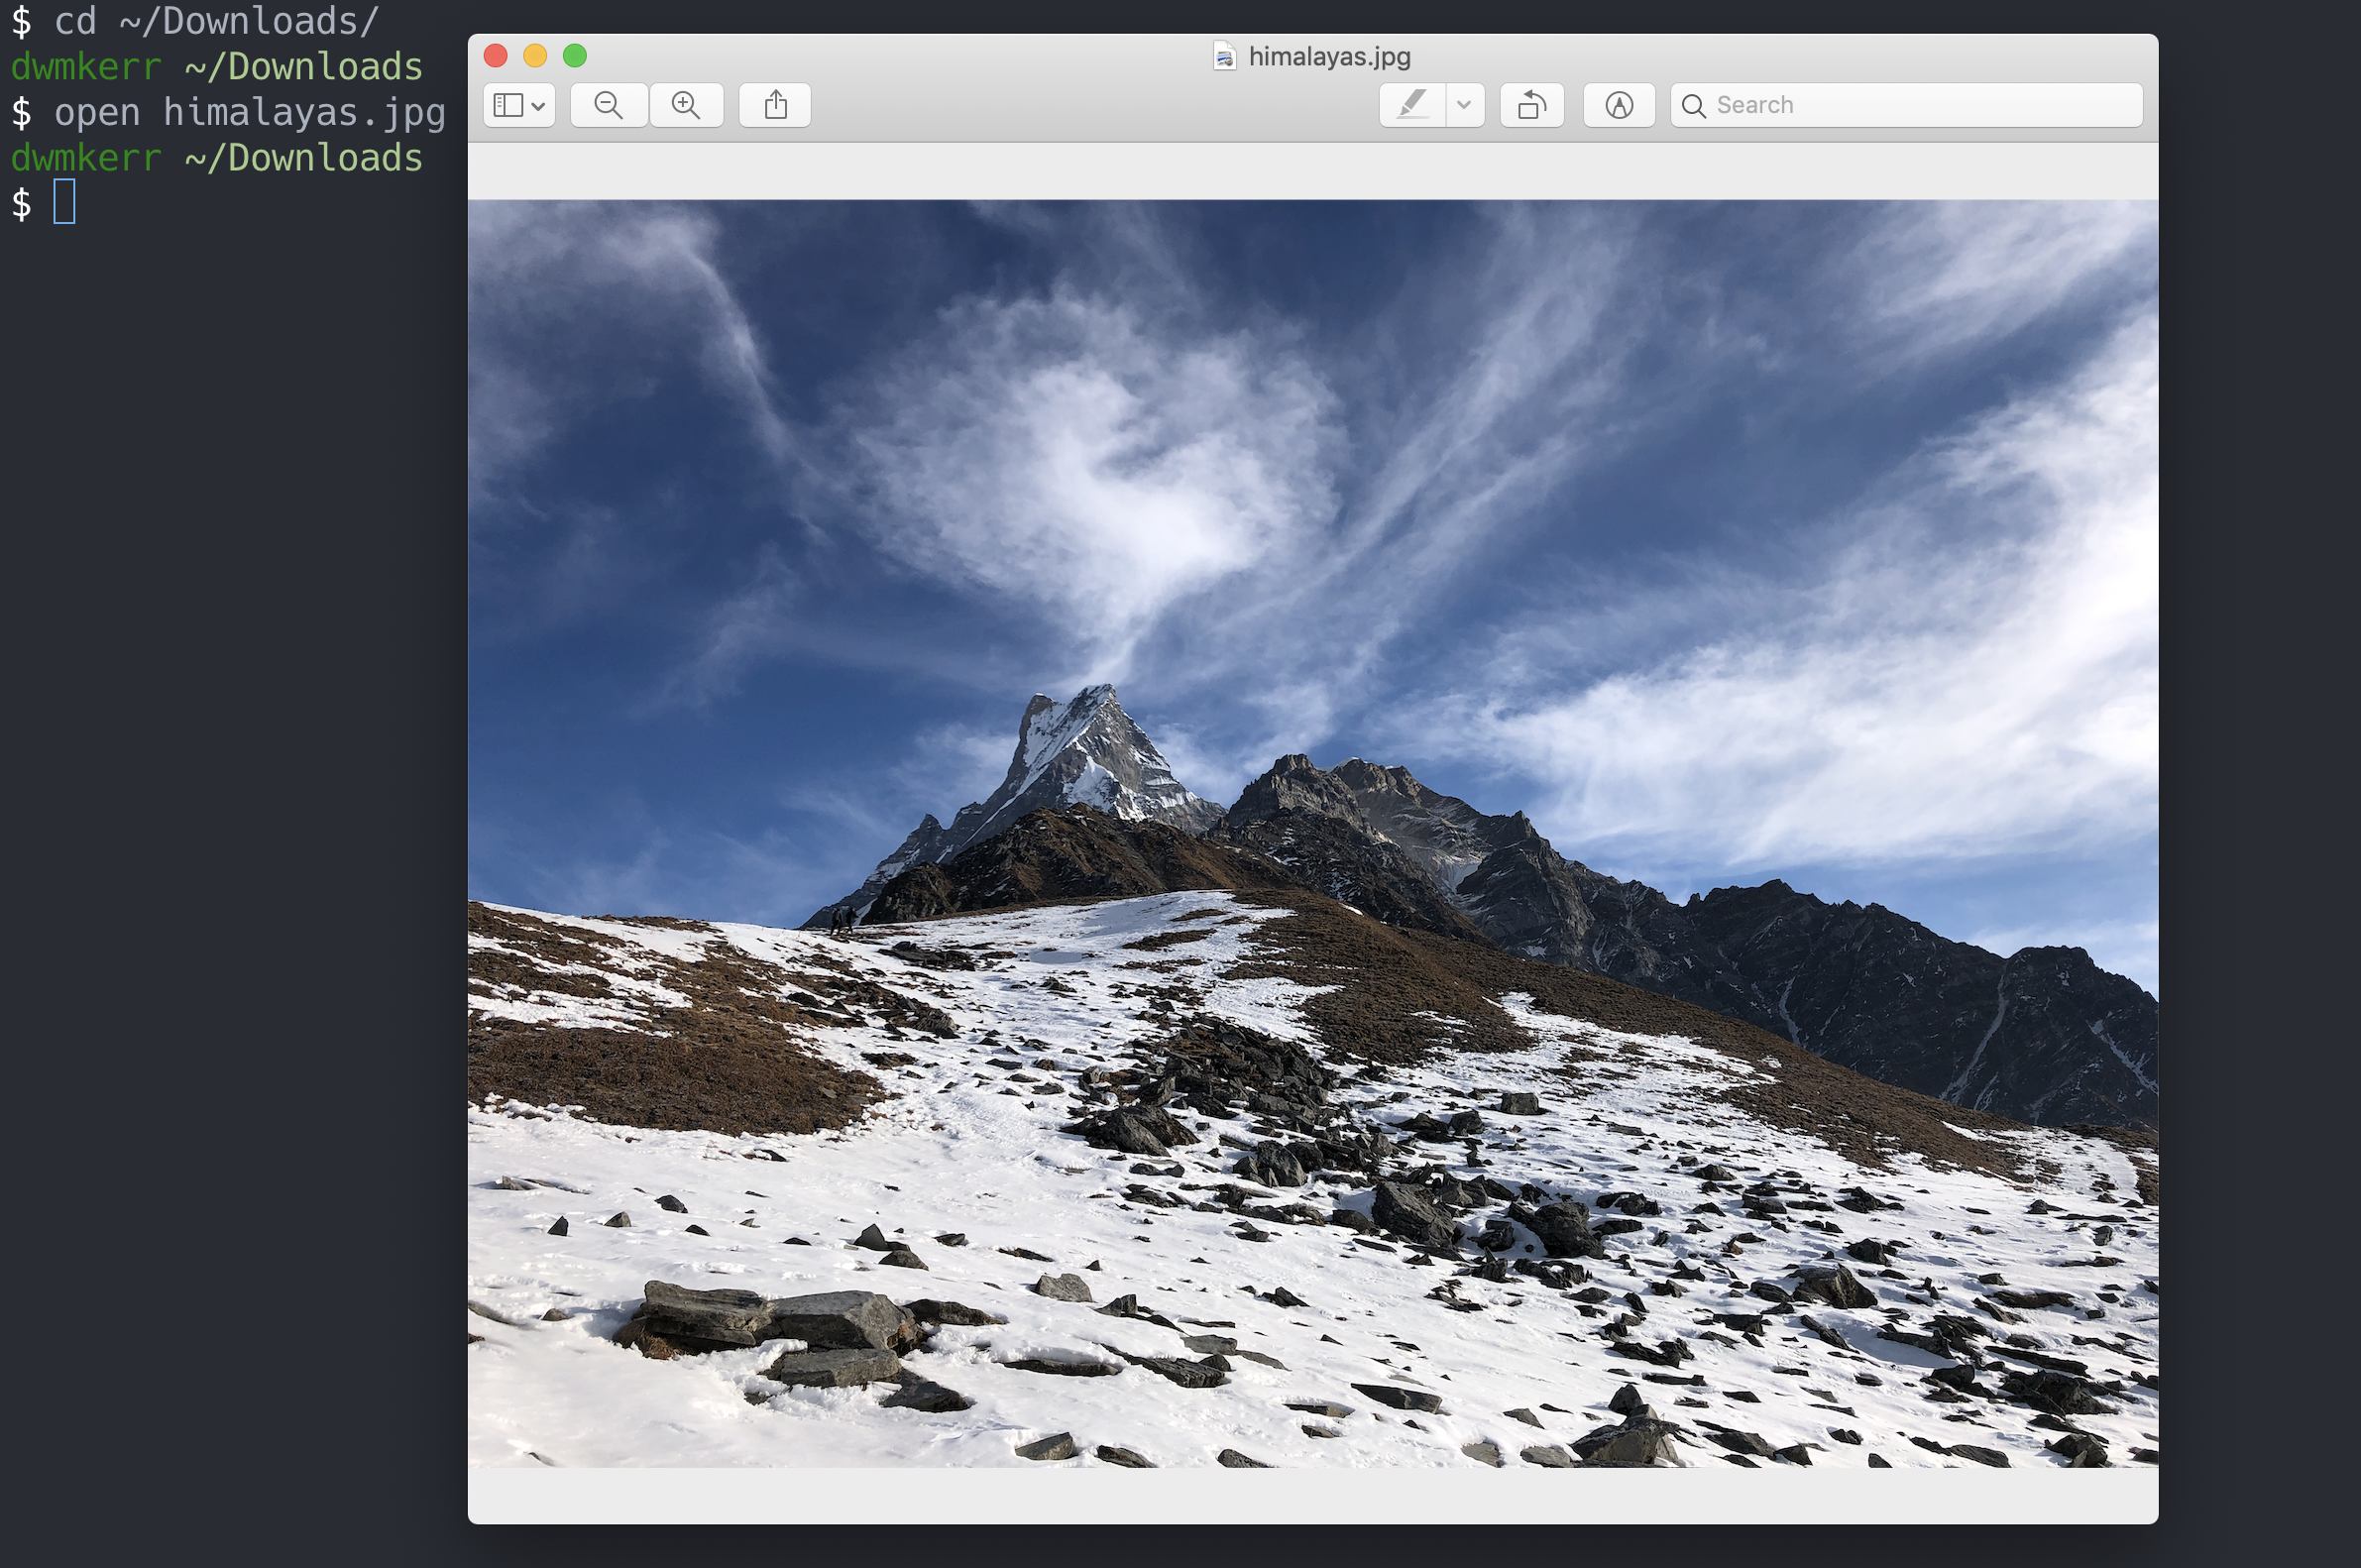
Running open himalayas.jpg has opened the photo in the application which is used for photos by default in the operating system.
Be aware - this command is different on different operating systems (but we're going to see later on how to fix that and make it consistent everywhere!). The open command will open a file on MacOS. On Windows you can use start, and on Linux you can generally use xdg-open.
As a nifty trick, trying running open .1:
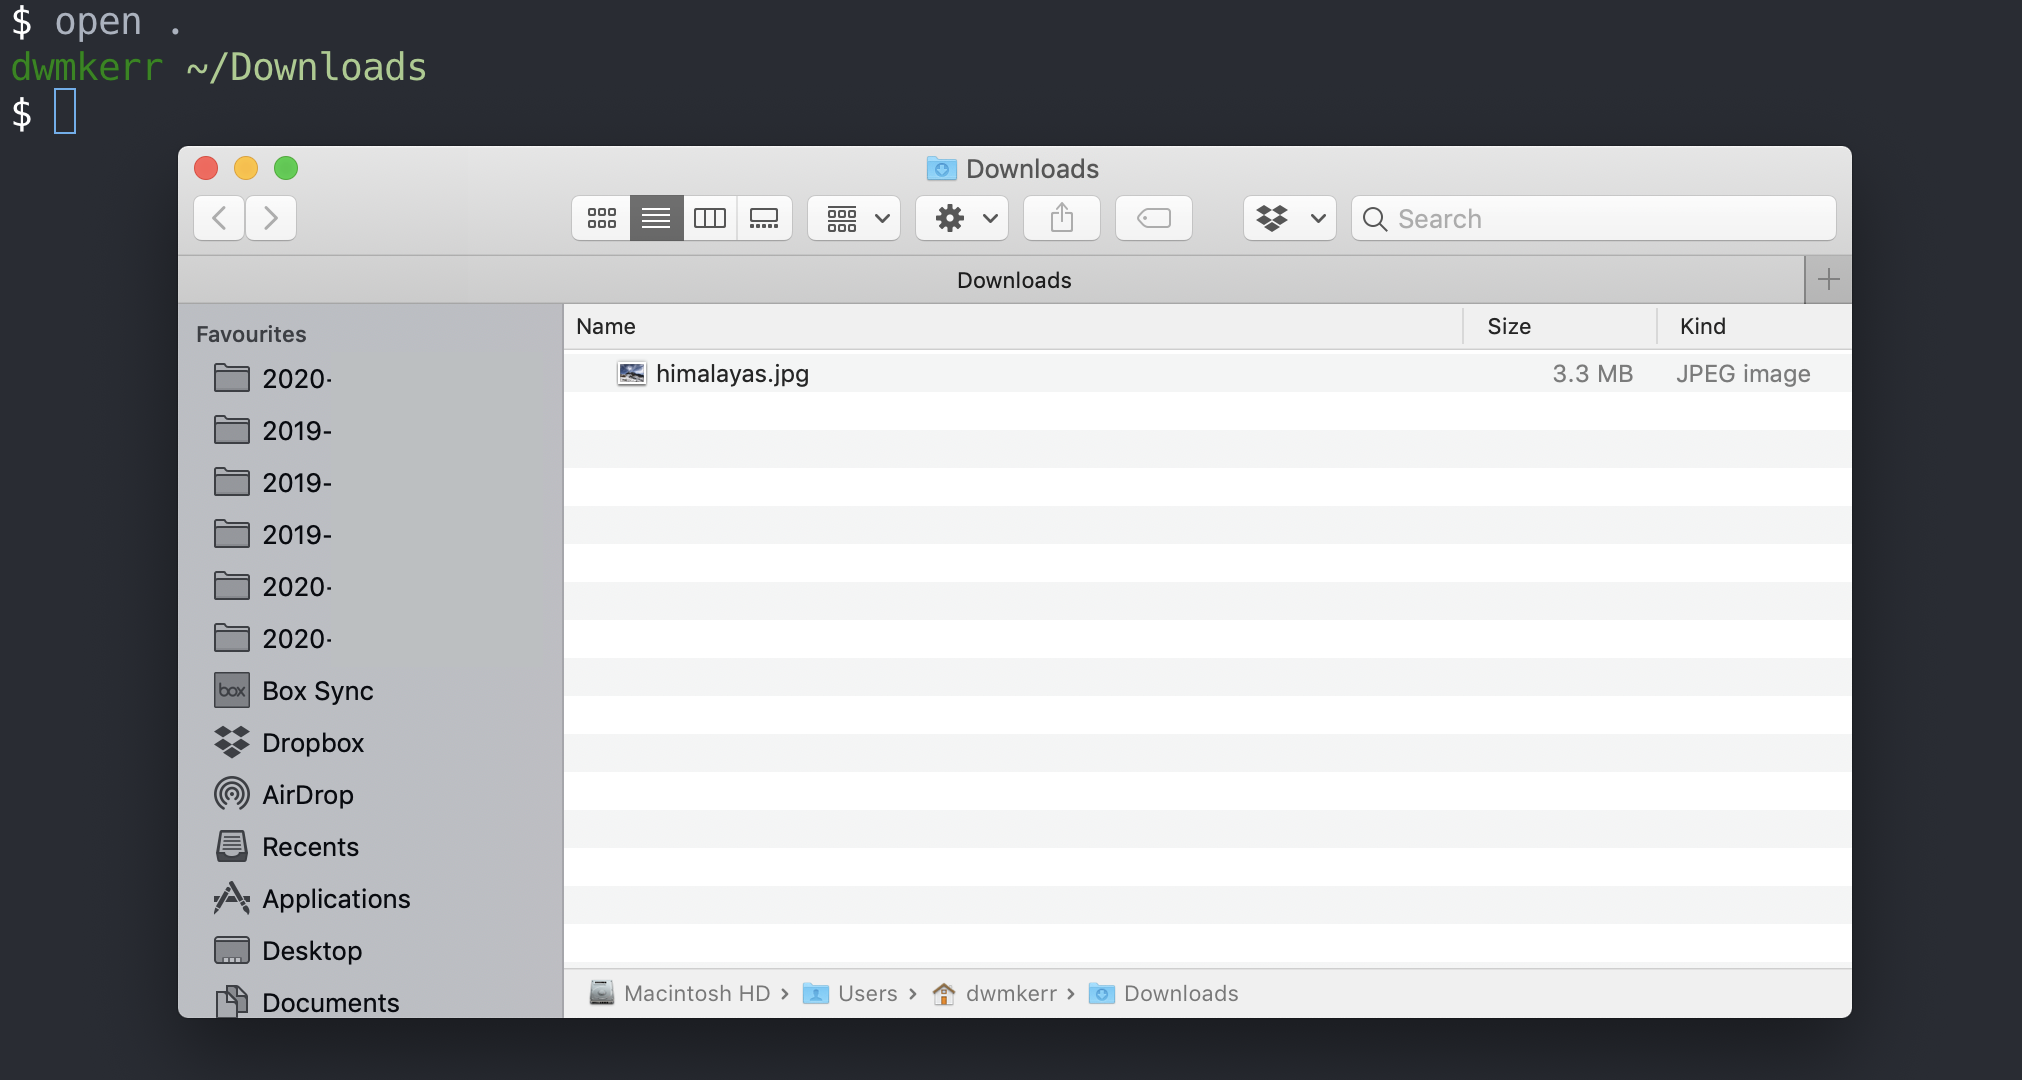
. This will open the current folder. Every folder contains two 'special' folders. The first is .., which we've seen means 'my parent folder' and the second is ., which means 'myself'. Having this . folder is convenient, as it means we can do things like this - run a command to open the current folder.
We're going to go into a lot more detail on how to work with files and folders, move around, but hopefully this has provided a crash course for the basics. They key concepts to remember, which are much more important than the individual commands we've see are:
- In the shell we run commands
- We can change how commands work by using parameters
- Some parameters just go at the end of the command - like
ls Downloads - Some parameters start with a hyphen, and change how the command behaves - these are often called 'flags'. An example is
ls -lh, which lists the files in the current folder with a human-readable file size
We've also learned:
cdchanges the current directorypwdprints the current directorylslists the files in a directoryechocan be used to write out text to the screenopen,startandxdg-opencan be used to open a file or folder on MacOS, Windows and Linux respectively
Now we can start to get into more detail!
Summary
In this section we learnt:
- That this book is for IT professionals, hobbyists or anyone who wants to learn more about how to work with computers
- What the shell is, and why we might want to use it
- How to open the shell programs for Windows, Mac and Linux which are installed by default
- How to configure the shells for Windows or Mac to behave in a Linux-like way to allow us to follow on with the rest of the book
We introduced the following commands:
cd- which changes directorypwd- which prints the current working directoryls- which lists the contents of a directoryecho- which writes text to the screenopen- which will open a file or folder
We also briefly introduced variables, which are special values which start with the dollar symbol, such as $HOME which stores the user's home directory. We saw that each directory contains two special directories - .. which represents the parent directory, and . which represents the current directory.
With these tasks complete we can now move onto the next section.
- On Windows you might need to run
start .and on Linux,xdg-open ..↩